How to Crochet a Biconvex shape
This is last part of the Oval series! Making a biconvex shape is like making a 3D oval shape or like crocheting a rugby ball or a football. It’s really useful for making head shapes, somewhat egg-shaped.
How to Crochet a Pointed Oval. Part 4 - Magic Ring
Welcome to the 4th part of making a pointed oval, this time using a magic ring as a starting point.
How to Crochet a Pointed Oval. Part 3 - Tall Stitches
The 3rd part to making a pointed oval - I know right, I have 4 ways just to create this flat 2D shape! Go check out the 1st and 2nd methods if you have not seen them. This time the method I use helps to create a wing-like appearance.
How to Crochet a Pointed Oval. Part 2 - Foundation chain with varying heights
Ok so this 2nd version of how to make a pointed oval is similar to the previous method but only half of it. Read on more to see what I mean.
Shapes Series - 2) Oval Series
Now that you have seen the 1st part of the Oval Series, which was pretty basic, here are some new neat tricks to create a slight variation to the oval series - pointy ovals!
You must be wondering - when and why will I use this method? I used them for all sorts of attachments for my amigurumis, especially the animal ones - think ears, wings, tails, head shapes.
How to Crochet an Ovoid. Part 2 - Treble Bobble Stitch
This is the 3rd part of the ‘Oval Series’.
For some background, do check out a previous tutorial I had on making little spheres using the double crochet bobble stitch method. By further expansion, making a treble crochet bobble will create a longer looking sphere or an ovoid!
How to Crochet an Ovoid. Part 1 - Foundation chain and crochet around
As a continuation from my previous tutorial on how to crochet an oval, this time it’s a simple extension into making an ovoid shape! It is making the flat 2D oval into a 3D oval which can be stuffed and sewn onto amigurumis!
How to Crochet an Oval
This is the start of the ‘Oval Series’. If you have not gone to check out my previous basic ‘Circular Series’, go check it out. It is the most basic way to start amigurumis. For further customization, let’s try out the Oval series!
Shapes Series - 2) Oval Series
If you have seen my previous Circular Series, this time it’s all about my Oval Series up next! I have broken it up into 2 parts - the first 3 tutorials are about making oval or ovoid shapes, the next 5 parts is about making pointy ovals (if that makes sense)!.
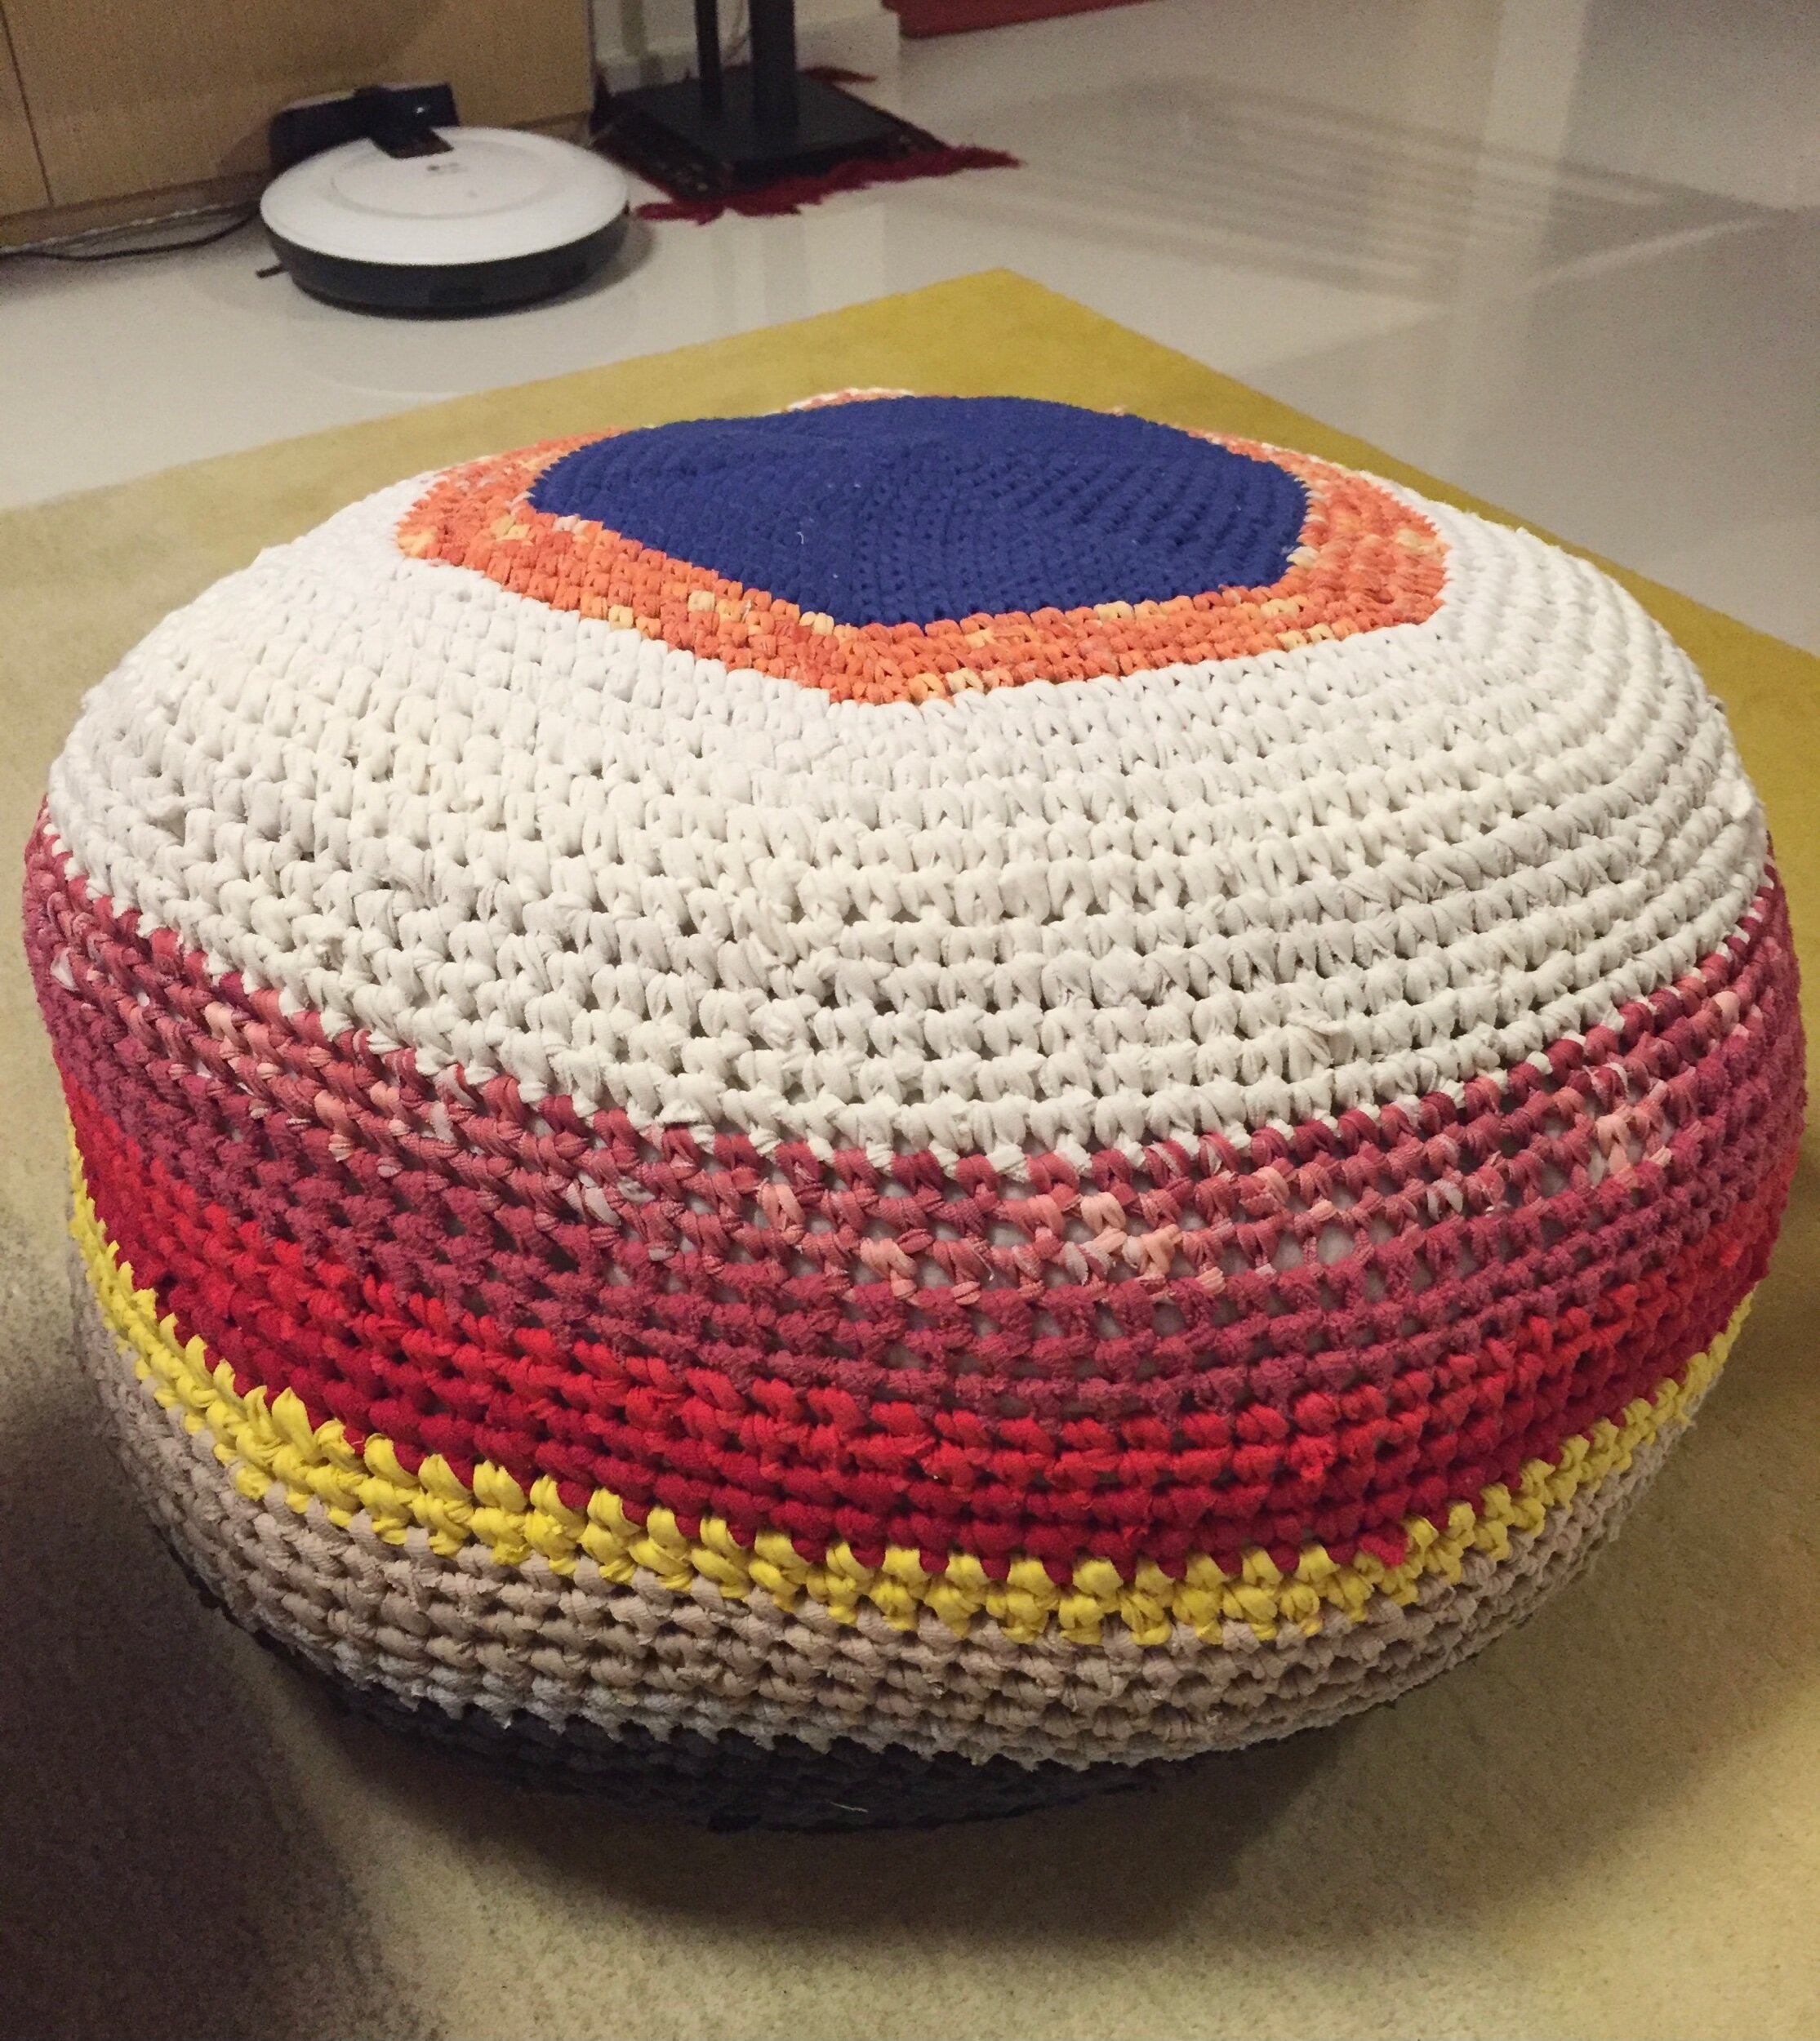
My Crocheted Pouf experiment using Recycled T-shirt yarn
While we are on the topic on making spheres and cylinders, this was my biggest (and longest) experiment that I did back in 2016. I was trying to make a DIY furniture pouf for my new home back then. Cue the image just below was what I was hoping for. BUT the catch was I wanted to use old recycled T-shirts from my old home!
How to Crochet a Cylinder
Circular series
How to crochet a circle - using ch2 and Sc (part 1)
How to crochet a circle - using Magic ring (part 2)
How to crochet a sphere - crochet in a round (part 1)
How to crochet a sphere - bobble stitch (part 2)
How to crochet a cylinder
This is the final tutorial in the Circular series. Of course, there will be more shape tutorials! This time I will be talking about crocheting cylinders. I often use this method to make the amigurumi body.
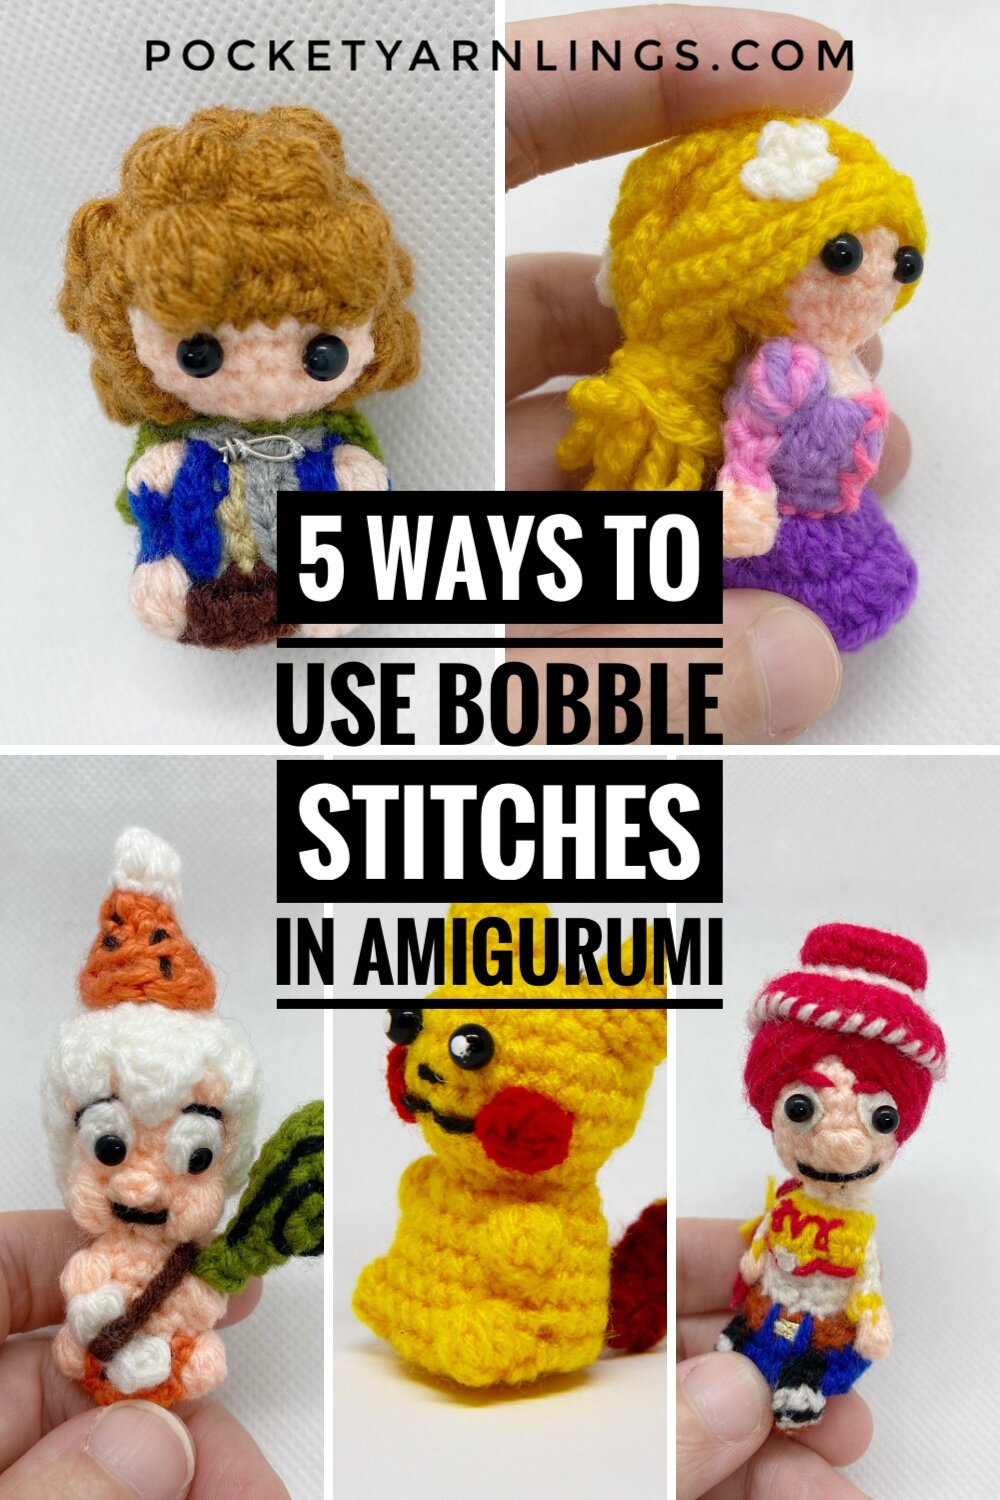
5 ways to use Bobble stitches in Amigurumi
If you have been following me for a while, then you know I’m a huge fan of bobble stitches. I love using them everywhere in my amis because of its textured appearance. So this time, I’m going to talk about 5 different ways I incorporate bobble stitches into Amigurumi.
How to Crochet a Sphere. Part 2 - Bobble stitch
Circular series
How to crochet a circle - using ch2 and Sc (part 1)
How to crochet a circle - using Magic ring (part 2)
How to crochet a sphere - crochet in a round (part 1)
How to crochet a sphere - bobble stitch (part 2)
How to crochet a cylinder
This time, I will be making a tiny little sphere on an existing flat circle, it is the same technique I used to make little tiny limbs for most of my early amigurumis.
How to Crochet a Sphere. Part 1 - Crochet in a Round
Circular series
How to crochet a circle - using ch2 and Sc (part 1)
How to crochet a circle - using Magic ring (part 2)
How to crochet a sphere - crochet in a round (part 1)
How to crochet a sphere - bobble stitch (part 2)
How to crochet a cylinder
There are 2 parts to how to crochet a sphere. This is the 1st part just simply sing crochet in a round technique. In the next post, I will be covering how to use bobble stitches instead to create mini spheres as well.
How to Crochet a Circle. Part 2 - Magic Ring
Circular series
How to crochet a circle - using ch2 and Sc (part 1)
How to crochet a circle - using Magic ring (part 2)
How to crochet a sphere - crochet in a round (part 1)
How to crochet a sphere - bobble stitch (part 2)
How to crochet a cylinder
This is the 2nd part on how to crochet a circle. Check out the 1st part on how I used a chain 2 and single crochet method to crochet a circle.
Previously I mentioned about how to start a round with that method but we do end up with a gap in the centre. When using the magic ring technique, you can pull the free end of the yarn taut such that the gap disappears!
How to Crochet a Circle. Part 1 - Chain 2 and Single crochet
Circular series
How to crochet a circle - using ch2 and Sc (part 1)
How to crochet a circle - using Magic ring (part 2)
How to crochet a sphere - crochet in a round (part 1)
How to crochet a sphere - bobble stitch (part 2)
How to crochet a cylinder
This is the start of my ‘Shapes series’, some parts will overlap with my ‘Back to Basics series’ but these tutorials will be broken down into various 2D and 3D shapes. A lot of these techniques are how I shape my amigurumi.
Shapes Series - 1) Circular Series
I’m super excited to unveil my latest series of tutorials, and it’s my very first attempt at video tutorials! Go check it out here or on YouTube and remember to pin the image above if you found it useful!


