

5 ways to use Bobble stitches in Amigurumi

If you have been following me for a while, then you know I’m a huge fan of bobble stitches. I love using them everywhere in my amis because of its textured appearance. So this time, I’m going to talk about 5 different ways I incorporate bobble stitches into Amigurumi.
1) Hair
This is probably not one of the frequently considered uses for bobble stitches in amigurumi. I decided to use it for my Woodland series inspired by Lord of the Rings (look out for it in the later half of the year :), because I was trying to come up with a ‘short coily’ appearance for the hobbit hair.

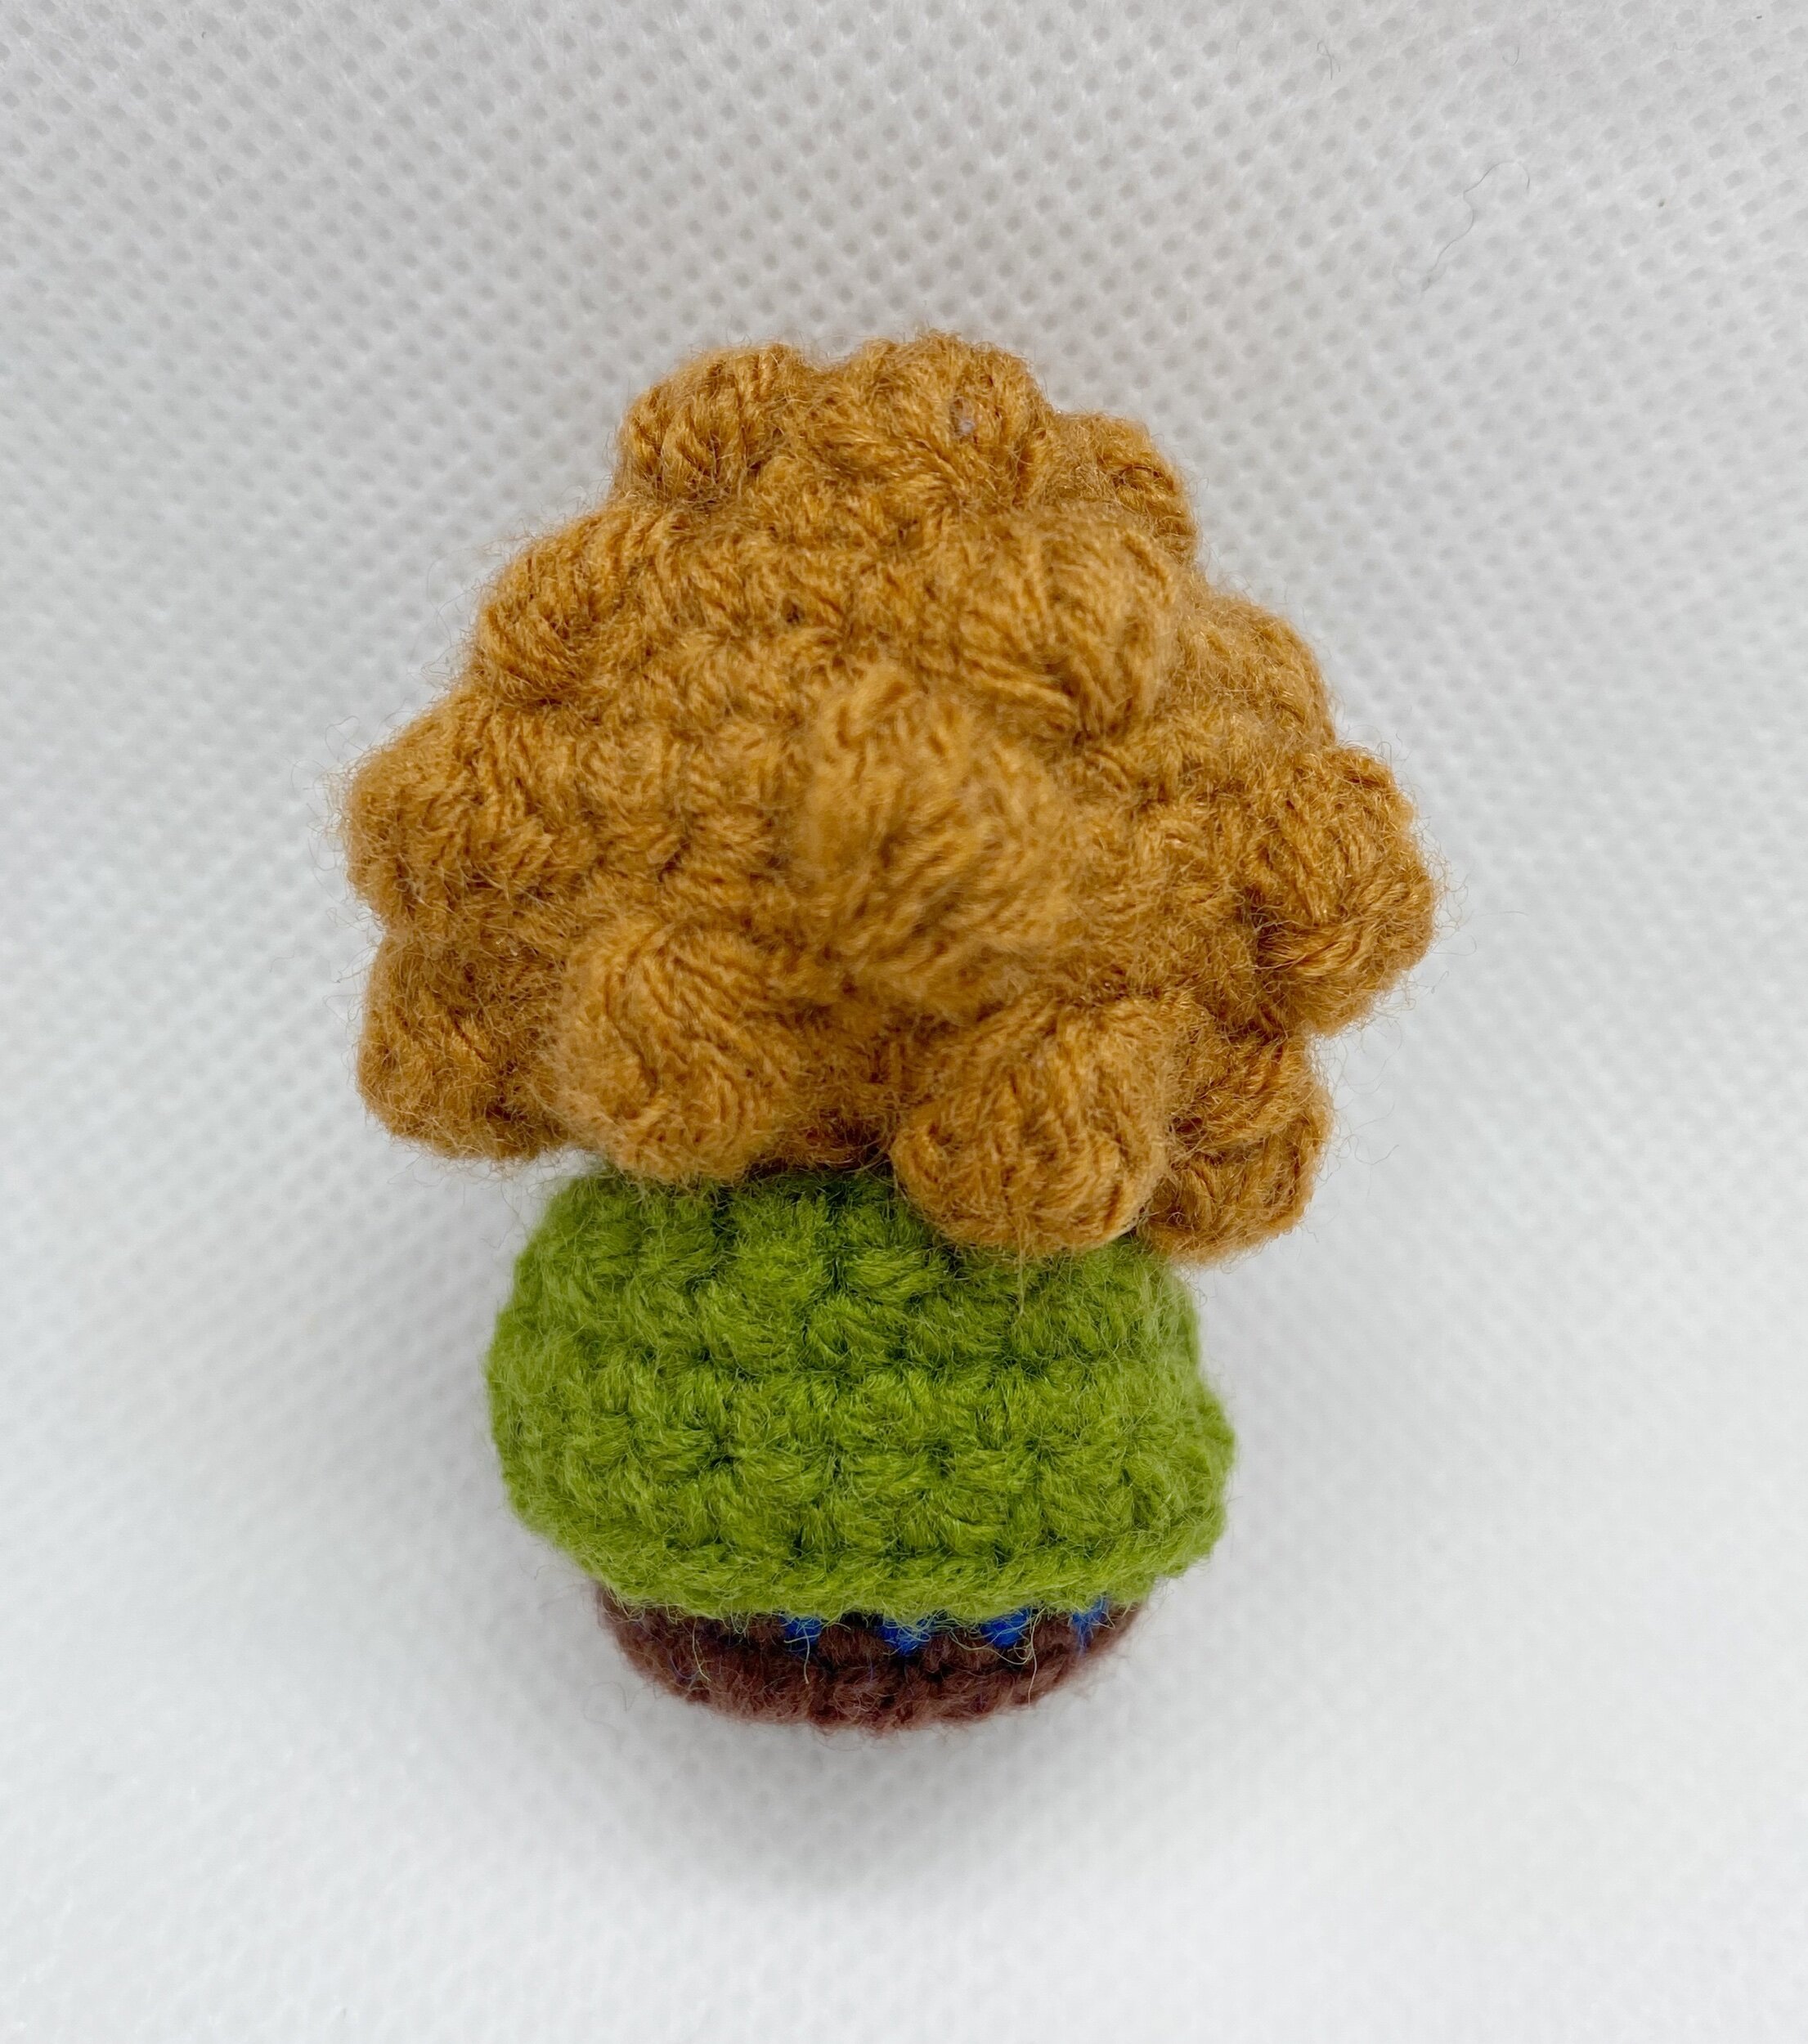
It can be pretty challenging to squeeze in the individual bobbles into the wig cap but with adequate spacing between each bobble and the subsequent layer after them, I managed to come up with a bobble hairstyle!

Apart from using bobble stitches, there are tons of other versions of Amigurumi hairstyles I put together, in my collaboration with Knotions Magazine. Go check it out to try out other silly techniques I came up with!
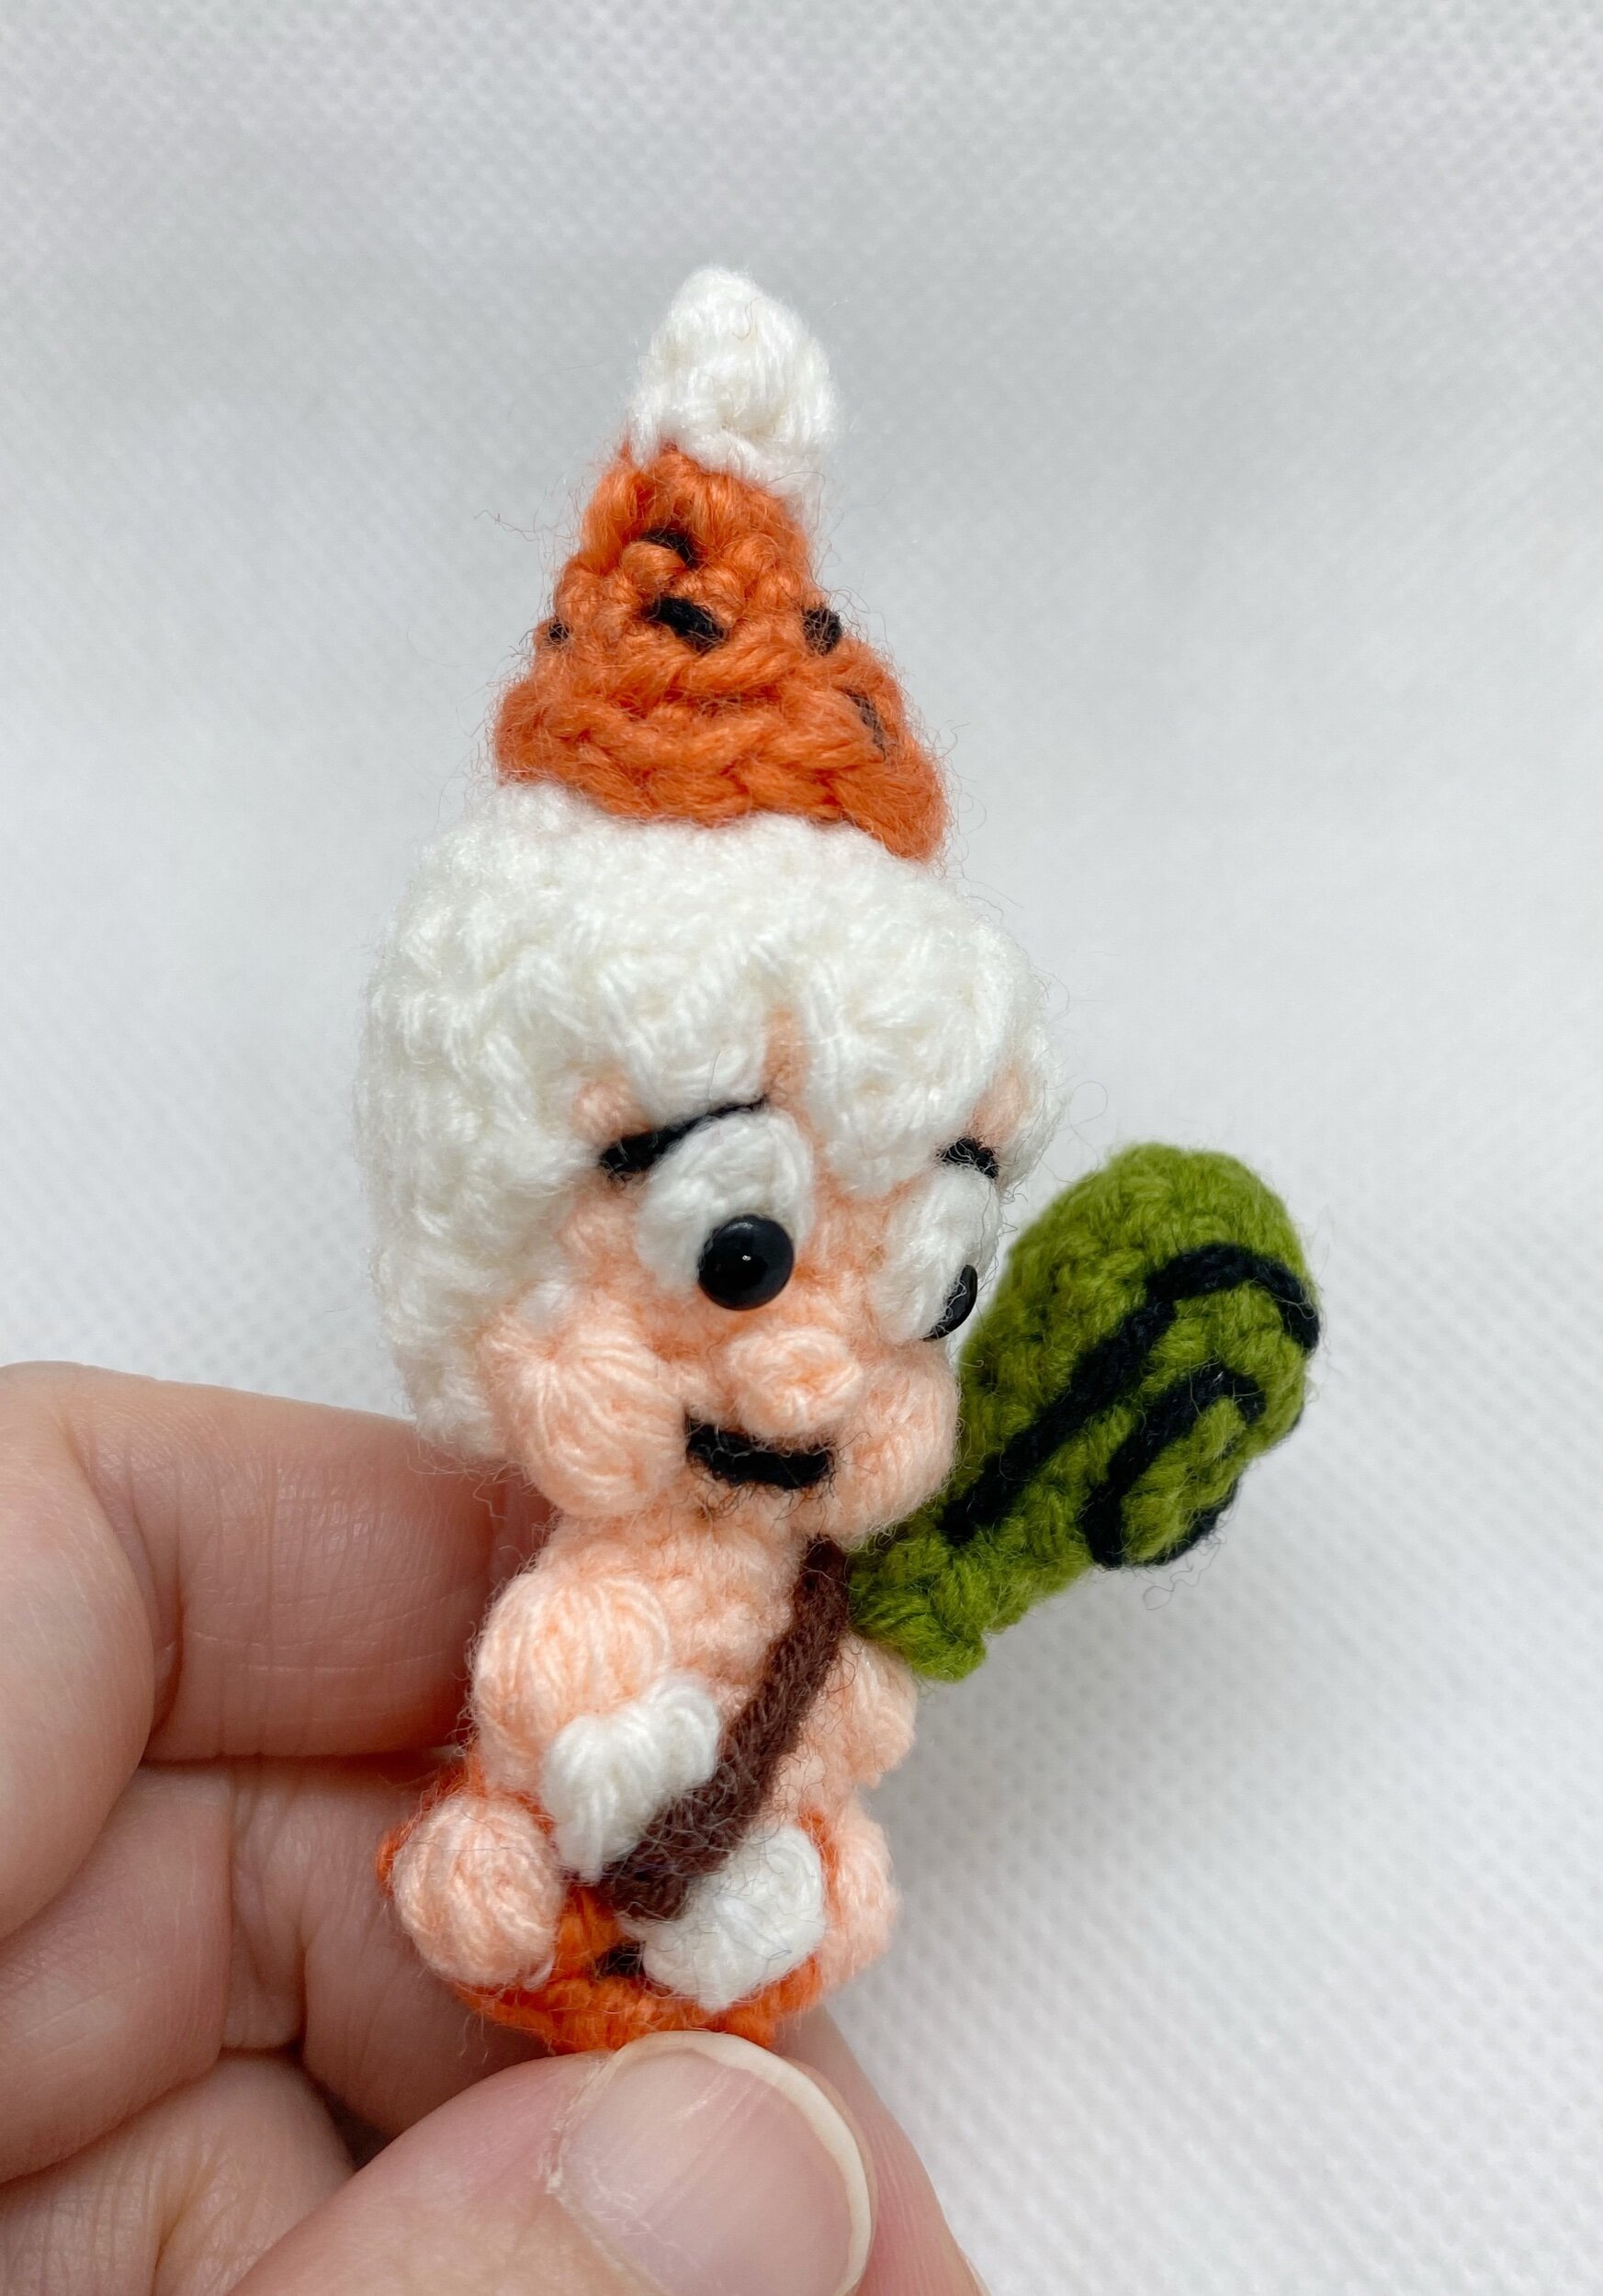
2) Nose
As I move down from the hair to the face, I decided to stick a little bobble stitch in the middle of the face as the nose. (There are some plans to make a little ebook on different types of Amigurumi noses - does that sound interesting?)

In this example above for the cowgirl Jessie, I used a 4 double crochet bobble stitch (4dc Bob). The stitches surrounding the bobble stitches were simple single crochet so that the textured bobble really stands out. Then comes the positioning of the eyes and the hair surrounding the bobble which brings out the nose appearance.
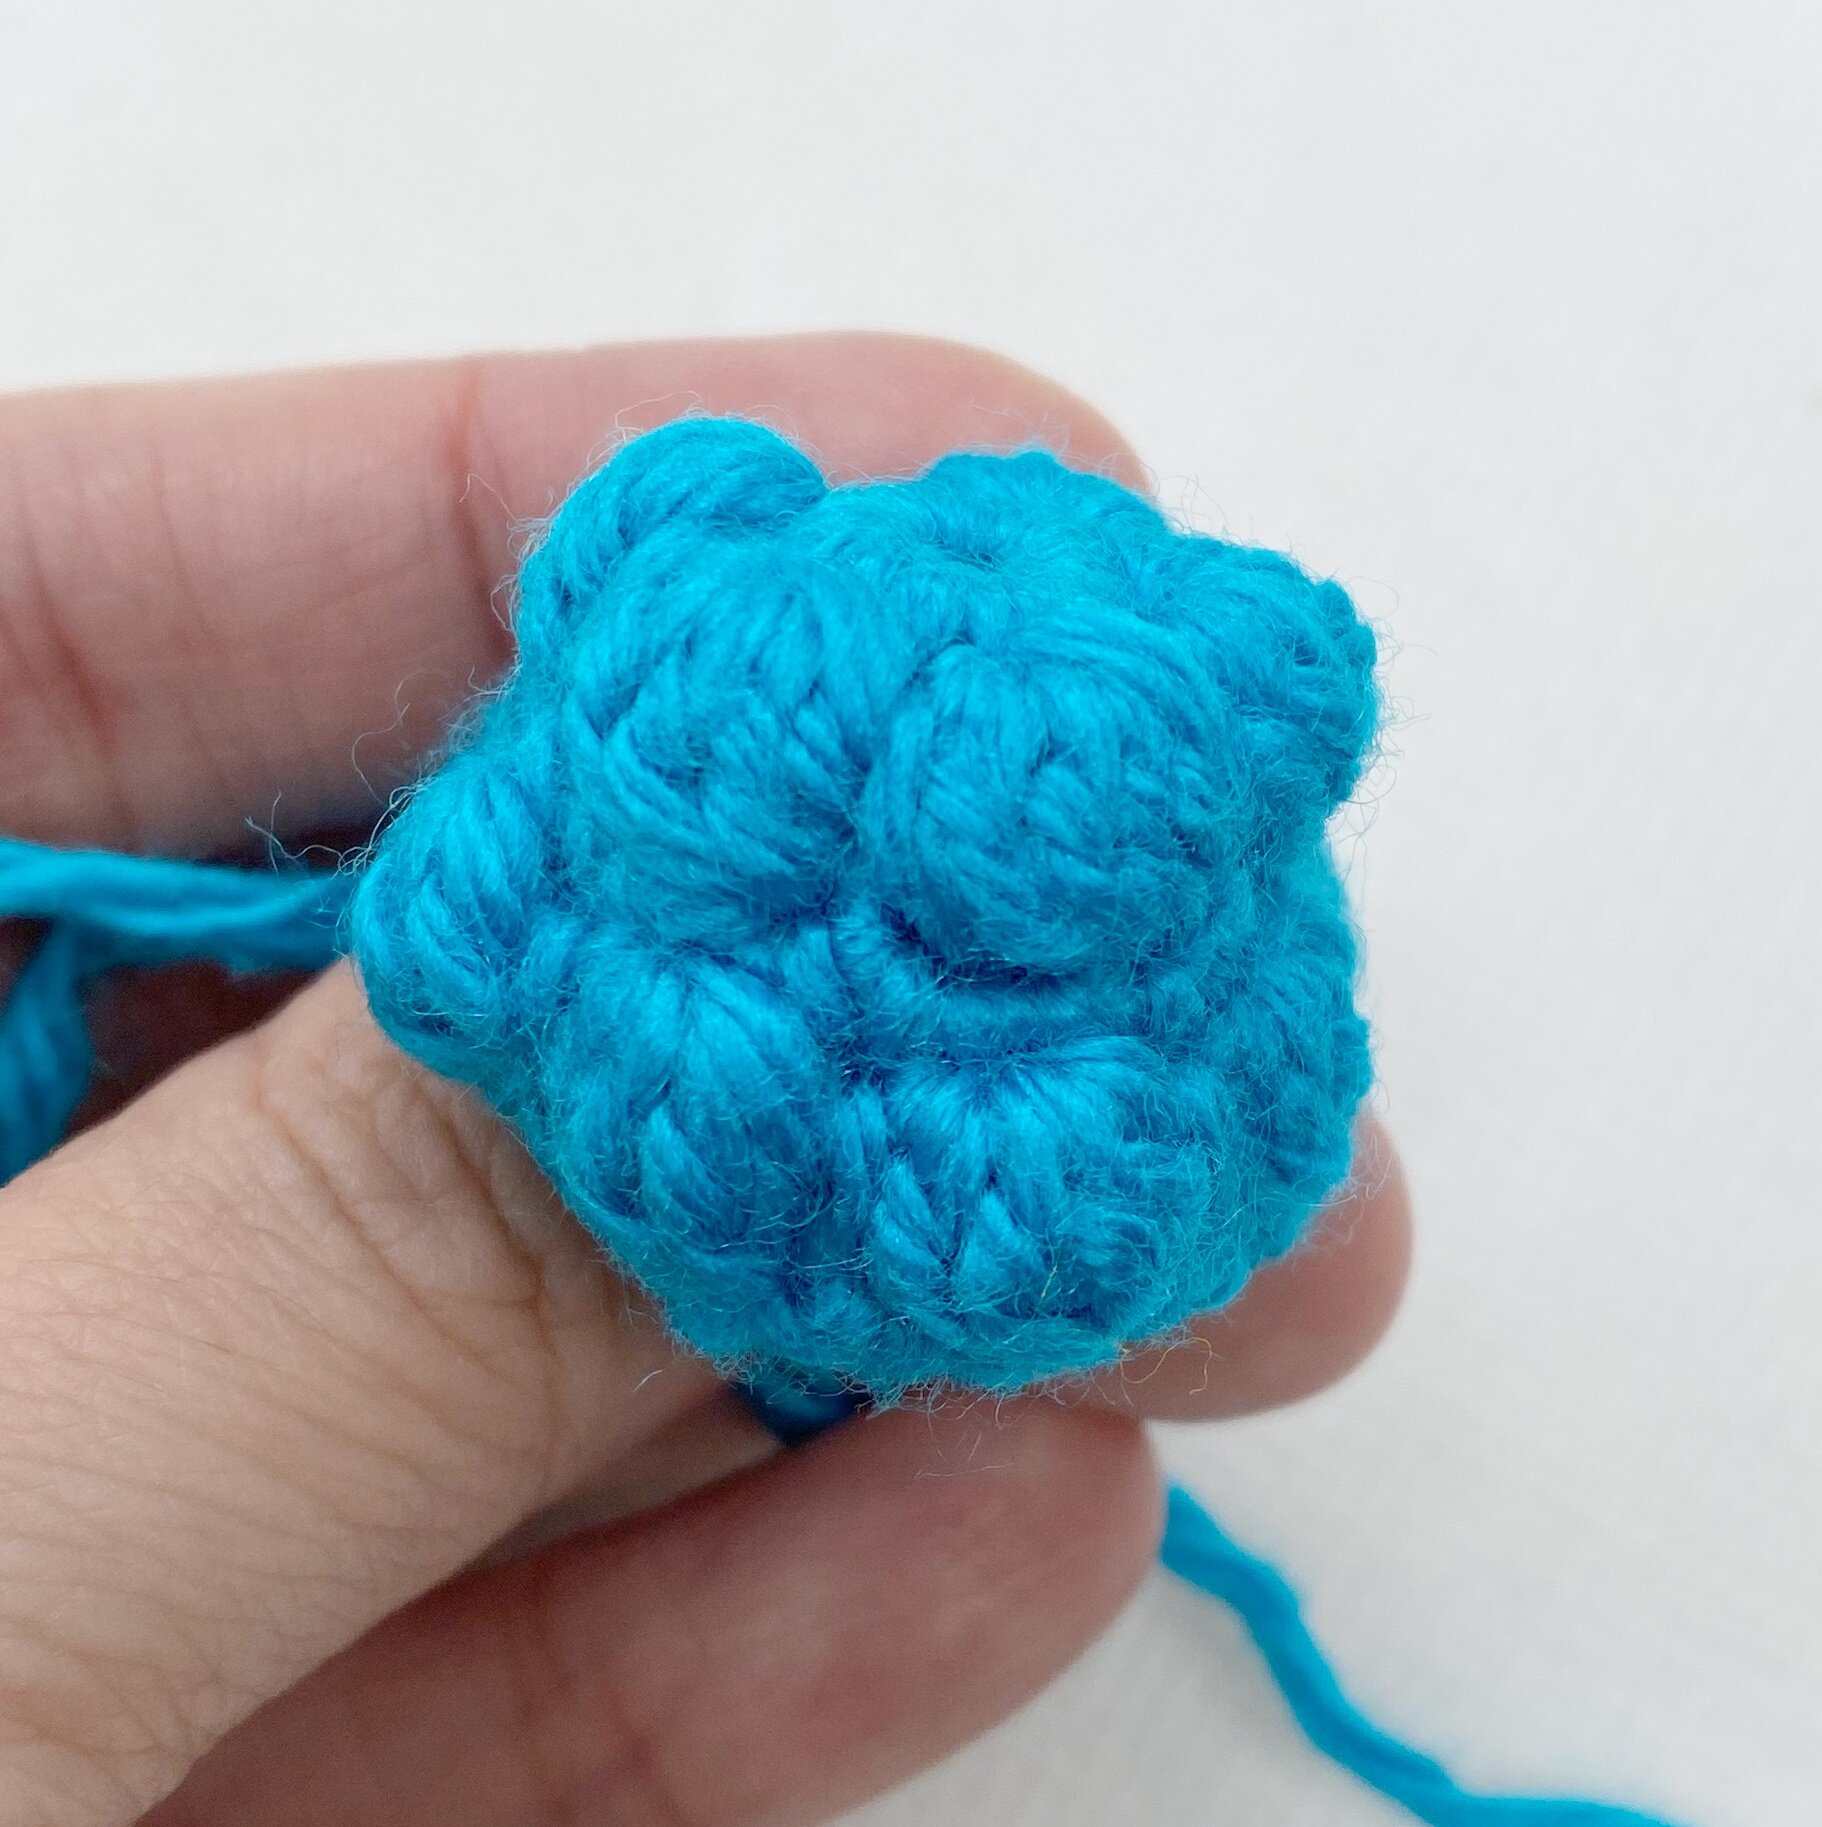
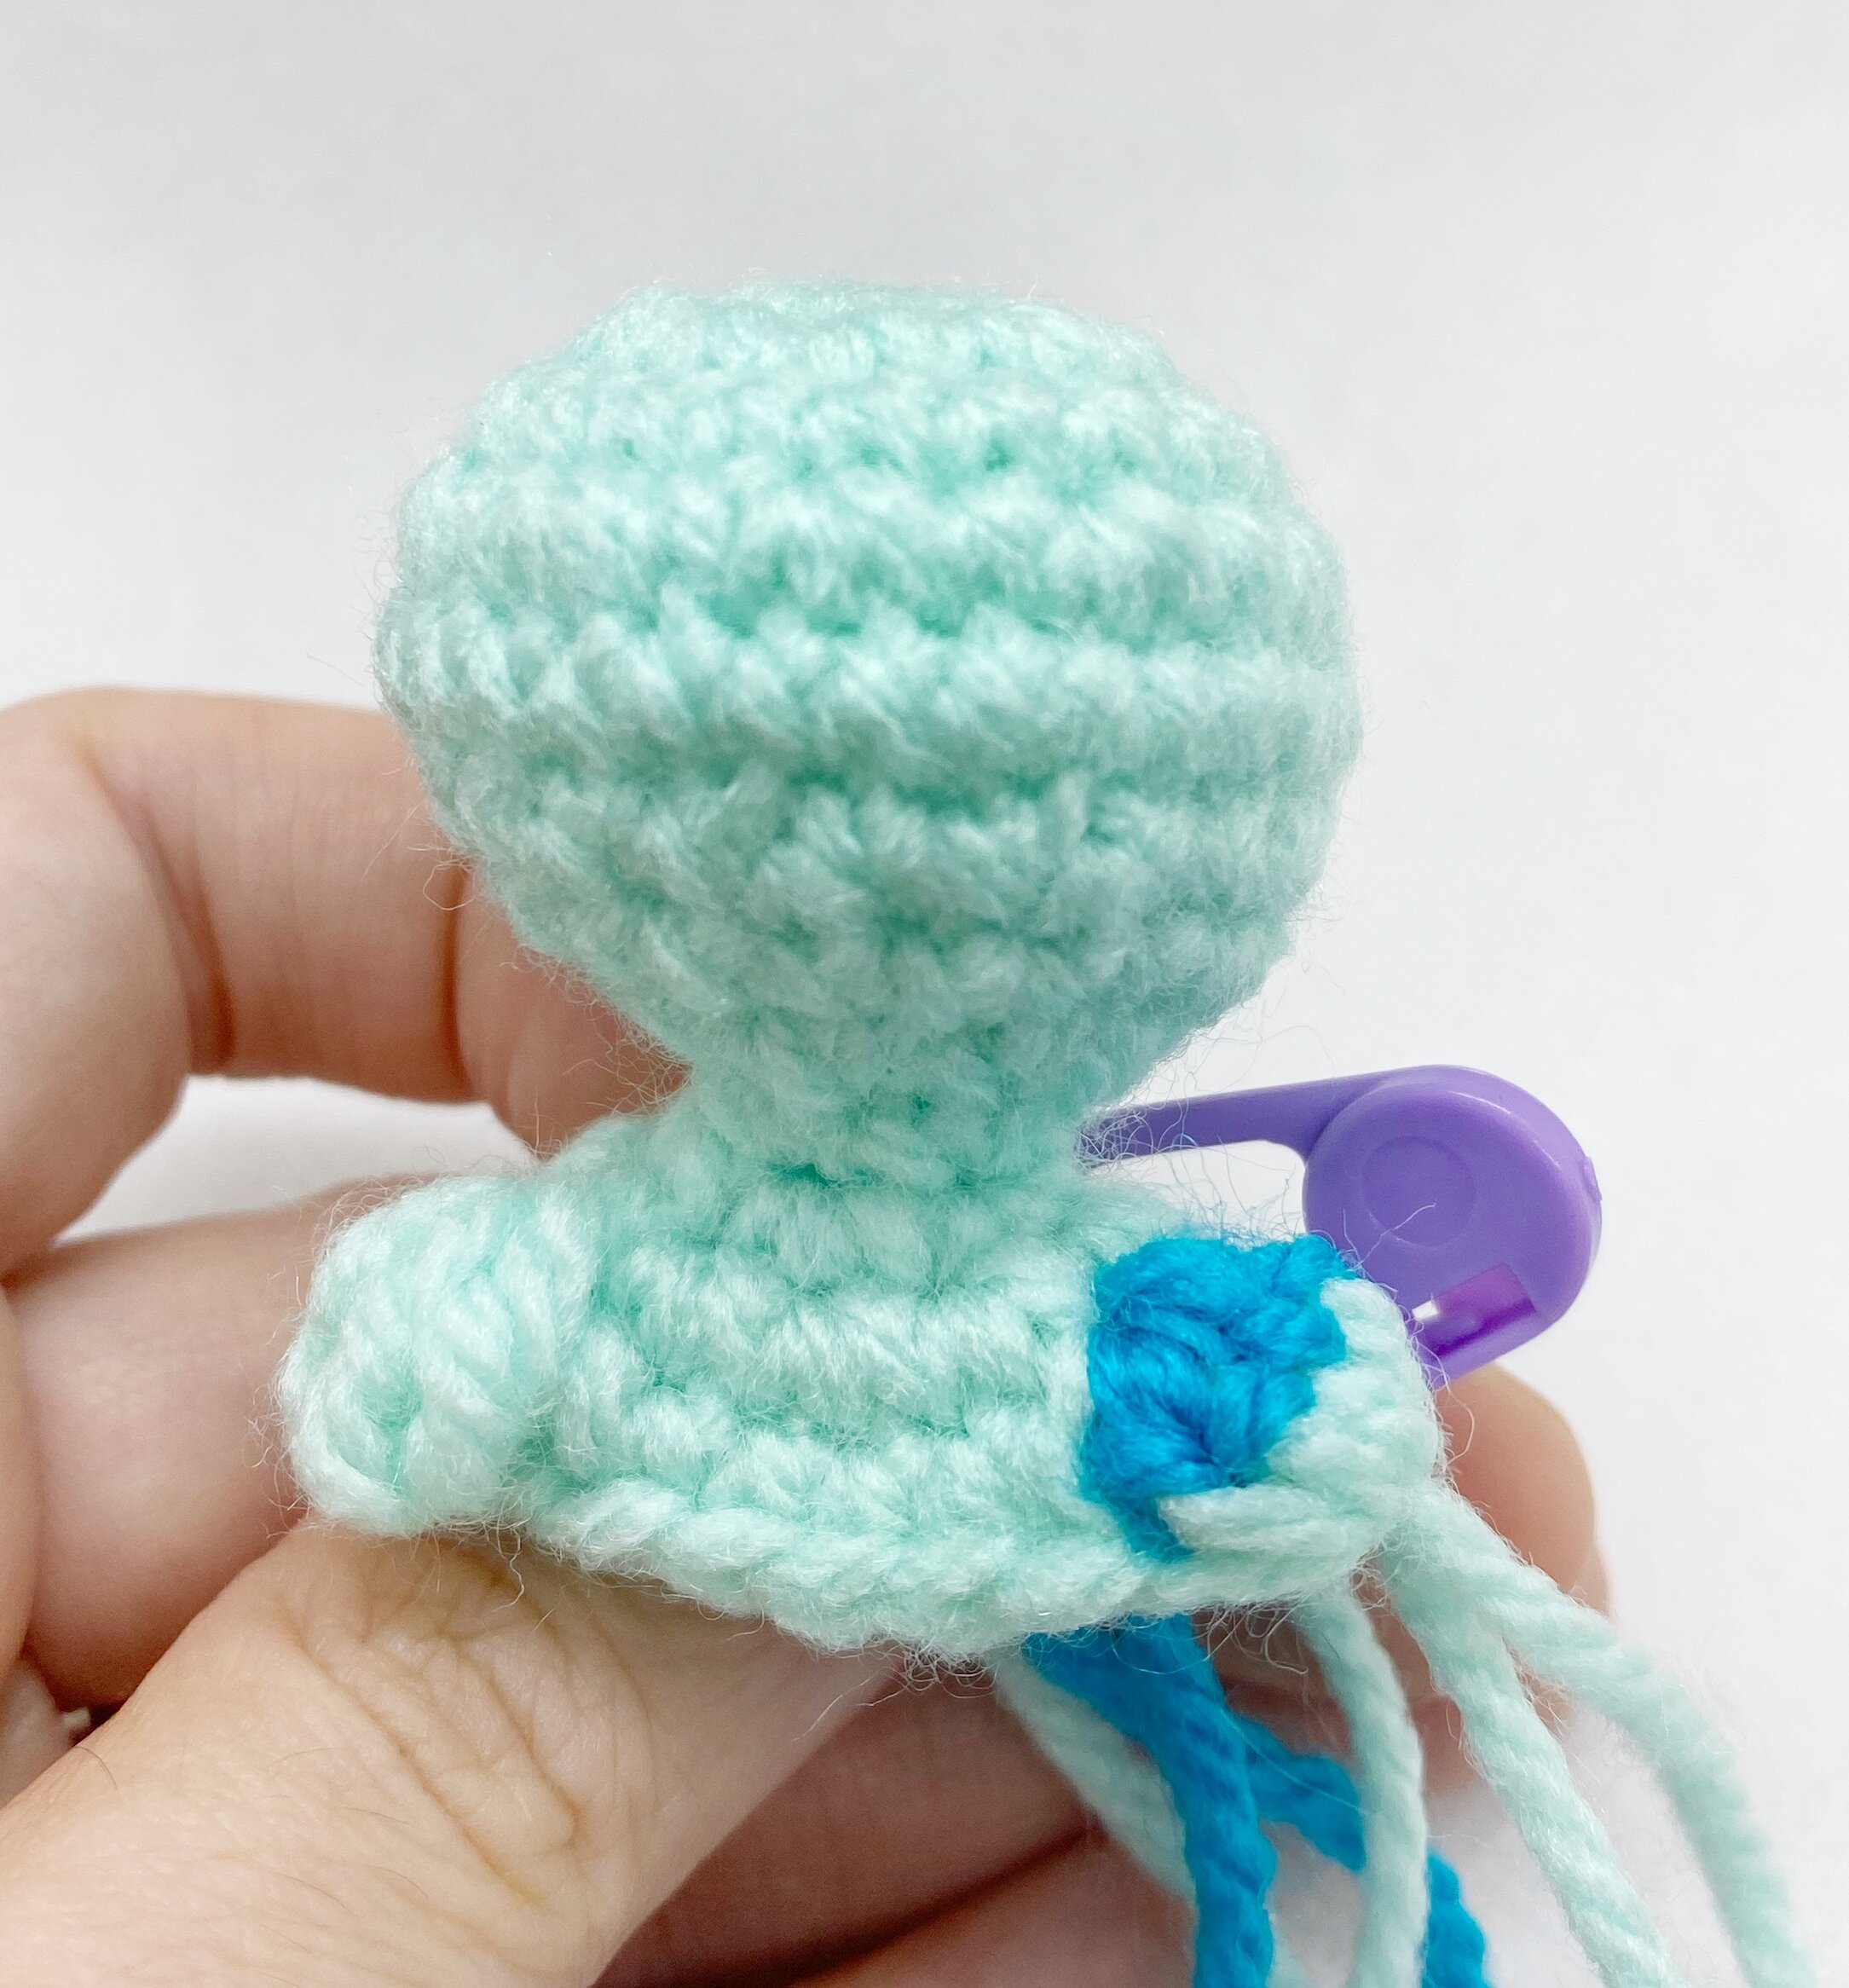
3) Cheeks
This probably would only work for smaller amis considering the bobble stitches are pretty small if you only use double crochet sizes. Anything treble and above can be used but there will be lots of gaps in between.

For stone-age Bamm Bamm over here, his face does look a little bit bloated hehe. I basically sewed on a little nose in between 2 well spaced bobble to give the appearance of cheeks. Not a technique I use often, but it’s using bobble stitches in a different way right?
4) Limbs
This is definitely something that I use often and mention often as well, because using bobble stitches is so much faster than sewing on tiny little spheres! I had one of my older posts talking about it with Pikachu limbs:


One of my very original Amigurumis that I made of the Classic Avengers all showcase bobble stitches as limbs with a variety of colour changes. These are quick projects to whip out and that was the idea when bobble stitches were being utilized for their arms and legs!
To check out how to break up the bobble into 2 halves with a top and a bottom colour, go check out my freebie vault.
5) Shoulder pads
I know this kind of sounds strange but I decided to use bobble stitches just above my ami’s extended limbs, like so for my Rapunzel and Snow White:


This created the illusion of shoulder pads like in the above dresses for the girls or a squaring of the shoulders, like how I tried it out for Superman below. They just had to be positioned just above the arms which extended outwards in the row just below them.

For an idea of how to create the alternating colour appearance of the bobble stitches like how I did for the girls above, go check out an old post of how I did it, with step by step pictures:

So there you have it, the 5 different ways I sneakily incorporate bobble stitches into my Amigurumis. I’m sure this list will continue to grow as I test bobble stitches into various aspects of my crocheting! Have fun trying them out for yourselves!
Remember to pin this if you found it useful!
Get the PDF download on the Circular series FOR FREE - which includes step by step pictorial instructions on how to all 5 parts including ch2 and sc, magic ring, making a sphere and cylinder and bobble stitches.
The PDF has clickable links that link to my youtube videos so it’s convenient as well (just click on the titles or the last step on each page)!
