

Shapes Series - 2) Oval Series

If you have seen my previous Circular Series, this time it’s all about my Oval Series up next! I have broken it up into 2 parts - the first 3 tutorials are about making oval or ovoid shapes, the next 5 parts is about making pointy ovals (if that makes sense)!.
Oval Series
How to crochet an oval
How to crochet an ovoid - foundation chain and crochet around (part 1)
How to crochet an ovoid - treble bobble crochet (part 2)
How to crochet a pointed oval - foundation chain and rotate (part 1)
How to crochet a pointed oval - foundation chain with varying heights (part 2)
How to crochet a pointed oval - using tall stitches (part 3)
How to crochet a pointed oval - using Magic ring (part 4)
How to crochet a biconvex (3D pointed oval)
They are variations of making circles and sphere and they are basically based off the Circular series techniques but with some tweaking.
How I used ovals, ovoids and pointed ovals in my Amigurumi
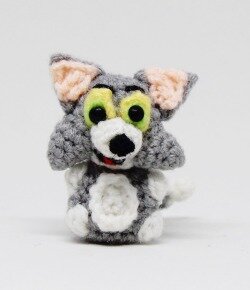
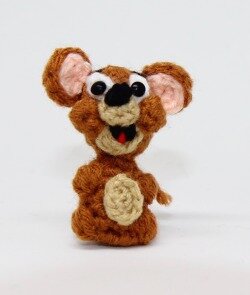
Here are some simple examples of how I incorporated little ovals and pointed ovals into my Looney Tunes Amigurumi.
I often use the 1st method for making pointed oval - using foundation chain and rotating to make elongated ears, like for Wile Coyote and Bugs Bunny.


Just for Bug’s cheeks, I used the ovoid shape rather than a spherical shape to make it bigger and puffier! Especially after stuffing it 😅.
For the bellies, it’s a simple oval. I also did it for my other Hanna Barbera collection, for Tom and Jerry:
So first up, let’s talk about some basic oval shapes first, before I start getting into pointed ovals! Stay tuned for some tutorials and videos!