How to Crochet Animal Amigurumi Arms and Legs
Crocheting animal limbs is just about as important as crocheting the main animal bodies. Only when combined in various creative ways, can you transform yarn into delightful realistic animal toy companions. Experiment with different shapes, styles and detailing to bring out the uniqueness of your animal amigurumi, personalized to what you want to create!
Table of Contents Show
Introduction of Animal Limbs
We will first start off with the necessary materials and tools you need to get started, then work on basic 3D shapes for the animal limb, then work on more advanced techniques like different styles and detailing. The detailing section has much to offer in terms of adding more ideas to simple cylindrical and spherical shapes. I hope once you have gone through the ideas, it can spark your imagination to customize and personalize your very own animal crochet projects!
Materials and Tools for Crocheting Animal Limbs
Let us first talk about what are the necessary materials and tools you need to crochet your animal amigurumi limbs. Firstly, consider the yarn types and colours before getting started, have the usual crochet tools ready. These are very similar to the materials you would need to crochet the animal body and consider them all together since you would tend to be crocheting the body together with the limbs.
Yarn Types and Colours
Yarn Weight: Choose yarn weights suitable for the desired limb size; finer weights (e.g., sport, DK) work well for smaller limbs, while worsted or bulky weights are suitable for larger ones.
Fibre Type: Opt for yarn materials such as acrylic, cotton, or wool blends based on the desired texture. Acrylic yarns offer durability and ease of use, while cotton provides a smoother finish for animal amigurumi. Specialty yarns like mohair or textured yarns can add unique characteristics to limb textures.
Colour Palette: Select yarn colors that match the animal being crafted. Natural animal colors work well for realistic creations, while bold or vibrant hues add character to fantasy creatures. Remember to closely match the colour palette closely with that for the animal body.
Stuffing Materials
Polyester Fiberfill: This is commonly used for its affordability, washability, and ability to hold shapes well. The quantity will be lesser since the amount of stuffing needed for the limbs will be lesser than for the animal body.
Wool Roving: Provides a denser stuffing option, ideal for larger or more structured limbs, offering firmness and support.
Tools
Crochet Hooks: A set of appropriate-sized crochet hooks for the selected yarn weight.
Yarn Needles: Needles threading yarn aid in sewing limbs to the body.
Stitch Markers: Useful for marking rounds or specific points in the limb to maintain symmetry and proper shaping.
Pins: Consider using pins to landmark the limb attachment location on the animal body.
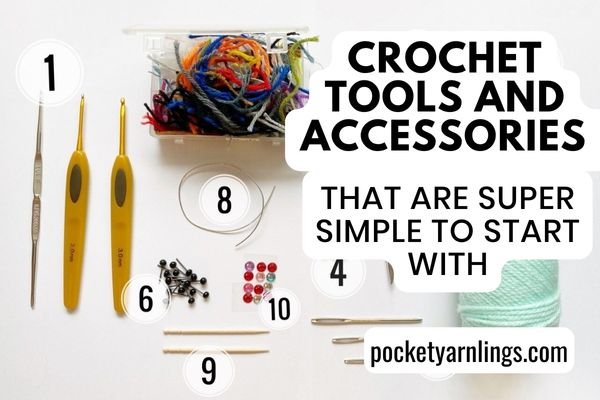
Choosing suitable materials means being ready to crochet not just the animal limbs, but the rest of the body as well. You would want to ensure the right combination for a smooth crafting process, to achieve the desired final limb appearances for your animal. For more ideas on what other tools you need for amigurumi in general, check out “My Crochet Tools and Accessories that are Super Simple to Start With”.
Free Animal Shaping Starter Guide
Crocheting Basic Animal Limb Shapes
Apart from just discussing the shapes involved in crocheting animal limbs which includes spheres and cylinders, here I broke it down into legs and paws as well, with slightly different short patterns to go along. The last pattern included also shows a combination of both crocheting a leg and the paw together, in case you were wondering how to crochet legs with feet.
Start of Crocheting Limbs
When crocheting limbs, think about which end you want to create first. You could start off with crocheting the distal end and slowly work towards the part where the limb is attached to the body. On the other hand, you could work out the open end of the limb first and finish off by closing up at the distal end.
Crocheting a Spherical Paw or Hand
Start: Begin with a magic ring or adjustable loop. Crochet 6 single crochet (sc) stitches into the ring.
Increase Rounds: Increase by working 6 increases (2 sc in each stitch) in the second round (12 sts). Continue increasing evenly in each round by adding 6 more stitches in each subsequent round (18 sts, 24 sts, and so forth).
Body Rounds: Crochet additional rounds without increasing to maintain the diameter of the sphere. Adjust the number of rounds as needed based on the desired size.
Closing the Sphere: Finish by decreasing evenly in each round to close the sphere. Use a yarn needle to close the remaining gap neatly.
Spherical Animal Paw Pattern
Round 1: Magic ring sc6 – 6st
Round 2: 2sc6 – 12st
Round 3: Sc12 – 12st
Round 4: Repeat Round 3 – 12st
Round 5: Sc2tog10 – 6st
Close up in front loops only (FLO) and fasten off.
Crocheting a Cylindrical Leg
Start: Begin with a magic ring or adjustable loop. Crochet single crochet (sc) stitches into the ring. You can start with a higher number of stitches in a round like up to 6-8.
Body Rounds: Crochet additional rounds without increasing to maintain the diameter of the cylinder or tube. Adjust the number of rounds as needed based on the desired length of the final tube.
Leaving the Cylinder Open: Finish by fastening off in the last round of the cylinder once you are happy with its length. Leave a long yarn tail for attachment of this open-ended piece to the animal body later on.
Cylindrical Animal Leg Pattern
Round 1: Magic ring sc8 – 8st
Round 2: Sc8 - 8st
Round 3-9: Repeat Round 2 – 8st
Fasten off and leave a yarn tail for sewing to the body later on.
Crocheting a Paw and Claw with a Cylindrical Leg
For this part, I included 2 examples of combining the main cylindrical leg with a paw and also a claw. The first example showcases a pattern where the dog paw is made first and then it extends into the cylinder, so the last open-ended part of the cylinder is to be attached onto the animal body.
As for the second example, we start off with the close-ended part of the cylinder that is to be attached onto the animal body and then it ends off with crocheting the claw of the bird, which is the distal end of the animal limb.
Wanted to make use of the 2 separate patterns to show how you can not only change up which end to start crocheting the limbs, but also you can combine shapes together within the same pattern without having to sew together many different parts.
Spherical Animal Paw with Cylindrical Leg Pattern
Round 1: Magic ring sc5 – 5st
Round 2: Sc1, hdc1, 2dc1, hdc1, sc1 – 6st
Round 3: Sc1, hdc4, sc1 – 6st
Round 4: Sc1, sc2tog2, sc1 – 4st
Round 5: Sc4 – 4st
Round 6: Sc2, 2sc2 – 6st
Round 7: Sc6 – 6st
Round 8-12: Repeat round 7 – 6st
Use 3 black strings going down the front of the paws to demarcate them.
Attach open-ended Round 12 onto the animal body.
Cylindrical Leg with Animal Claw Pattern
Round 1: Ch2 then 3sc1 – 3st
Round 2: Sc3 – 3st
Round 3-6: Repeat round 2 – 3st
Round 7: [Sc1, (ch4, sl st 1 down ch, sc2 down ch, sl st back into same main st)] x 3 – 3st
The last round creates the feet.
Attach close-ended Round 1 onto the animal body.
Try out a combination of different ways to crochet the limbs, either with paws alone, legs alone or even with them combined together in the same crochet pattern. As you will see later on in this post, there are also other limb styles to consider and more advanced detailing and shaping which you can also try!
Specific Limb Styles for Different Animals
Crafting specific limb styles for various animal species in amigurumi involves understanding their anatomical features and employing suitable crochet techniques. This is similar to crocheting animal bodies as it is for crocheting their limbs.
Bipedal Animals: For animals standing on two legs, such as penguins or certain birds, crochet spherical shorter legs, as they will be more stable in a standing position.
Quadripedal Animals: Animals walking on all fours, such as dogs or horses, require four cylindrical or tapered legs attached evenly to the body for balance. During attachment, symmetrical placement will help with stability as well.
Birds: Birds have distinct leg shapes, often slender and elongated. Crochet cylindrical or tapered shapes for legs, considering longer lengths compared to body proportions. Also finish up the cylindrical leg with a claw to mimic the bird’s natural limb appearance, as mentioned above.
Aquatic Animals: Creatures like fish or dolphins may have fin-like structures. Create cylindrical shapes for fins or tails and attach them appropriately to the body to resemble aquatic features. These animals will not have the same type of spherical or cylindrical limbs.
Shaping and Detailing of Crochet Animal Limbs
Shaping amigurumi limbs is quite different from shaping amigurumi bodies. As the limbs tend to be narrower and sometimes longer than the body, there are different ways of shaping, including wirework inside for stability. Also consider the use of curves and bends for the knees inside limbs for more realism. Finally, the shaping for the distal end of the limb like paws or claws can be quite fun to experiment and brainstorm.
Shaping
Increases and Decreases: Use increases to broaden limbs or create curves, especially in areas like hips or shoulders. Decreases help taper limbs or form joints, like elbows or knees.
Check out more about increases in stitches here at “15 different detailed Ways on How to Increase in Crochet”. Also check out more about decreases in stitches here at “15 different detailed Ways on How to Decrease in Crochet”.
Joint Details: To simulate joints or paw details, employ techniques such as crocheting in front or back loops only. This creates lines or bends resembling knuckles or paw pads.
Curves and Bends: Incorporate strategic increases and decreases in rounds or rows to shape the desired curves or bends in limbs. Also consider varying stitch heights like sc, hdc, dc, or working in FLO or BLO only to achieve bends. Working in short rows, leaving unworked stitches helps to creat curves or asymmetric shapes.
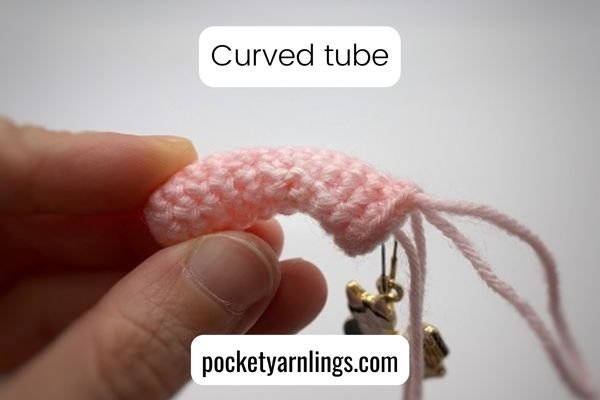
For some ideas on different ways to crochet curves or bends without having to attach multiple pieces together, you can check out this comprehensive post on “How to Crochet a Tube in 10 different useful styles”.
Incorporating Wire or Armature: To achieve poseable limbs, you can insert wire or armature inside the crochet piece. This allows you to bend and shape the limbs as desired.
Stuffed Limbs: Overstuffing or understuffing the limbs can help achieve a specific shape. For example, overstuffing can create plump, rounded limbs, while understuffing can create flatter, more flexible ones. Usually if my round is pretty small and the diameter is narrow, I might choose not to stuff at all. However, if stability is a concern like for instance, I decide to incorporate wires inside the limbs, I will add stuffing around it.
Detailing
Paw or Foot Details: Utilize embroidery or surface crochet techniques to add details like toe lines, claws, or paw pads. Embroider small stitches or use different coloured yarn to create these intricate details.
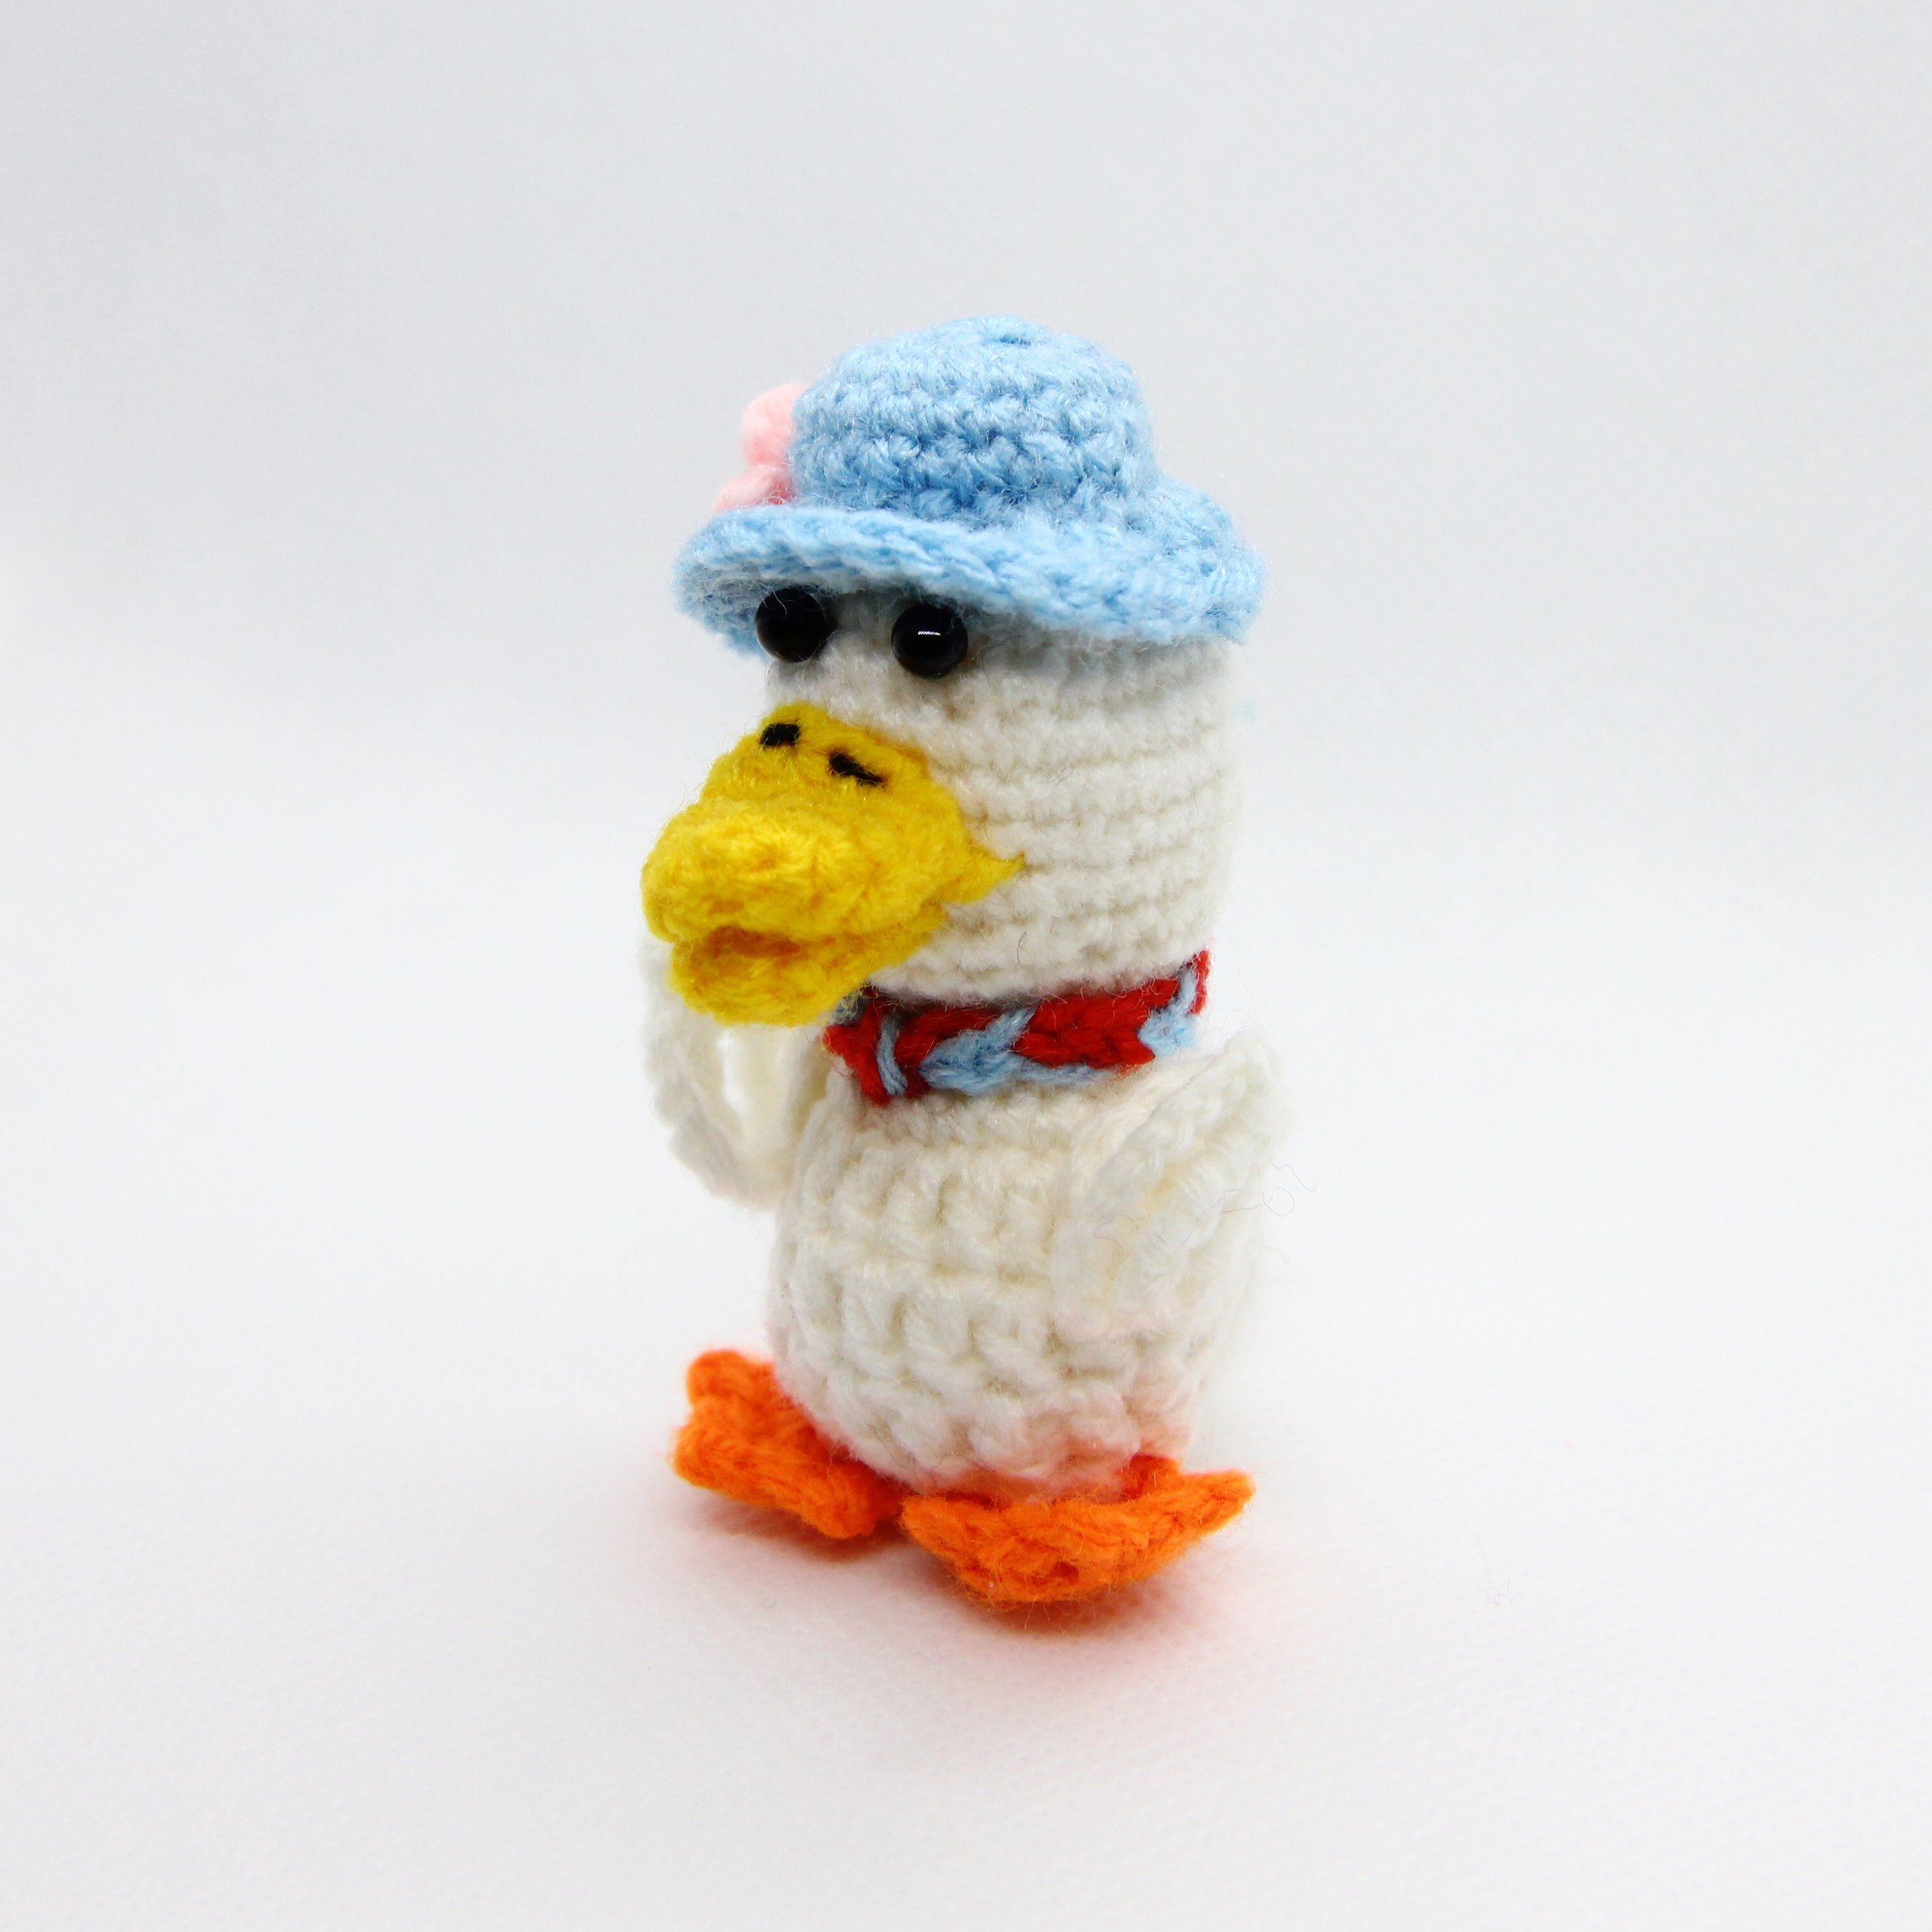
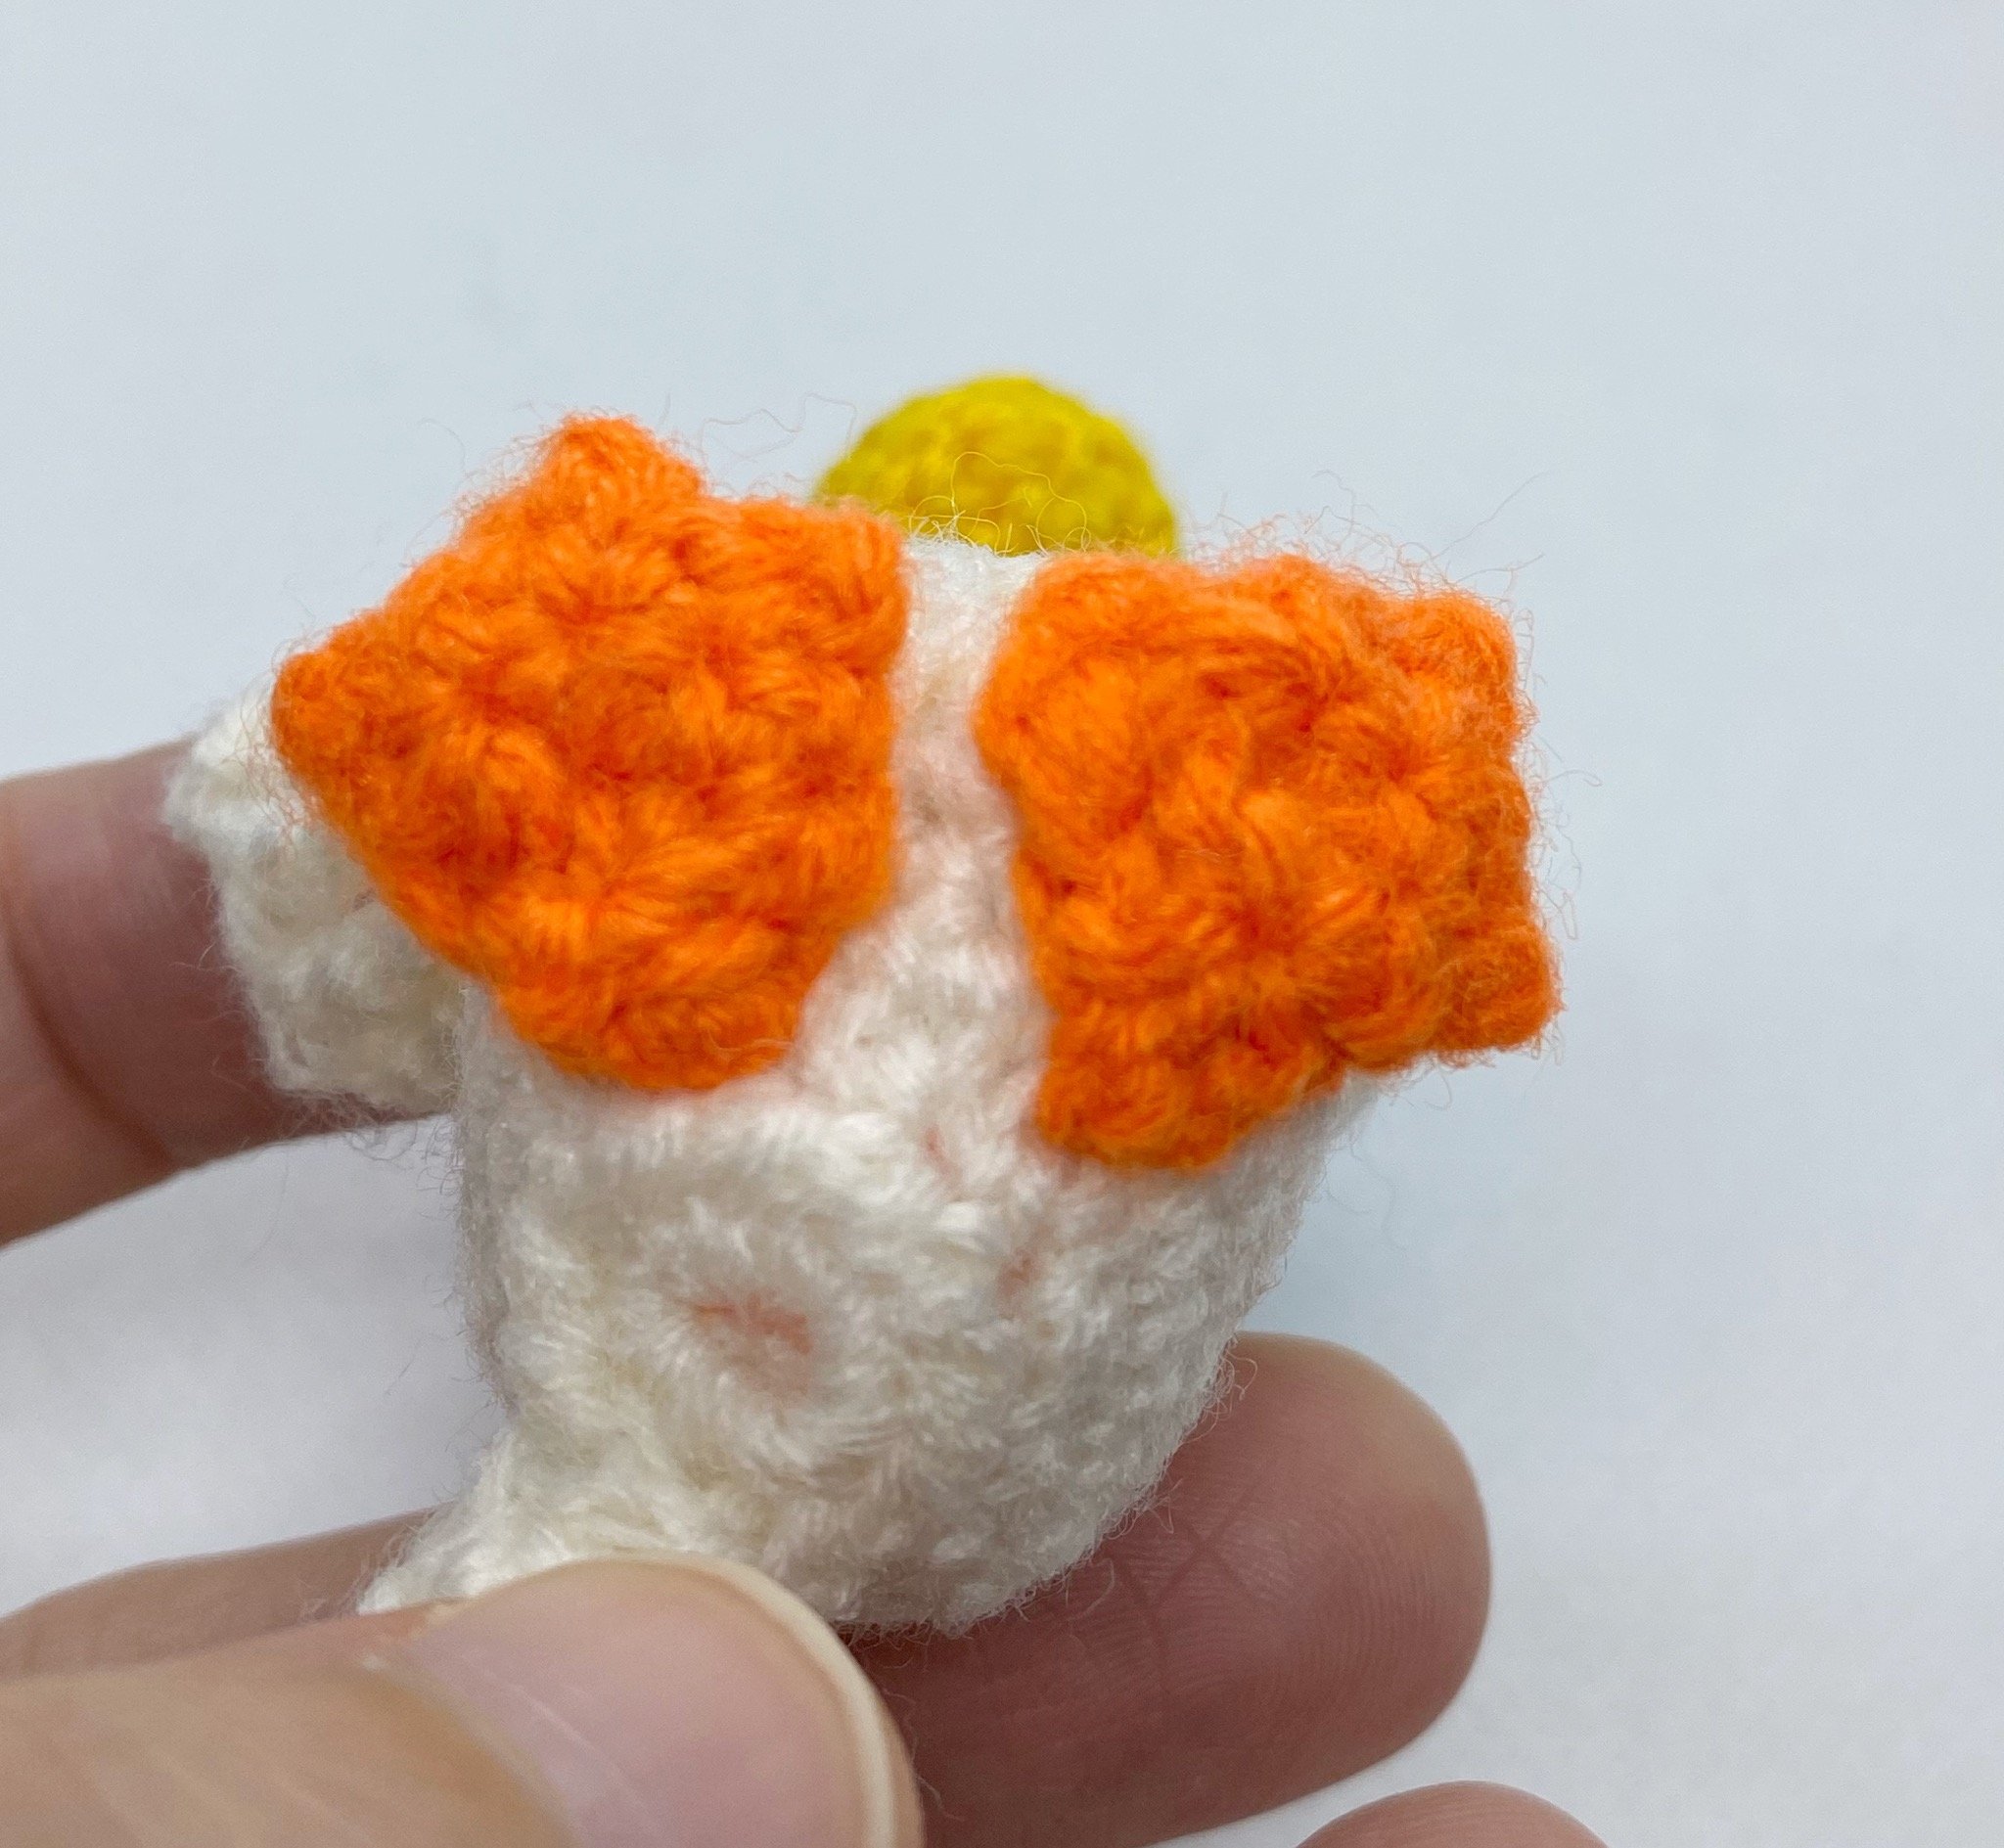
Crocheting Flat Shapes: To create flat shapes for feet or paw pads, crochet flat circles or ovals and attach them securely to the limb, ensuring they are centred and positioned correctly. I have done this for webbed feet in a duck!
Textured Stitches: Certain stitch patterns, like the popcorn stitch or picot stitch, can be used to create unique textures or bumps on the limbs, simulating details like scales or knuckles.
Here are some examples of textured stitches to try out for your animal limb detailing:
5 Fundamental Things to know about Puff Stitch Crochet
8 Atypical Things about How to Crochet Cluster Stitch
8 Basic Tips on How to Crochet a Picot Stitch
6 unmissable steps on How to do a Popcorn Stitch in Crochet
6 important things to know about Bobble Stitch Crochet
By combining these shaping and detailing techniques together with the 3D shapes mentioned in the previous section, crocheters can replicate realistic limb structures with intricate details, adding depth and character to their amigurumi creations.
Tips for Attaching Animal Limbs to the Body
When attaching limbs to the body in amigurumi, precise assembly and secure attachment ensure a polished and natural appearance. Sometimes if you are unable to achieve full symmetry, think of it as a unique creation done by yourself and no other!
Marking Positions: Use stitch markers or pins to designate the placement of limbs before sewing. Ensure symmetry and alignment by positioning the limbs symmetrically around the body. I sometimes prefer incorporating skipped stitches within the animal body itself, so it is easier to sew on the limbs later.
Secure Stitching: Thread a yarn needle with matching yarn and sew the limbs to the body using a whip stitch or invisible seam. Stitch around the joining area multiple times to reinforce the attachment, ensuring stability.
As for a breakdown on all the different ways you can sew pieces together, whether flat or 3D pieces, whether open or closed amigurumi pieces, remember to check out this comprehensive post on “12 creative ways on How to Join Crochet Pieces Together”.
Natural Connection: Sew the limbs flush with the body, creating a seamless connection. Blend the attachment stitches with the body stitches using the same colours to minimize visibility, making the joins appear natural.
Consistent Tension: Maintain even tension while sewing to prevent puckering or distortion at the attachment points. Stitch evenly and firmly to secure the limbs in place without overly tightening the yarn.
Stability: Ensure a strong and durable attachment by knotting the yarn securely inside the body or limb. This prevents unravelling and keeps the limbs firmly in position.
Weaving Ends: After securing the attachment, weave in the yarn ends inside the amigurumi body to hide them neatly and ensure a clean finish.
If you need some help on finishing up the project and weaving in the ends, then also remember to check out this post on “The 3 quick systematic steps involved in How to End a Crochet Project”.
By following these tips and techniques, crocheters can achieve seamless and stable connections when joining limbs to the body, resulting in a professional-looking finish for their amigurumi creations, which can stand on their own!
Conclusion of Crocheting Animal Limbs
In concluding the art of crocheting animal limbs, each crafted appendage embodies the creativity of the crocheter in bringing these characters to existence. Try out all the shaping, styling and detailing techniques in various combination by mixing and matching to get new animals each time you crochet.
Together with crafting the animal body and combining it with animal facial features, you can create the realistic or whimsical look that you imagined for your animal amigurumi. I hope this article has given you some ideas to get started with and do not forget to check out all the other related Animal Shaping resources on my blog!


