

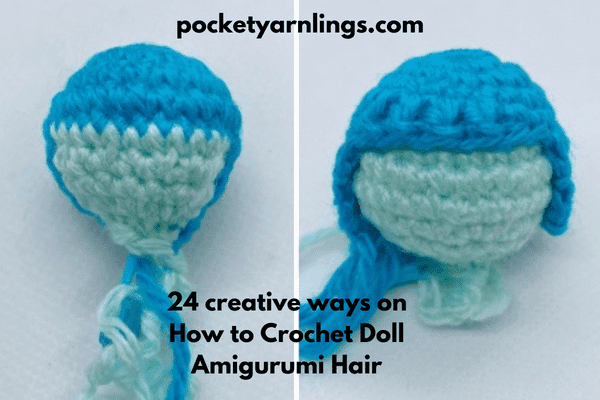
24 creative ways on How to Crochet Doll Amigurumi Hair
If you love crocheting doll amigurumi, then you probably want to mix things up like changing the crochet doll hair. There are lots of different ways to change this - long hair, short hair, fringes, facial hair, tied up hairstyles and many more examples! So let's get to it and brainstorm some new ideas...
Table of Contents Show
What is crochet doll hair or amigurumi hair?
Amigurumi refers to crocheted dolls. So crochet doll hair or amigurumi hair refers to hair that is made specifically for a crochet doll. Technically you could use these methods to create hair for a knitted doll or a felt doll, but the techniques listed here are mostly related to crochet dolls.
This article is an outline of all the different ideas on how to crochet doll hair, for some step by step tutorials, do link out to the relevant shorter blog posts! There is just too much to squeeze all into one post!
What to use for doll hair?
As I have mentioned above, because we are talking about crochet dolls, I have used yarn for all the following examples. Simple acrylic, cotton or wool yarn is sufficient, or you could be adventurous and try mohair yarn.
Apart from just using the yarn, some simple variations you can create with the same yarn, would be to try splitting the yarn up using the crochet hook, for example, split up the 4 ply so that the 1 strand of yarn becomes 4 strands of string.
The second way to change up the yarn would be to use a soft wire brush to brush up the yarn so that it becomes fuzzy, which is a great way to add texture to short hairstyles.

How do you crochet dolls hair?
Having thought through all the different ways to categorize doll hair crocheting techniques, I settled for classifying them firstly into the techniques needed to create them, and then subsequently into their appearances.
To put it simply here, they can be categorized as methods that involve:
Crocheting doll hair directly on the head
Loop and hook
This technique involves cutting individual yarn strands and attaching it directly onto the head using a crochet hook, pretty time-consuming but some crocheters love to do this to create a full head of hair.
Sewing down
Using a darning needle and some yarn, repeatedly go in and out of the head and sew down yarn as short hair. Fast to work up to a full head of hair and a bonus is you can create directional hairlines for your amigurumi doll head.
There is a step by step tutorial breakdown of this technique over here, How I sewed yarn on as Amigurumi Hair.
Loop stitch
This is a special kind of crochet stitch which I love to use to create a tousled short hair appearance. Works up fast and relatively easy to do.
Direct crochet
Direct crochet or surface crochet can be used in making amigurumi doll hairstyles too, especially when you are lazy to sew on a separate wig cap, which I will go into further detail later. However, this means you only have the head area to work out and long hairstyles cannot be achieved using this technique.
Crocheting a separate doll wig cap and then attaching it onto the head
Chain loop fringe
Something I came up with to create a fuller head of hair without the time-consuming loop and hook method. It is technically a subset of the wig cap method as it has to be sewed onto the head but it starts off quite differently from the usual wig cap.
Wig cap
My favourite go to method, which will have further variations down below. Most versatile and easiest to keep replicating over and over again. See more about attachment below as well.
For more details on these 7 techniques to create crochet doll hair, check out this article on 7 Techniques on Making Amigurumi Hair.
All the different techniques above can be used to create different types of textured hair, some long and some short. My favourite go to method would have to be the wig cap, which I will elaborate more on below.

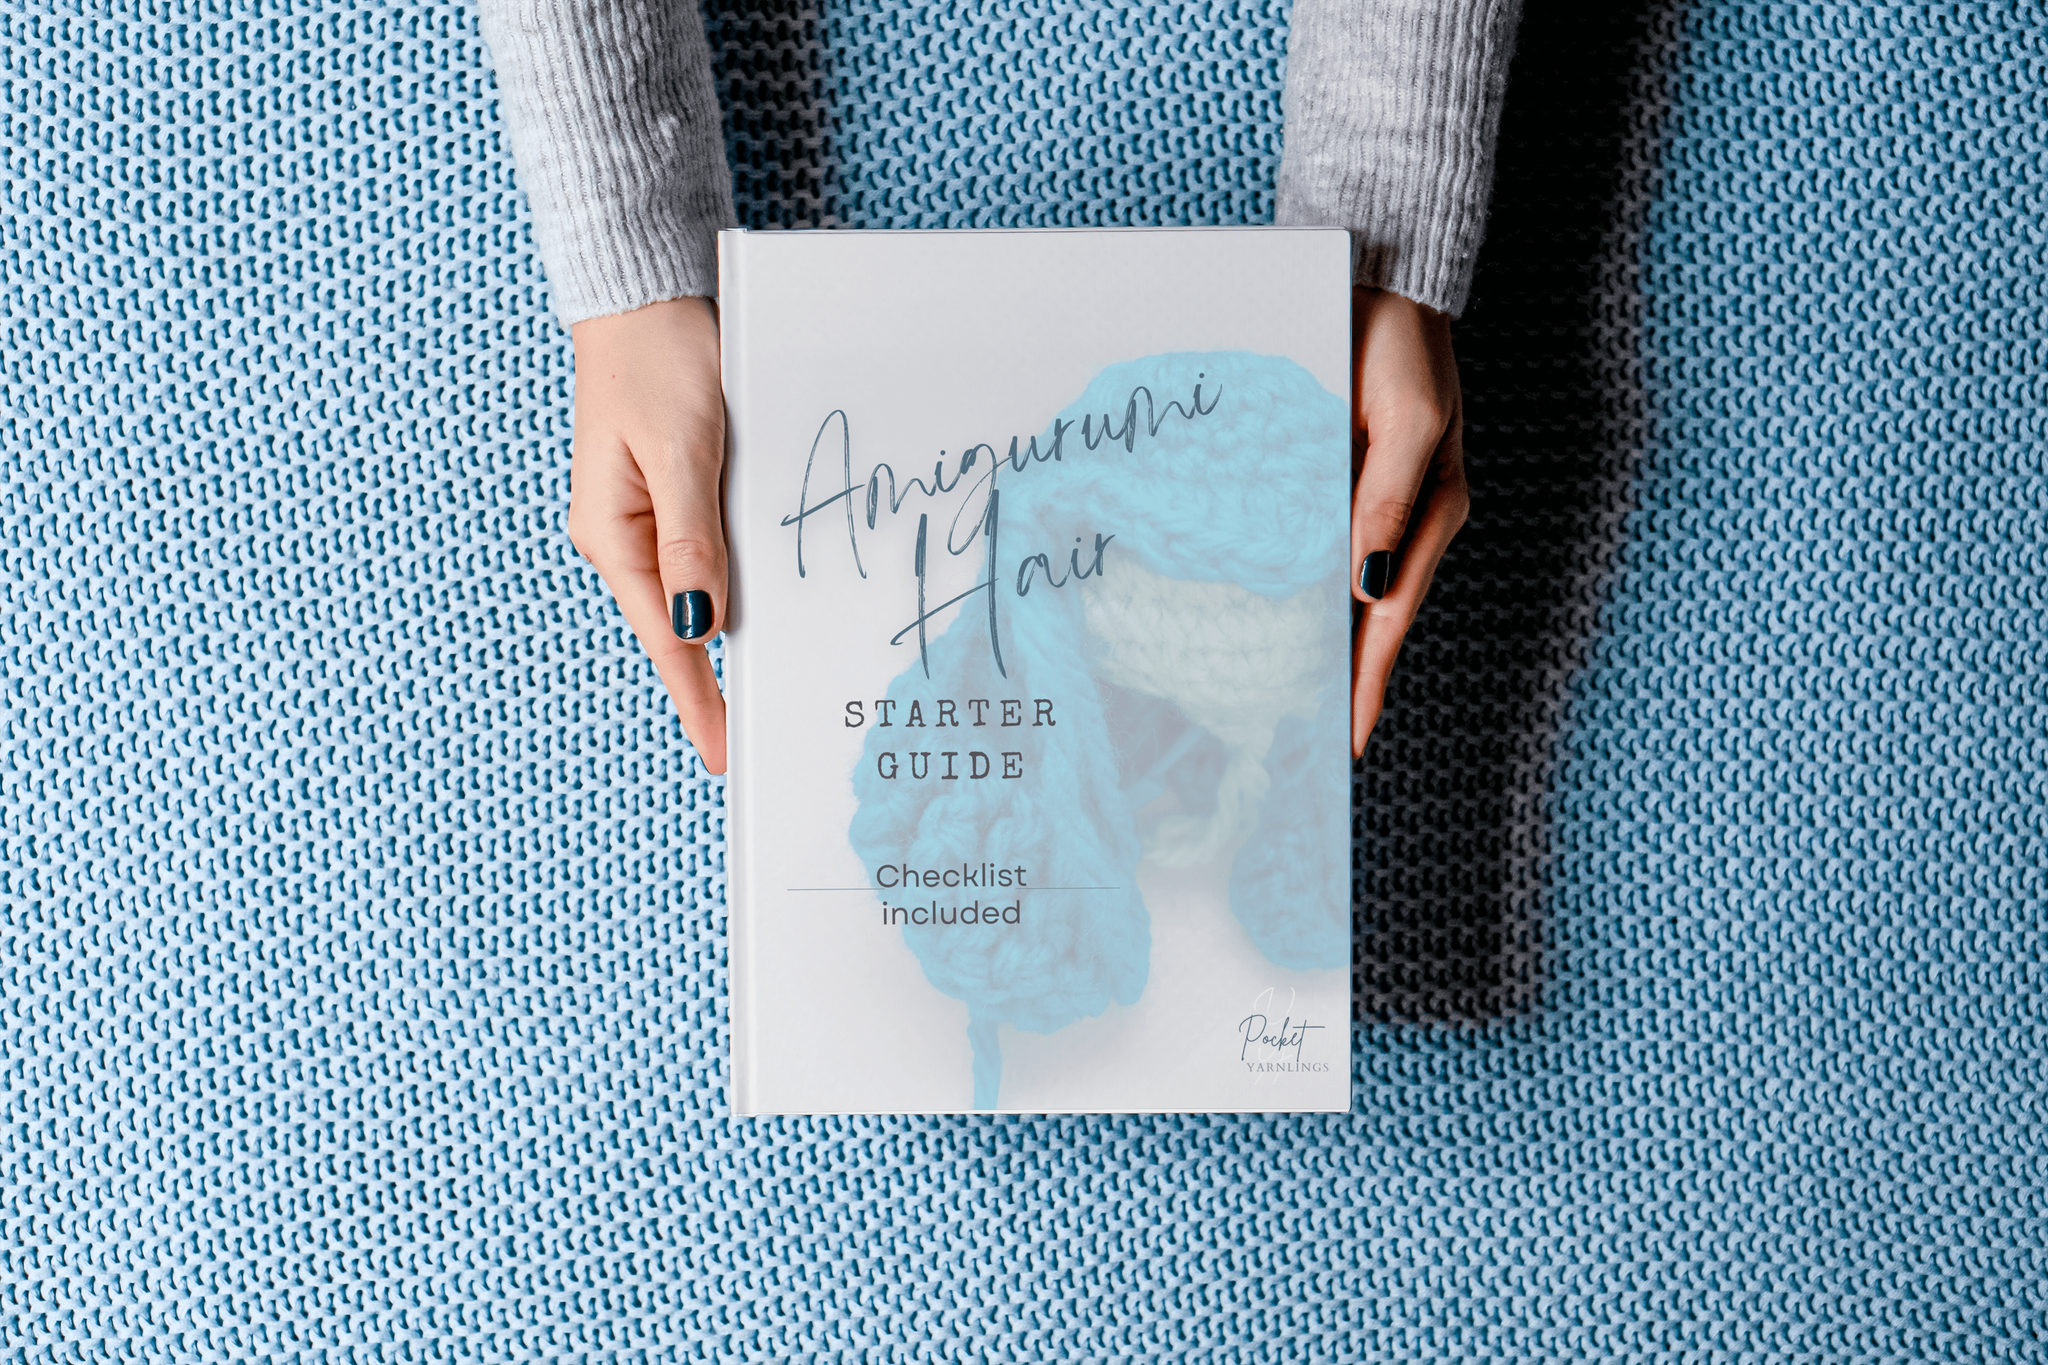
Free Amigurumi Hair Starter Guide
Click here to get the free checklist with the 7 steps to deciding the right hair for your next amigurumi doll! And some hair patterns to try! Click on image on left to grab it!
How do you attach crochet hair to a doll?
If you choose to work directly on the amigurumi doll head itself, such as the loop and hook technique or sewing down , then attachment is already done. To see the step by step instructions for the sewing method, check out this article on How I Sewed Yarn on as Amigurumi Hair.
Other methods of working on the head itself would be like direct crocheting or surface crocheting. If you have no idea what surface crocheting is, check out this post Using Surface Crochet to do Amigurumi detailing with pictorial steps on how to use that technique.
As for crocheting a separate piece and then attaching it on, you could use fabric glue or sewing techniques to do that.
I'm personally not a big fan of using glue on dolls that kids will play with, so my go to method is sewing.
For sewing wig caps down onto the amigurumi head, you could try using mattress stitch or whip stitch technique. To see how both of them are different, see this post on Attaching Hair to the Amigurumi Head.

How do you make a crochet doll wig cap?
Crocheting a doll wig cap involves making a base hemisphere, that will be placed on a spherical head and sewed down.
Base head crochet pattern
For the following example, it will create a light blue face with dark blue hair:
Round 1: Magic ring 10 (dark blue) – 10st
Round 2: 2sc10 (dark blue) – 20st
Round 3: Sc20 (dark blue) – 20st
Round 4: (Sc1, 2sc1) x 10 (dark blue) – 30st
Round 5: Sc12 (dark blue), sc12 (light blue), sc6 (dark blue) – 30st
Round 6: (Sc1, sc2tog1) x 4 (dark blue), (sc1, sc2tog1) x 4 (light blue), (sc1, sc2tog1) x 2 (dark blue) – 20st
Round 7: Sc8 (dark blue), sc8 (light blue), sc4 (dark blue) – 20st
Round 8: Sc2tog4 (dark blue), sc2tog4 (light blue), sc2tog2 (dark blue) – 10st
Round 9: Sc2tog5 (light blue) – 5st

Simple doll wig cap crochet pattern
Round 1: Magic ring sc10 - 10st
Round 2: 2sc10 - 20st
Round 3: Sc20 - 20st
Round 4: (Sc1, 2sc1) x 10 – 30st
From this round onwards, you could continue to expand into a round of 30 downwards, or you could start working on a fringe or hairlock.
This the simplest way to crochet a wig cap and mentioned to show that the wig cap actually follows the actual spherical head pattern quite closely, to make more variations, check out more on short and long hairstyles below.
How do you crochet short doll hair?
Once you have done the base hemispherical wig cap, you can start expanding on it by extending the wig cap only on one side to create short hairstyles.
Short crochet doll hairstyles
For short straight doll hair, I termed their variations as a bob hairstyle or a pixie hair style. You can also create curly or spiky variations. Using the loop stitch above or the direct crochet method can create short curly hairstyles.
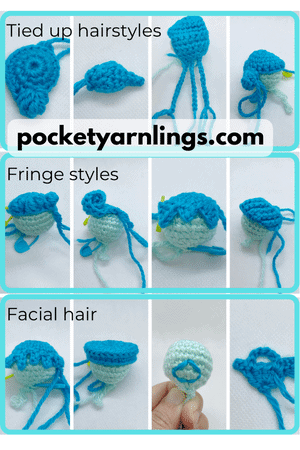
Fringe styles for crochet dolls
With the base wig cap, you can extend the back of the hair on one side, while the other side has space for creating fringes or bangs! I have even decided these variations as voluminous, sharp, curly or positioned bangs. These add so much more variety to what would otherwise just be short wig caps.
You can try out this centre parting fringe right over here with the steps involved, Making a Centre Parted Fringe.

How do you crochet long doll hair?
As for creating long crochet hairstyles, there is even more room for experimentation! Here I subdivided long doll hairstyles as trailing long hair or tied up hairstyles. I will even elaborate further later on how to create different kinds of trailing long hair.
Trailing long crochet doll hair
This refers to long hair that is let down and not tied up and can be achieved using the loop and hook method or more often, I like to use the wig cap method.
These can be further subdivided into long, wavy, curly or even coily hairstyles. Just below is a quick 5 step process on how to change up the appearance of the curls using the wig cap method.
Tied up hairstyles for crochet dolls
Let us also not forget about updos! When hairstyles are tied up, they can have different appearances and it can add even more variety and customization to your dolls. Some examples would include buns, ponytails, braids and low updos. They all involve a slight variation of the wig cap, which is subsequently attached onto the doll head.
How do you make doll hair curly or wavy?
There is a simple 5-step process on crocheting different degrees of curly hair, from wavy to curly to coily.
We first start off with the simple wig cap above and maybe add in a fringe before proceeding to crochet a chain.
The steps are as follows:
Decide on length of initial chain
Decide on stitch height (sc, hdc, dc, etc)
Decide on number of stitches in each chain (2sc1, 3sc1, 4sc1 etc)
Vary the stitch height
Vary the stitches in each chain
After trying out these 5 steps, you can create variety in long trailing curly doll hair as well! See the steps in greater detail in this post, Crocheting Different Types of Curly Hair.

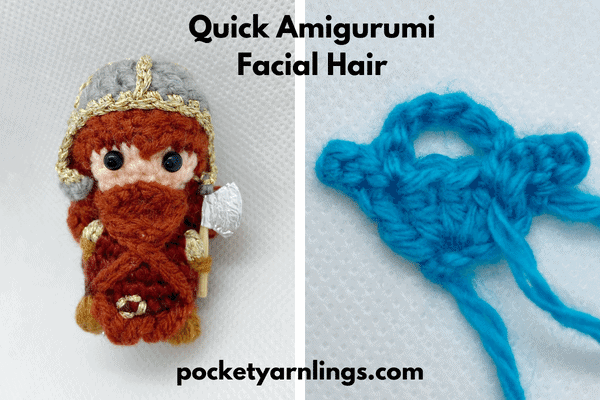
How do you crochet facial doll hair?
For the last part, if you are also considering doing men's hairstyle for crochet doll, you could always use the short hairstyle versions above (or even the long ones if that's what you intend) and mix things up with facial hair.
To make things simple, you could just use a darning needle and yarn to sew on facial hair, which could be a combination of a moustache, beard or both.
To take it a step further, you could crochet a short pattern like a facial hair wig cap, which can be attached onto the front of the face subsequently. For an example of this, check out this post for details, Quick Amigurumi Facial Hair.
Conclusion on making crochet doll hair
Hope from reading this post, you can get plenty more ideas how to change up your crochet doll hairstyles. Broadly, I have categorized them under 7 different techniques. For easier reference as to creating different final appearances, you could further subdivide them into long hairstyles, short hairstyles, fringes, tied up hairstyles, men's hairstyles and facial hair as well.
Here is the summary of the 24 ideas to mix up your amigurumi crochet doll hairstyles!
Loop and hook
Sewing down
Loop stitch
Direct crochet
Chain loop fringe
Wig cap
Short bob
Short pixie
Short curly
Short spiky
Voluminous fringe
Sharp bangs
Curly fringe
Positioned bangs
Straight long hair
Wavy long hair
Curly long hair
Coily long hair
Tied up hair bun
Tied up hair with ponytail
Hair braids
Tied up low updo
Facial beard
Moustache facial hair
Next step to try out more doll hairstyles
If you found this post useful, remember to pin and save for reference later. Too many variations to decide - then try my sample step-by-step process and checklist on how to decide the right hair for your amigurumi doll, completely for free!
Also accompanied by 5 pattern examples with accompanying pictorial tutorials on how to achieve different lengths of hairstyles, fringe, tied up hairstyle and facial hair.
Top it off with my 5-step amigurumi shaping roadmap, which has ideas for not just changing up the amigurumi hair, but ideas for eyes, noses, head shapes, limbs, clothes and many more!
Grab it completely for free down below as a convenient PDF format... and psst, on the inside, there is a special deal for ALL the different hair techniques with a little bonus.
Free Amigurumi Hair Starter Guide
Click here to get the free checklist with the 7 steps to deciding the right hair for your next amigurumi doll! And some hair patterns to try! Click on image on left to grab it!
What’s Next
🧵 How to Crochet Dolls: 7 Key Techniques for Body, Head, Hair & Clothes »
Your complete parent guide—learn all the core components of doll-making in one place.
💇♀️ 7 Techniques for Making Amigurumi Hair »
A simple guide to styling doll hair using foundational techniques you can mix and match.
👗 6 Super Easy Ways to Crochet Doll Clothes for Amigurumi (Including Dresses!) »
Explore quick methods for making seamless, attached, or removable doll outfits.