

My Crochet Tools and Accessories that are Super Simple to Start With
If you have been wondering what tools do you need for crocheting or what do you need for beginner crochet, then I have some suggestions here for you. In particular, if you also would like to know what supplies you need for amigurumi, then this list would be useful for you.
I will start with the essentials needed first, especially the bare minimum needed and then I will move onto the nicer things to have when you have gotten more serious about crocheting. Lastly, I will talk about crochet accessories which are great add on options to your amigurumi for detailing.
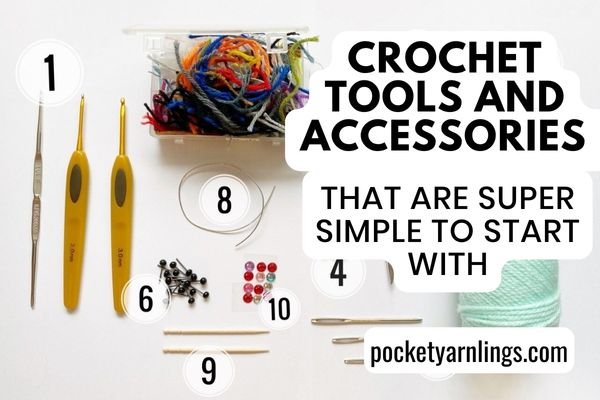
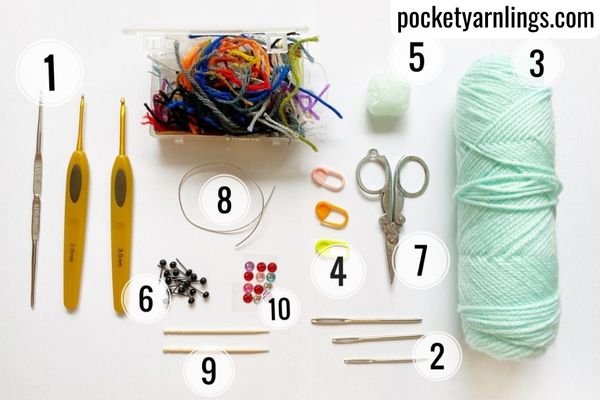
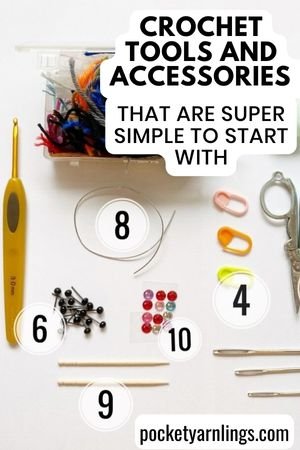
Corresponding to the picture below, I listed 10 crochet tools and accessories, not in any particular order. Of course not all are essential but I thought this would be a nice summary of all that I regularly use. I will go through all of them below in order of what is more crucial to what is more dispensable at the end.
Crochet hook
Darning needle
Yarn
Stitch markers
Stuffing
Safety eyes
Scissors
Wires
Toothpicks
Rhinestones
There are affiliate links in this post. We will receive a commission if you make a purchase through our affiliate link at no extra cost to you. Do note I have used some if not most of these products at some point in time.
Table of Contents Show
What are the two main tools used in crocheting?
Thinking about starting crochet and whether as a hobby it is worth it? Then I'm pleased to let you know that you only really need 2 main tools to start with and they can be relatively inexpensive. They are simply one crochet hook and one ball of yarn. Here I will quickly summarize the beginner options for each and perhaps the next level you might want to 'upgrade' to if you really get serious about crocheting, especially with regards to amigurumi.
Crochet hook
When I first started out, I got my first crochet hook which was metallic, made of aluminium from my local Japanese value store (everything in that store used to be just $2 each). It was incidentally where I got my first ball of yarn as well (another $2). It lasted me a couple of months when I was tinkering with crocheting simple shapes like circles and squares.

For a start
After I got to crocheting in general (it was a coaster, pouch and small bag initially) then I quickly moved onto amigurumi. There are various sizes of crochet hooks and the one you choose to use should roughly tally with the yarn as well. So with that in mind, starting off with a 3.0mm crochet hook is probably most versatile, 2.0mm might be more difficult for new crocheters and 4.0mm can be difficult to pair with more manageable yarn. It also translates nicely into making smaller items first as well as amigurumi if you eventually want to try it.
When getting serious
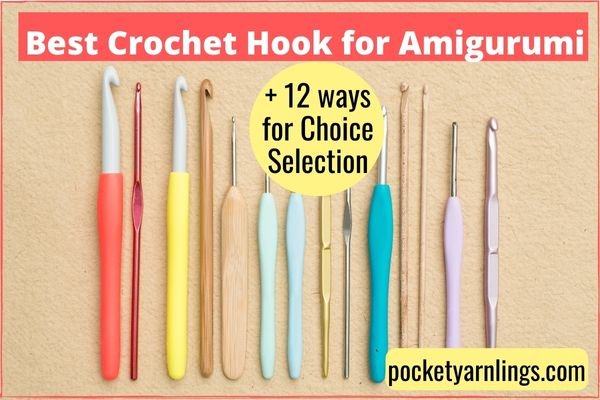
After I knew this was something that I wanted to spend more time doing, I decided to invest in some better crochet hooks. Also, I was starting to experience wrist pain with the metallic hook, sometimes even after an hour. So I got a Clover Soft Touch Hook, which is definitely pricier but super duper worth the investment. I am still using the exact same hook 7 years later, even after testing out many different others. This would be classified as one of the ergonomic crochet hooks.

I have a detailed breakdown of them here in this article called 'Best Crochet Hook for Amigurumi and 12 ways for Choice Selection'.
Yarn
There are many many different types of yarn, you can get giddy with its selection. After you get better at crocheting, you will definitely want to experiment with different materials, textures, sizes and colours! I have this comprehensive '12-point Checklist to Select the Best Yarn for Amigurumi' which you can check out later on.
For a start
When you are just starting out, with cost effectiveness in mind, go for a simple ball of acrylic yarn. Readily accessible, easy to start off with in terms of flexibility, with great colour options (so you stay motivated to finish) and inexpensive. Find a value dollar store locally and see if you can get just one ball of yarn for $2 - that is what I did when I first started!
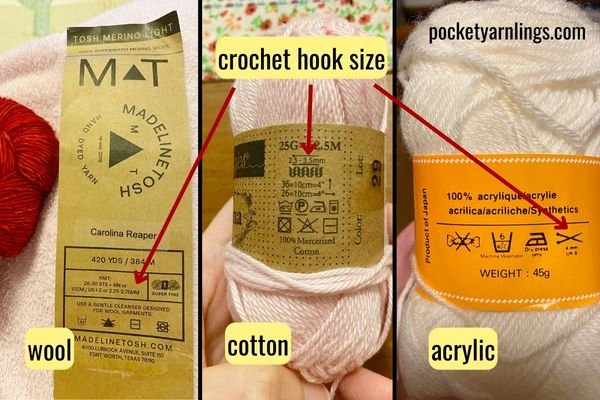
Check the yarn label, they usually will state what crochet hook size is suitable to use with the yarn. Along the same lines as what I mentioned above for the crochet hook, the 3.0mm crochet hook size pairs well with DK yarn (or even sport yarn), which is easy for beginner crocheters to handle. Some of the thinner or thicker yarns can be a challenge to crochet with if you are not sure what to expect. If using a 3.0mm crochet hook with DK acrylic yarn to make amigurumi, it will end up about palm sized, approximately 8cm or about 3 inches tall.
Also consider getting a starter pack like this with multiple colours if you want to try making amigurumi with many colours. This is not really my preference though because if you run out of one colour, you have to go hunt for it individually and there are some colours that you probably just won't use. Many options though to think about!

When getting serious
This is pretty subjective because after you get a hang of crocheting, there might be certain sizes of amigurumi that you tend to prefer making. Some crocheters choose miniature dolls with micro crochet, while others might prefer bulky yarn for making plushies. After a fair amount of experimenting and maybe testing out a few sizes of yarns in different colours, then decide on your preference, remember you need a corresponding crochet hook size as well.
For me, I decided if I wanted pretty quality amigurumi, I would have to pay for more expensive yarn and I have tried both cotton and merino wool for amigurumi and they are lovely! Since I generally do crochet with a 2.0mm hook, I kept to fingering yarn in different materials just to see how my amigurumis turn out. It is all a giant experiment guys!

Just because there is so much variety for each of these tools, I have written a full blog post on the many different options for either, which is listed below. Do have a look through both of them after you are done with this article and I hope you find them useful!
12-point Checklist to Select the Best Yarn for Amigurumi
Best Crochet Hook for Amigurumi and 12 ways for Choice Selection
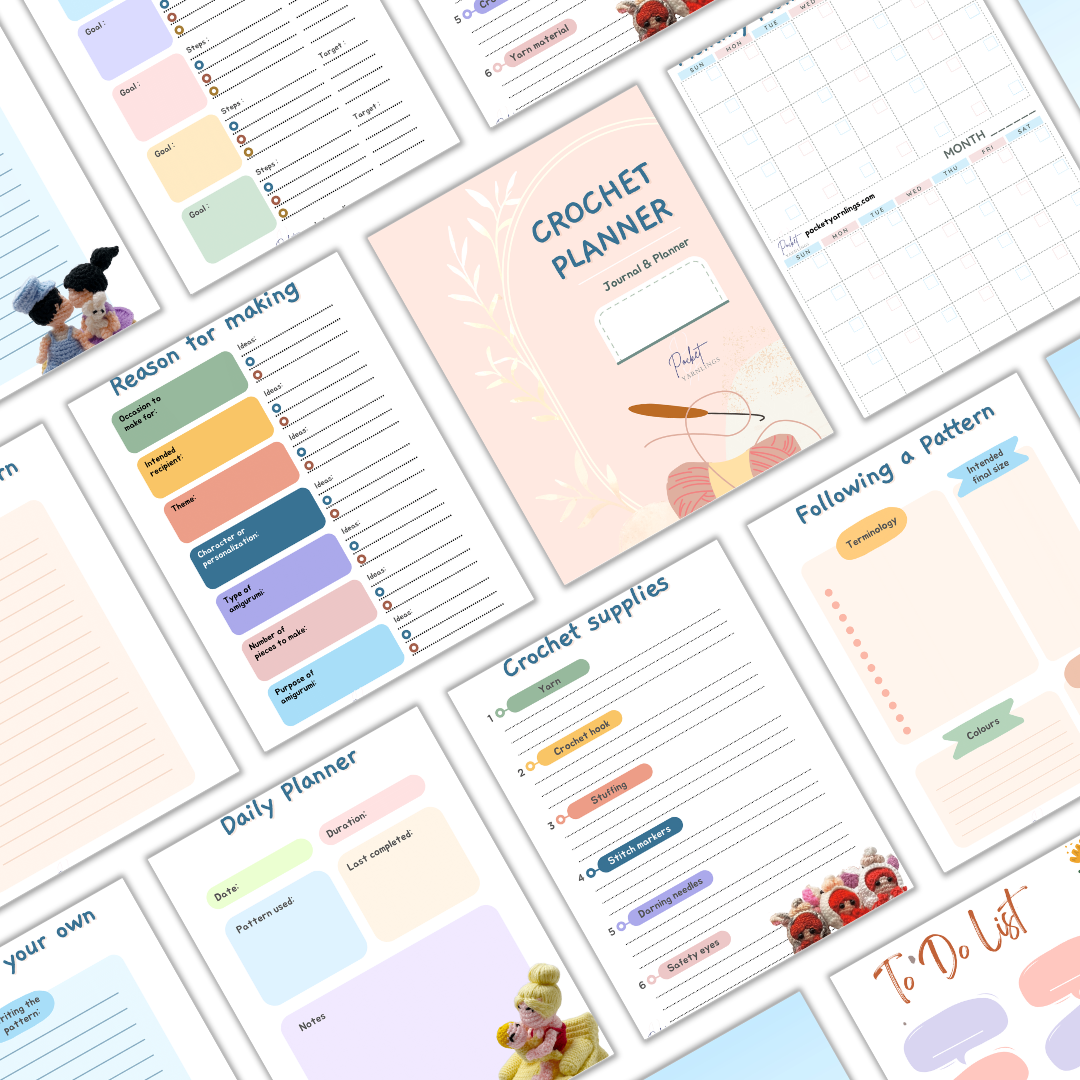
Free Crochet Planner Journal!
Click here to grab this 20-paged workbook and checklists that will help organize your creativity before you even start on your next crochet project! Or click on image on the left.
What supplies do you need for amigurumi?
Some of these supplies do not specifically just relate to amigurumi but are pretty essential for crocheting them. They can also be used in crochet in general. If you find yourself asking the question 'Is Amigurumi Different from Crochet' then this blog article will help you in differentiating them. Once you get serious about crocheting amigurumi, then get these supplies in addition to the 2 main tools above.
Darning needles
Darning or tapestry needles are slightly thicker and fatter than sewing needles, blunter as well and are used specifically for crocheting. They are even more important in crocheting amigurumi because of the need for closing up bases and for attaching 2 separate pieces together, like for example attaching limbs to a body.
Generally I use a smaller sized darning needle which is easier to thread through but get a range of sizes for use with different yarn thickness. I have about 3-4 different sizes but I usually only use 1 of them, the bigger ones tend to be broader and longer as well.

Stitch markers
This is considered an essential crochet tool for me when I'm making amigurumi because I often do a project halfway and leave it down (work or kiddo things to do), and inadvertently will lose track of what I was doing.
Stitch markers are little plastic or metal instruments that are inserted into specific stitches in your crochet projects where you want it to be landmarked. They are useful for marking the start of each amigurumi round and for keeping count of rows.
As crochet patterns usually state the number of stitches at the end of each round, having the stitch marker helps with tallying the pattern with your project.
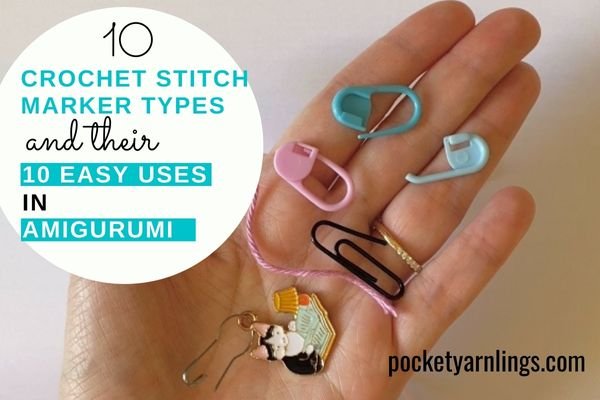
For a detailed breakdown of all the different types of stitch markers, check out this blog post on '10 crochet stitch marker types and their 10 easy uses in amigurumi'. Suffice to say, my go to selection includes plastic safety pin-like stitch markers and metallic ones that can accessorize!

Stuffing
Another item on the checklist which is often not needed in other crochet projects is stuffing! Common types of stuffing to use include polyfil and recycled yarn stash. I have also use foam packing peanuts before for stuffing which is fine for ornamental pieces but probably not for toys played by kids.

Safety eyes
There are many options for creating eyes for your amigurumi and safety eyes is a popular option. They are most commonly used because they have a washer placed within the amigurumi which locks it in place. I generally pick the 3-4mm ones for my small amigurumis.
There was a period of time where I preferred to use glass eyes because the final appearance looks cuter and ‘glassier’ but there was no washer to hold it in place so there is a chance it may drop out. Glueing it in place against a foam packing peanut backing did the trick but this was also not ideal for kids.

Since I first started crocheting, I have come up with a variety of ways to make the amigurumi eyes without just relying on safety eyes. They include other techniques like embroidery, sewing, felting and more ideas.
Scissors
Definitely an essential you want to have in your crochet bag, basically for cutting off excess yarn where you are done with your project. I sometimes use it for weaving in ends and stuffing excess yarn to be hidden inside the amigurumi.
Pin this image below and share it if you found this article helpful!
How about crochet accessories ideas?
Here when I refer to crochet accessories, I am not talking about accessories that you can crochet. I'm talking about additional tools you can use apart from the basic ones above, to add more detailing to your amigurumi. Let's go through them below.
Wires
Craft wires can be used to make bendable components to the amigurumi, like keeping the structure of limbs and legs rigid. I also like to use it to make spectacles or even mini swords. It’s a very useful additional accessory to make accompanying components to the amigurumi. Here is a blog post on the many different ways I incorporate wires into my amigurumi for more ideas!

Toothpicks
Another idea is to make use of toothpicks to double up as accompanying parts to your amigurumi, like for example a staff stick (which I used for Gandalf!). In the past, I have also used toothpicks to make arrows for archer characters. These are great for making ornamental amigurumi but probably best not for kids to play with.
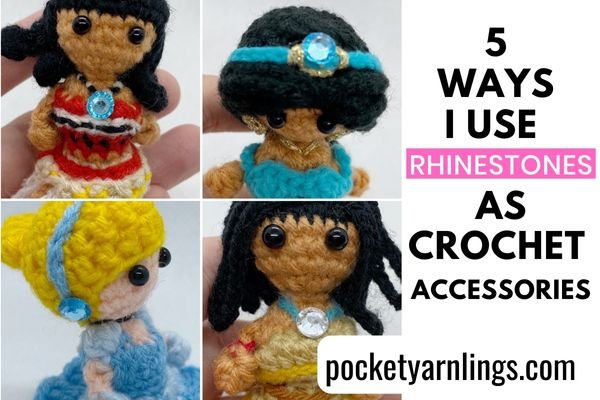
Rhinestones
Another great accessory I use frequently, sometimes for eyes or clothing detailing like buttons. I have also previously used it as detailing on jets or vehicles as headlights! It is really up to your imagination how to use it, I first starting using it as infinity stones for Thanos :)!
Check out this article on 5 ways I use rhinestones as crochet accessories.

How do I organize my crochet tools and projects?
Now that you have gathered all your essential supplies, assuming you got more than the 2 basic tools right above, you will need to think of some form of organization or storage.
For some ideas, have a look at this. I had this bag gifted to me (exactly the same one), to house my crochet equipment and yarn. It was theoretically a great gift as you can see all the different compartments, yarn holders with holes for pulling out the yarn.
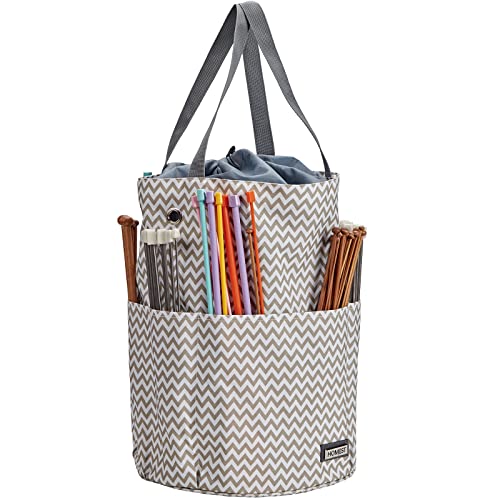
Unfortunately, this did not work out for me because I was looking for something smaller, more portable and discreet, definitely less bulky and only wanted to bring maybe at most 3 balls of yarn around with me at any one time. It was a great gift for storing yarn though.
How do I store my crochet supplies?
So this is how I store my crochet supplies in the end after trying a bunch of pretty pouches. It turned out to be an expandable make-up pouch. When wrapped up tightly, it does not take up a lot of space but when fully expanded, I can easily see what tools I have inside and what yarn colours I have brought along. How about you? Comment below to let me know what's your storage solution for your crochet supplies.

How should I store my crochet projects?
Before I mention what is probably the best solution, let me briefly tell you about my initial utter failure. I did propose in the past keeping my crochet projects inside a little quaint wooden box I got from Ikea.
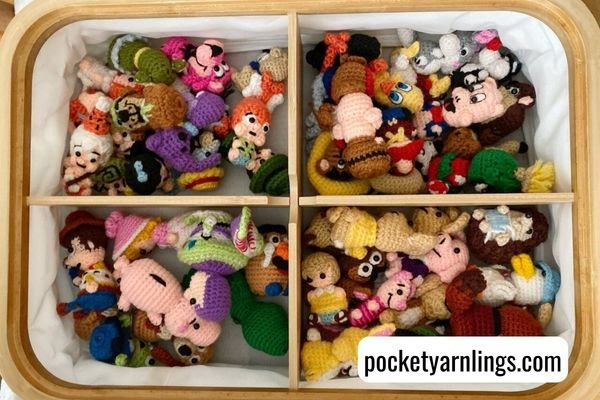
It was such a disaster! After several months, I believe I had wood louse growing inside the wooden boxes (will spare you the pictures) and they started entering my amigurumi. It was so devastating for me, my little artworks that I had kept one side for my growing daughter and it was filled with bugs! Most unfortunately, I had to throw a whole lot of them away - there were bugs coming out of them even after countless washing.
Anyways, onto what would be a much better solution which I have come to realize. Just get a simple transparent plastic box with a tight lid and place your Amigurumis in stacked rows inside. To take it the next step further, also consider putting certain collections inside ziplock bags. It is easier to spot which collections are inside the box from the outside. Sometimes less fancy is more productive.

Conclusion
Hopefully this has been helpful in summarizing crochet tools for beginners and more specifically amigurumi tools. There was a lot to cover in just the 2 main tools alone that I had to make 2 other separate long posts for them, you can see their links again below. As for the other tools, don't miss them out if you are serious about crocheting because they can make the craft that much more enjoyable!
12-point Checklist to Select the Best Yarn for Amigurumi
Best Crochet Hook for Amigurumi and 12 ways for Choice Selection
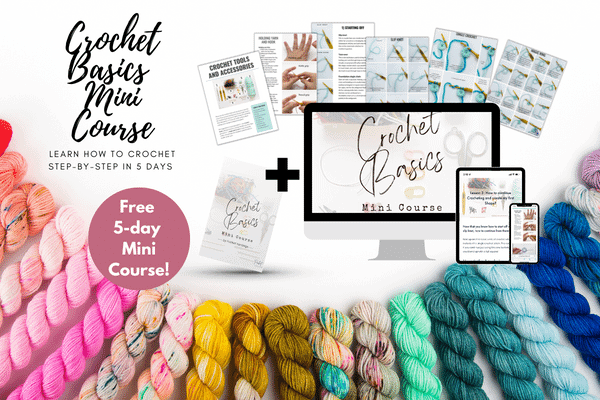
If you have gathered all the relevant supplies and need some help with getting started with crocheting, don't forget to check out my free 5-day mini course on how to crochet simple shapes. It is available right here.
Also remember to grab this free crochet planner journal with all the relevant checklist you need for your first crochet project and all the subsequent amigurumis you make!
Free Crochet Planner Journal!
Click here to grab this 20-paged workbook and checklists that will help organize your creativity before you even start on your next crochet project! Or click on image on the left.