

Making a centre-parted fringe

Making fringes can add additional detailing to the hairstyle of the amigurumi. In this case, I am making a centre-parted fringe. This is arguably one of the most frequently used type of bangs because it is a frequently used hairstyle.
First off, I used 3 various methods to achieve a centre-parted fringe appearance:
In this case, I used 3 different methods to achieve it:
1) Sewing down method
As you can see on the left side, use yarn and a darning needle to sew out the centre-parted hairline by sewing out an inverted 'V-'shape over the top half of the head. **See more the step by step process on using this method here.**
2) Wig cap
I will be going through this in further detail below. It’s a crochet pattern to create this fringe style and easily reproducible.
3) Chain loop fringe
After you have completed using this method to create individual chain loops, put aside half the hair on 1 side, and the other half on the other side. You will get a centre-parting from there.

Crocheting the Centre-parting
The pattern for the wig cap starts off as follows in rounds 1-4 before reaching the fringe.
Round 1: Magic ring 10 – 10st
Round 2: 2sc10 – 20st
Round 3: Sc20 – 20st
Round 4: Sc20 – 20st

Round 5:
Fringe (above) = (Sc1, ch3 then tc1 in same st), dc1, hdc1, sl st 1, hdc1, dc1, (tc1, ch3 then sl st into same main st)
Back of hair (below) = (Continue to ch3, dc1 in same st), dc13, join up with previous round by sl st, turn
[Sc = single crochet, hdc = half double crochet, dc = double crochet, tc = treble crochet]


This is how it turns out after completing just rounds 1-5. To continue from here would be to continue crocheting the posterior hairline. Even for this, I have used 2 separate methods:
1) Shorter back hair stitches - dc
The picture on the left below shows the back hair stitches using double crochet in 2 rows... of course more rows can be added on and the hair made longer.
2) Longer back hair stitches - tc or taller stitches
The other method on the right side shows a single row of longer back hair stitches, of treble crochet height. This can be increased to double treble and so on to make the ‘strands’ longer.

This is roughly how it turns out after finishing the fringes in round 1-5 and continuing with the shorter back hair stitches in the 1st method. I generally use this wig cap method to create longer hairstyles that can extend downwards beyond the head.

This is just a small sample of the chapter to create various types of fringes. The others include creating voluminous bangs (sewn down, blunt, pompadour, bumper), sharp bangs (spiky, choppy, side swept), curly bangs and positioned bangs!

Try this variation of the many hairstyles I made previously with this free pattern of Elsa the Ice Princess! It is available here on this blog or on Ravelry as a free PDF pattern. It utilizes some techniques I talk about more in the ebook… Have fun hooking!
If you want to get started on your amigurumi hairstyling journey and don’t know where to start, just grab my free starter guide below. I even included a 7-step checklist on how to decide the hair for your next amigurumi doll and also some bite-sized hair patterns inside. Grab it below completely for free!
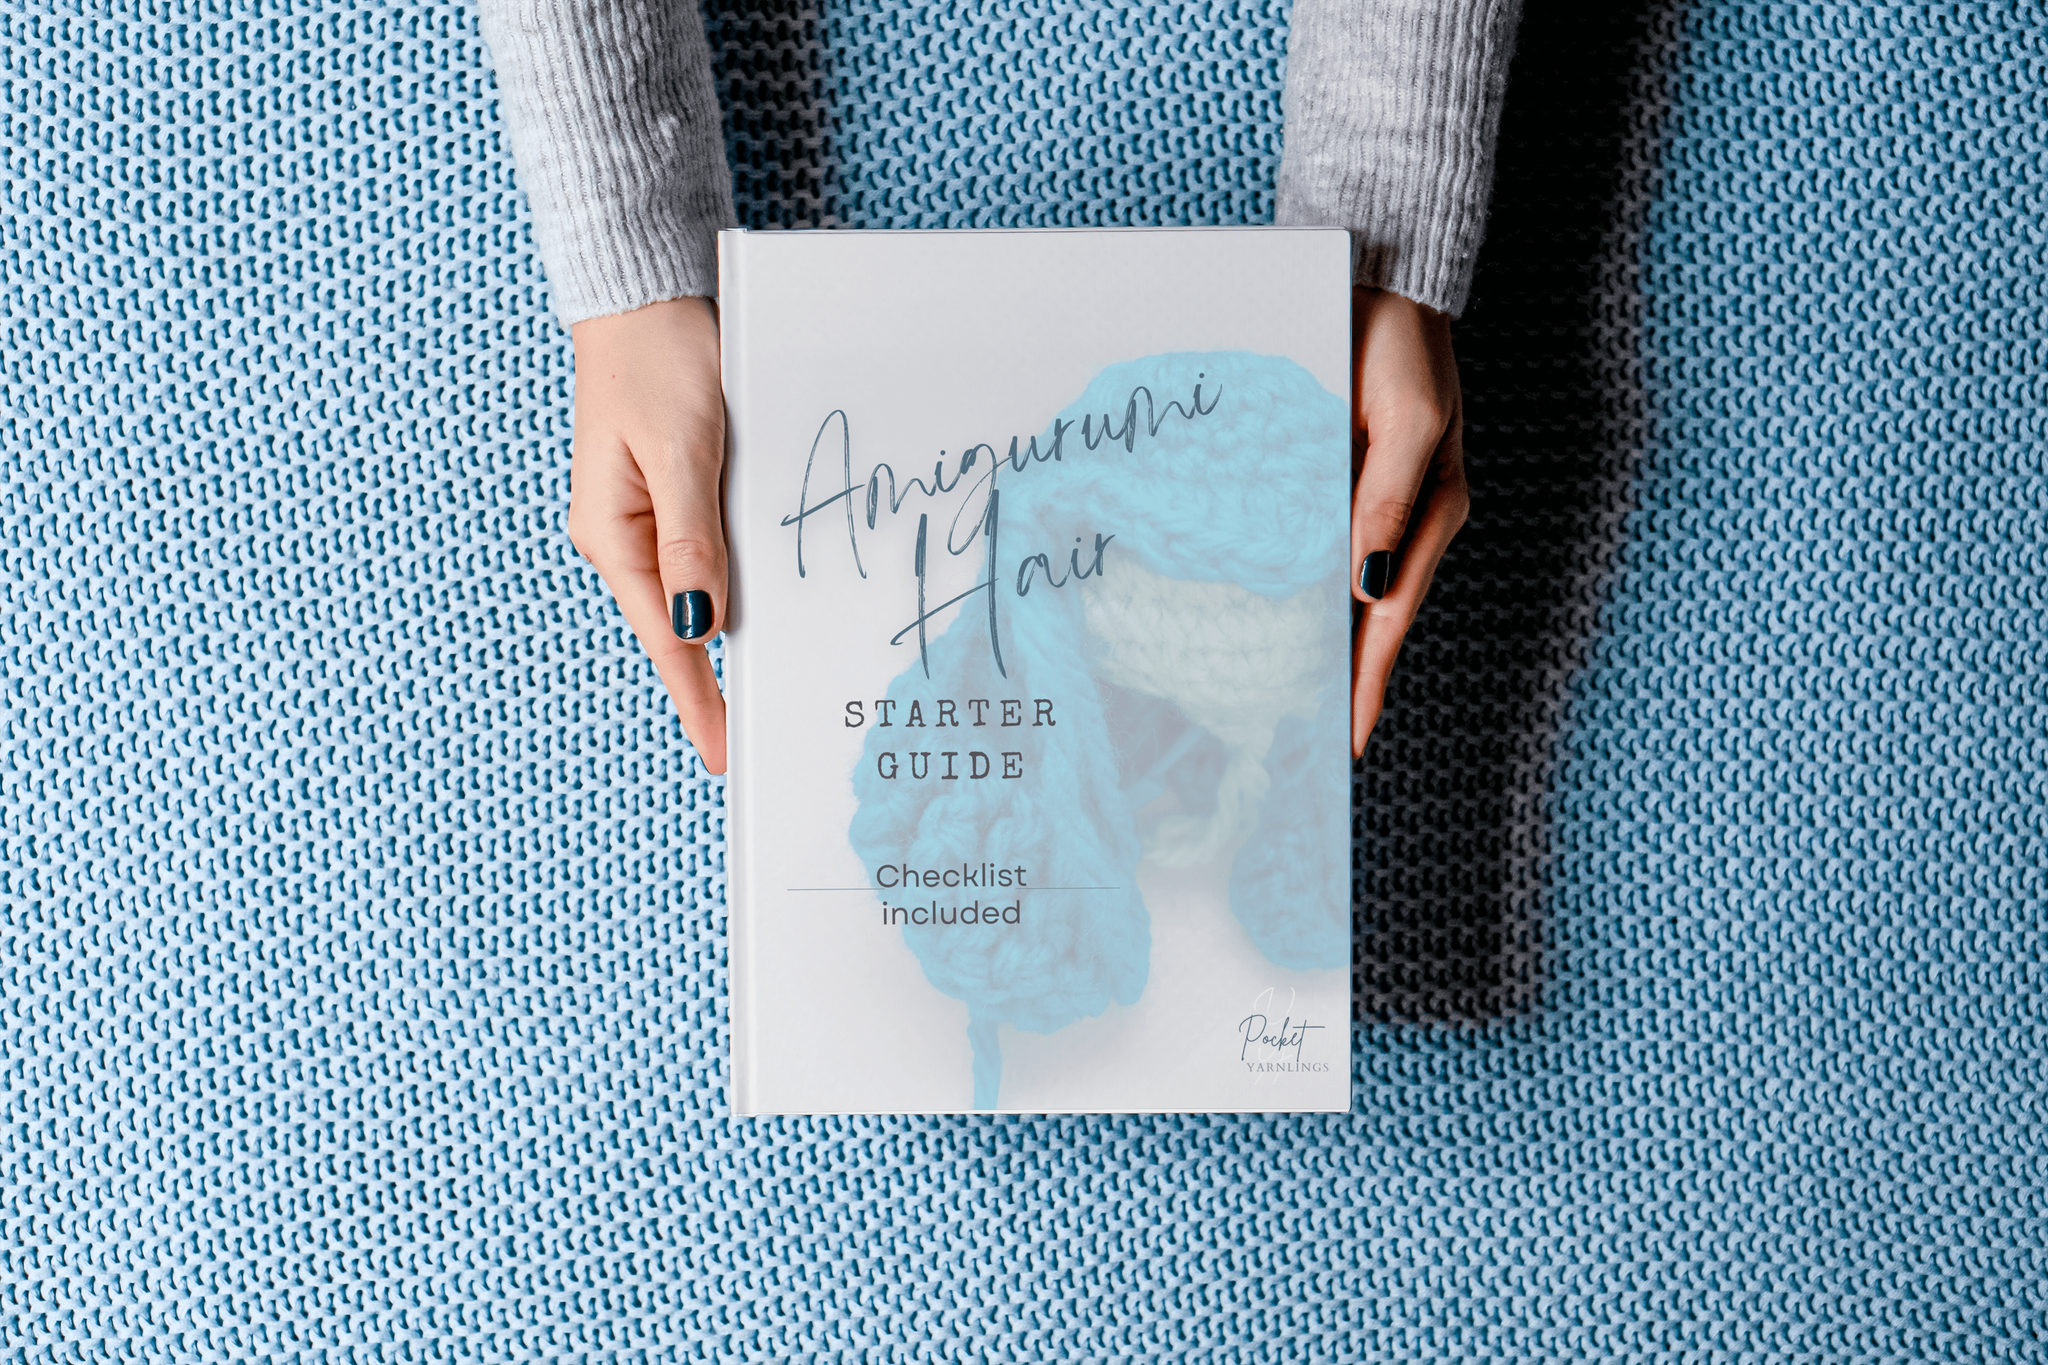
Free Amigurumi Hair Starter Guide
Click here to get the free checklist with the 7 steps to deciding the right hair for your next amigurumi doll! And some hair patterns to try! Click on image on left to grab it!