

Crochet Easy and Fast Ponytail

Adding back ponytail or side pigtails is a great way to simulate a long tied up hairstyle. It involves crocheting a separate piece and attaching it onto the head at various different locations.
Ponytails
This is how the small ponytail I often make as a wig cap looks like from the side. It is basically a conical structure which then subsequently convexes inwards. It also requires a small amount of stuffing to make it poufier.

You can always make it longer and make it extend downwards. The positioning of the ponytail attachment can be near the vertex of the head or over the back.

Pigtails
The following example on the other hand, involves attaching 2 curly pigtails at the sides of the head. Making the pigtail is really easy too, see a previous blog tutorial on making curly hair to get ideas on making curly pigtails!

For the image just below, the little attachment over the left is the ponytail, while the other one on the right is a pigtail. To make the ponytail, just follow the crochet pattern up next.

Back ponytail quick pattern
This pattern is for a shorter ponytail, you can always make it longer.
Round 1: Ch2 and sc3 - 3st
Round 2: Sc1, 2sc1, sc1 - 4st
Round 3: (Sc1, 2sc1) x 2 - 6st
Round 4: (Sc1, 2sc1) x 3 - 9st
Round 5: (Sc2, 2sc1) x 3 - 12st
Round 6: Dc6, sc6 - 12st
Round 7: Sc2tog6 - 6st
As simple as that... in just a few minutes! Then attach it into the vertex or the back of the head using a whip stitch method or mattress stitch method. Which we will be going through in the next post!

Want to try out many other different types of updos? Hair buns, ponytails, pigtails, braids, low updo? My favourite is actually making little braids.
All these are covered when I talk about making tied up hairstyles in my newest ebook release in conjunction with Knotions magazine!

If you want to get started on your amigurumi hairstyling journey and don’t know where to start, just grab my free starter guide below. I even included a 7-step checklist on how to decide the hair for your next amigurumi doll and also some bite-sized hair patterns inside. Grab it below completely for free!
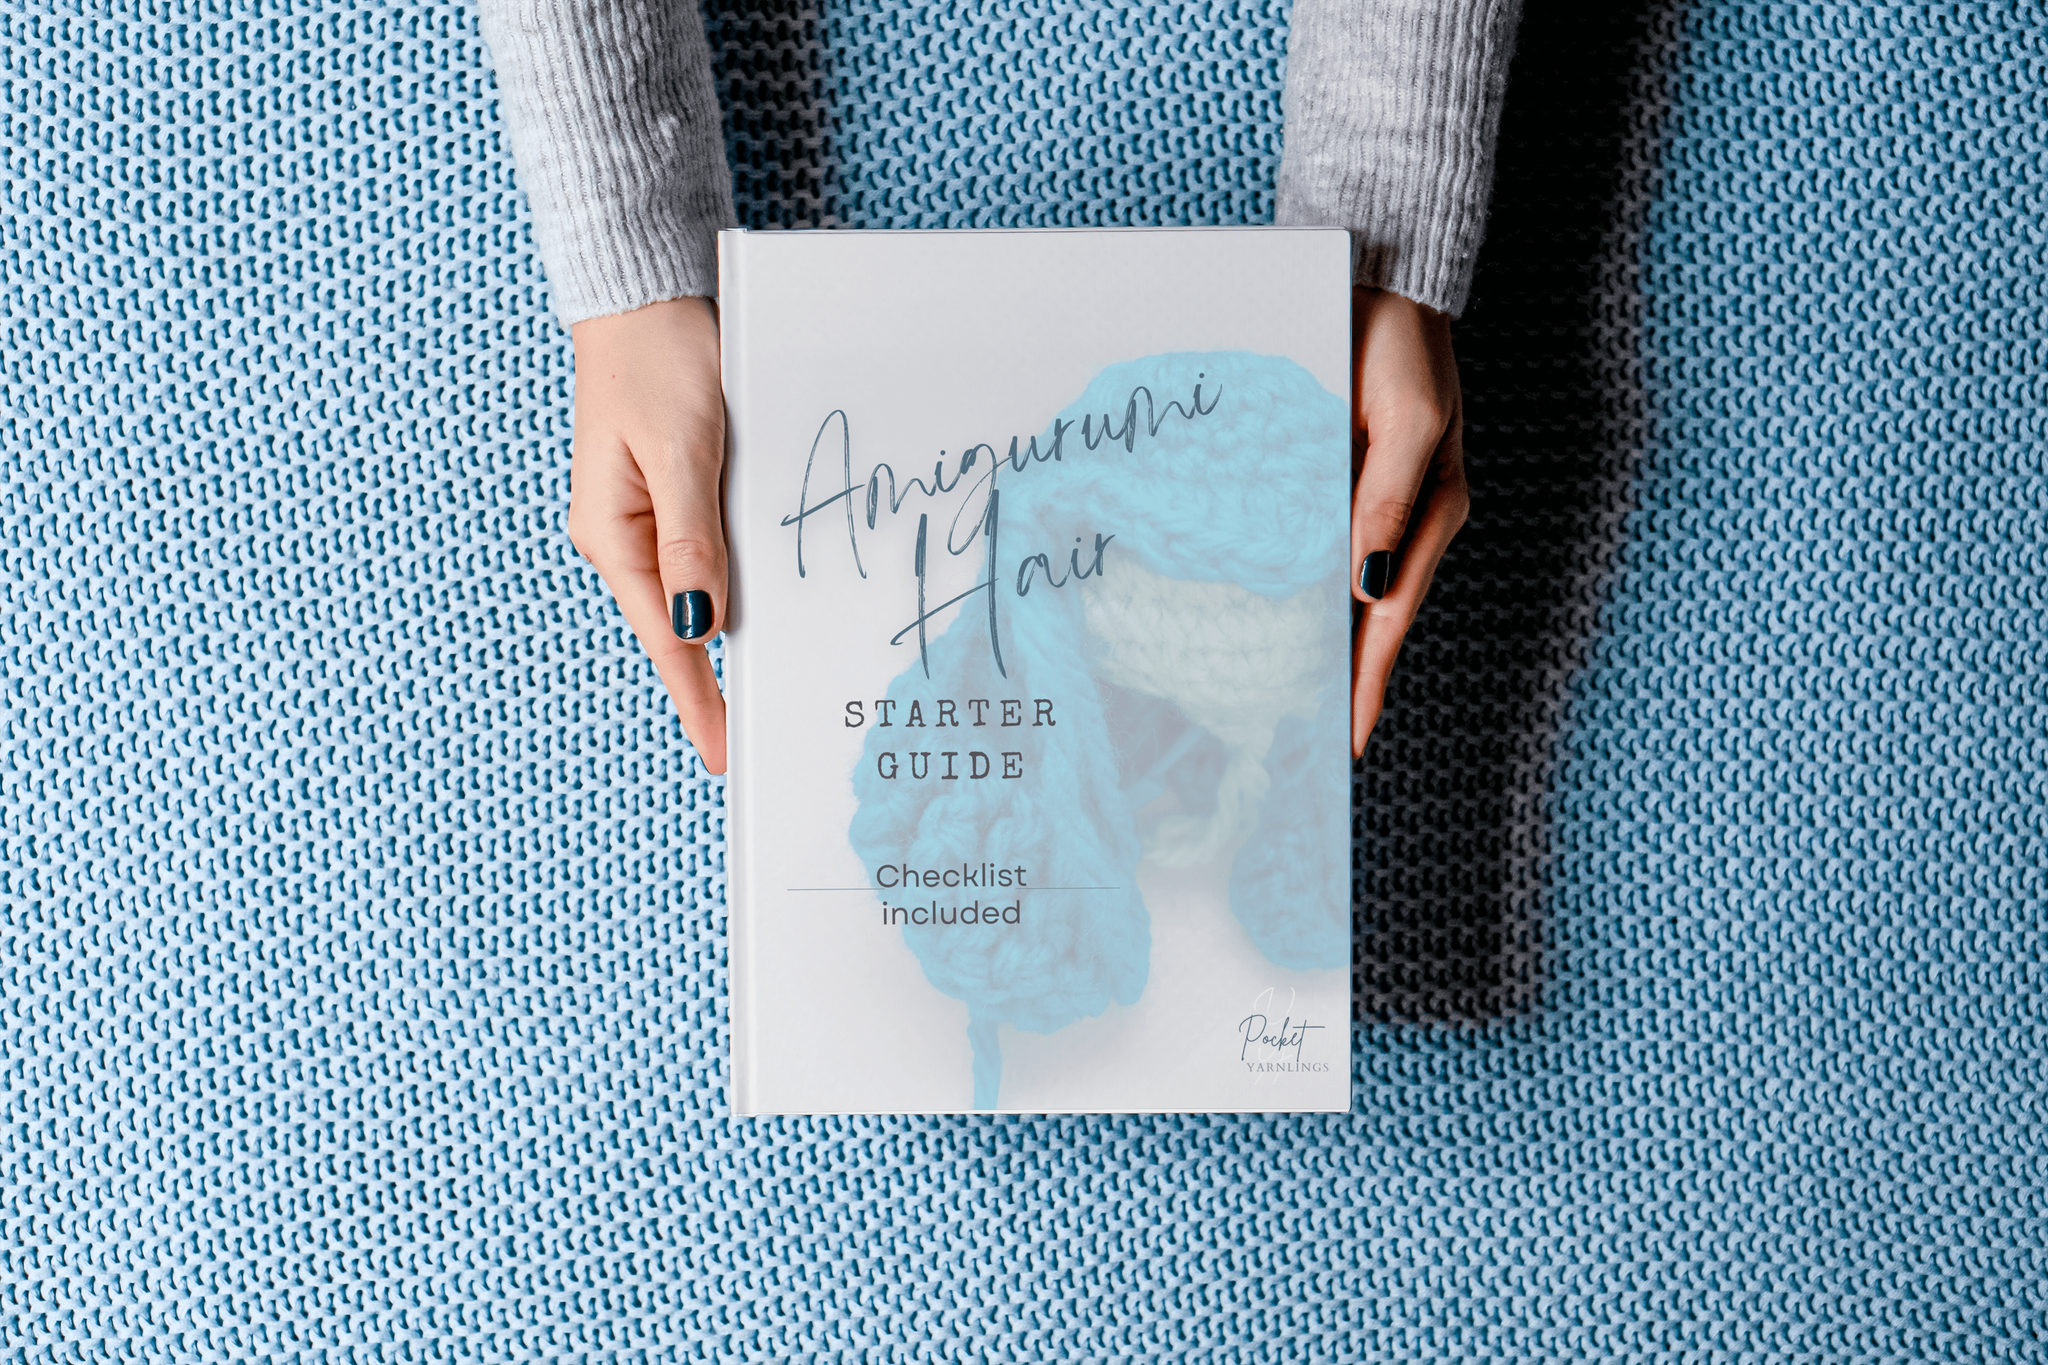
Free Amigurumi Hair Starter Guide
Click here to get the free checklist with the 7 steps to deciding the right hair for your next amigurumi doll! And some hair patterns to try! Click on image on left to grab it!