

How I sewed yarn on as Amigurumi hair
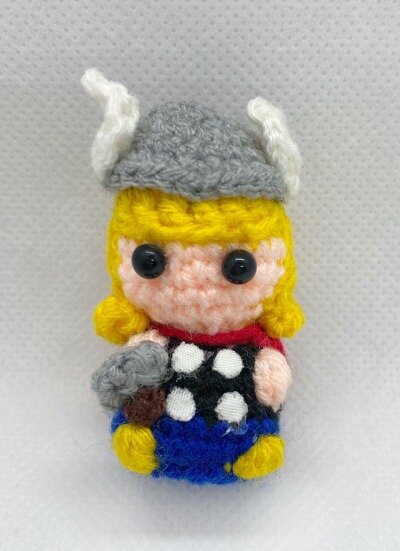
Thor on the left has a wig cap, whereas Thor on the right has yellow yarn hair sewed directly onto the head. There are different methods to make amigurumi hair and the final results can look quite different. Check out this post on 7 ways to make amigurumi hair, if you have not seen it previously.
So let’s talk about the Thor on the right and how to achieve a hair like that (no shampoo required!)…
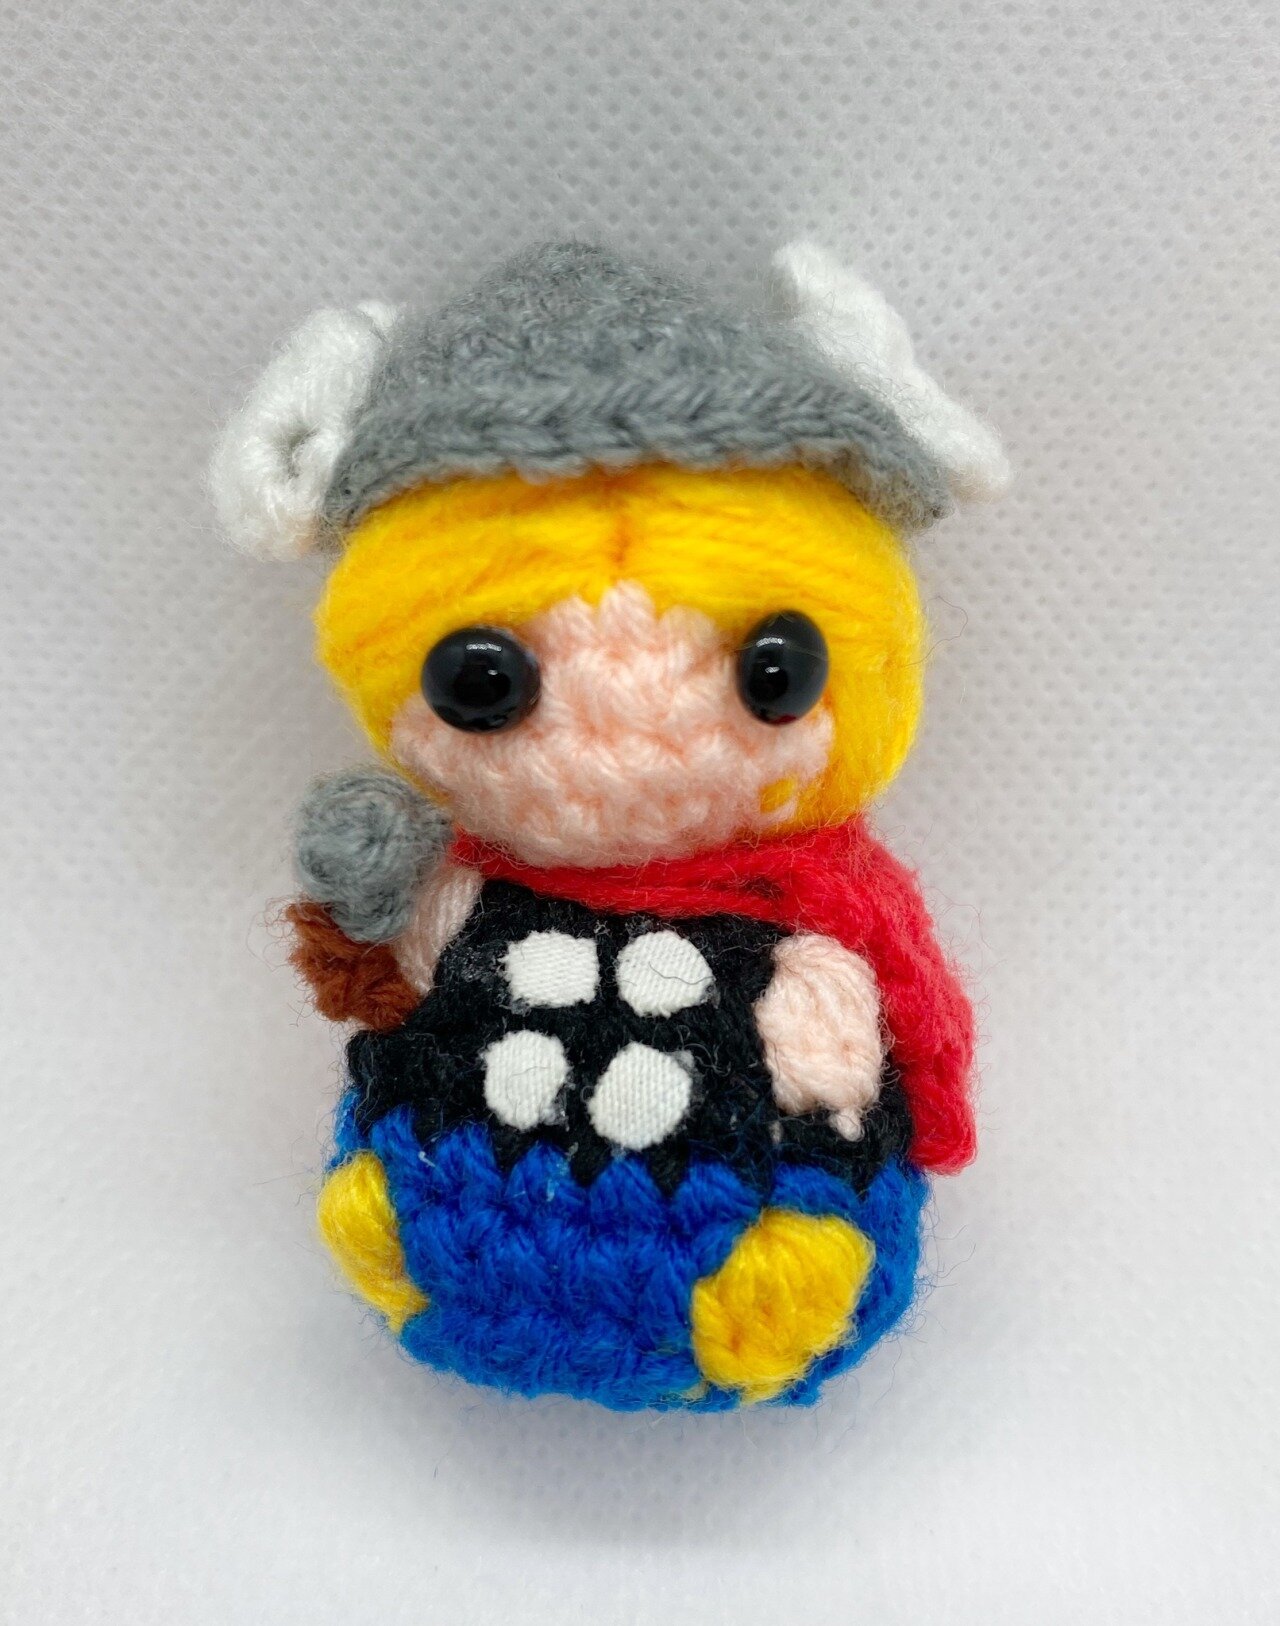

This, on the other hand, looks like the hair when it has been sewn on directly with yellow yarn (in my 1st version of Thor). As you can see, the hair over the back of the head is vertical while towards the fringe area it’s almost horizontal.

For more clarity, there is a picture of Black Widow to see how it looks like, when there is no cap on. Then let’s dive in!

How to make Amigurumi hair by sewing yarn on
1) Use a darning needle to string through hair coloured yarn
String desired coloured yarn through a darning needle and pull the yarn through so that they are of equal length on either side of the needle. You can tie a knot at the end of the 2 opposing strings so that they can stay together and fastened down when you start sewing it into the amigurumi.
2) Start sewing directly into head
It’s better to start sewing into the amigurumi head from the inside (rather than the outside as seen in the picture) because the knot and stray ends will be hidden inside the head. The sewing in the following images are for easier illustration purposes.
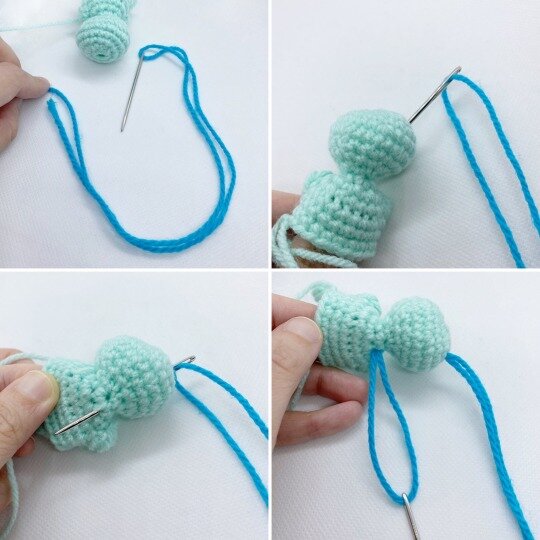
3) Pull through yarn to the body
Draw through yarn through section of the body where want hair to extend till. In this case, I have pulled it through the top part of the body near the neck region. The limitation of this method to make the hair is that you are generally limited to the part of the body where you can sew down to. Which means longer hair will cover any detailing you have over the back. Also, you can’t make curly hair or fancy hairstyles.
4) Sew back through the head again
You can sew back into the same hole where you inserted initially in point 1. Or you can sew onto the the next adjacent stitch. As you sew back through head and then down to the body again, the next few rounds should progressively go over the rest of the head.

5) Decide on the direction of the hairline
Once you start stringing between the head and the body, you will start to see nice vertical hair at the back of the head. From here, you can decide whether to make the strings go in different directions, for example, I made horizontal lines for Leia at the back of her head. Or for the fringe, you can choose to make it horizontally across the face, or vertically pulled backwards. You can make the hair parting central in the middle of the head or to the side. It’s really up to your imagination!

As for my more recent projects, I have taken to using more wig caps, generally because they are more reproducible and you can create even more variety. Fringes, curly hair, spiky hair, short hair, long straight hair… all different types!
If you want to get started on your amigurumi hairstyling journey and don’t know where to start, just grab my free starter guide below. I even included a 7-step checklist on how to decide the hair for your next amigurumi doll and also some bite-sized hair patterns inside. Grab it below completely for free!
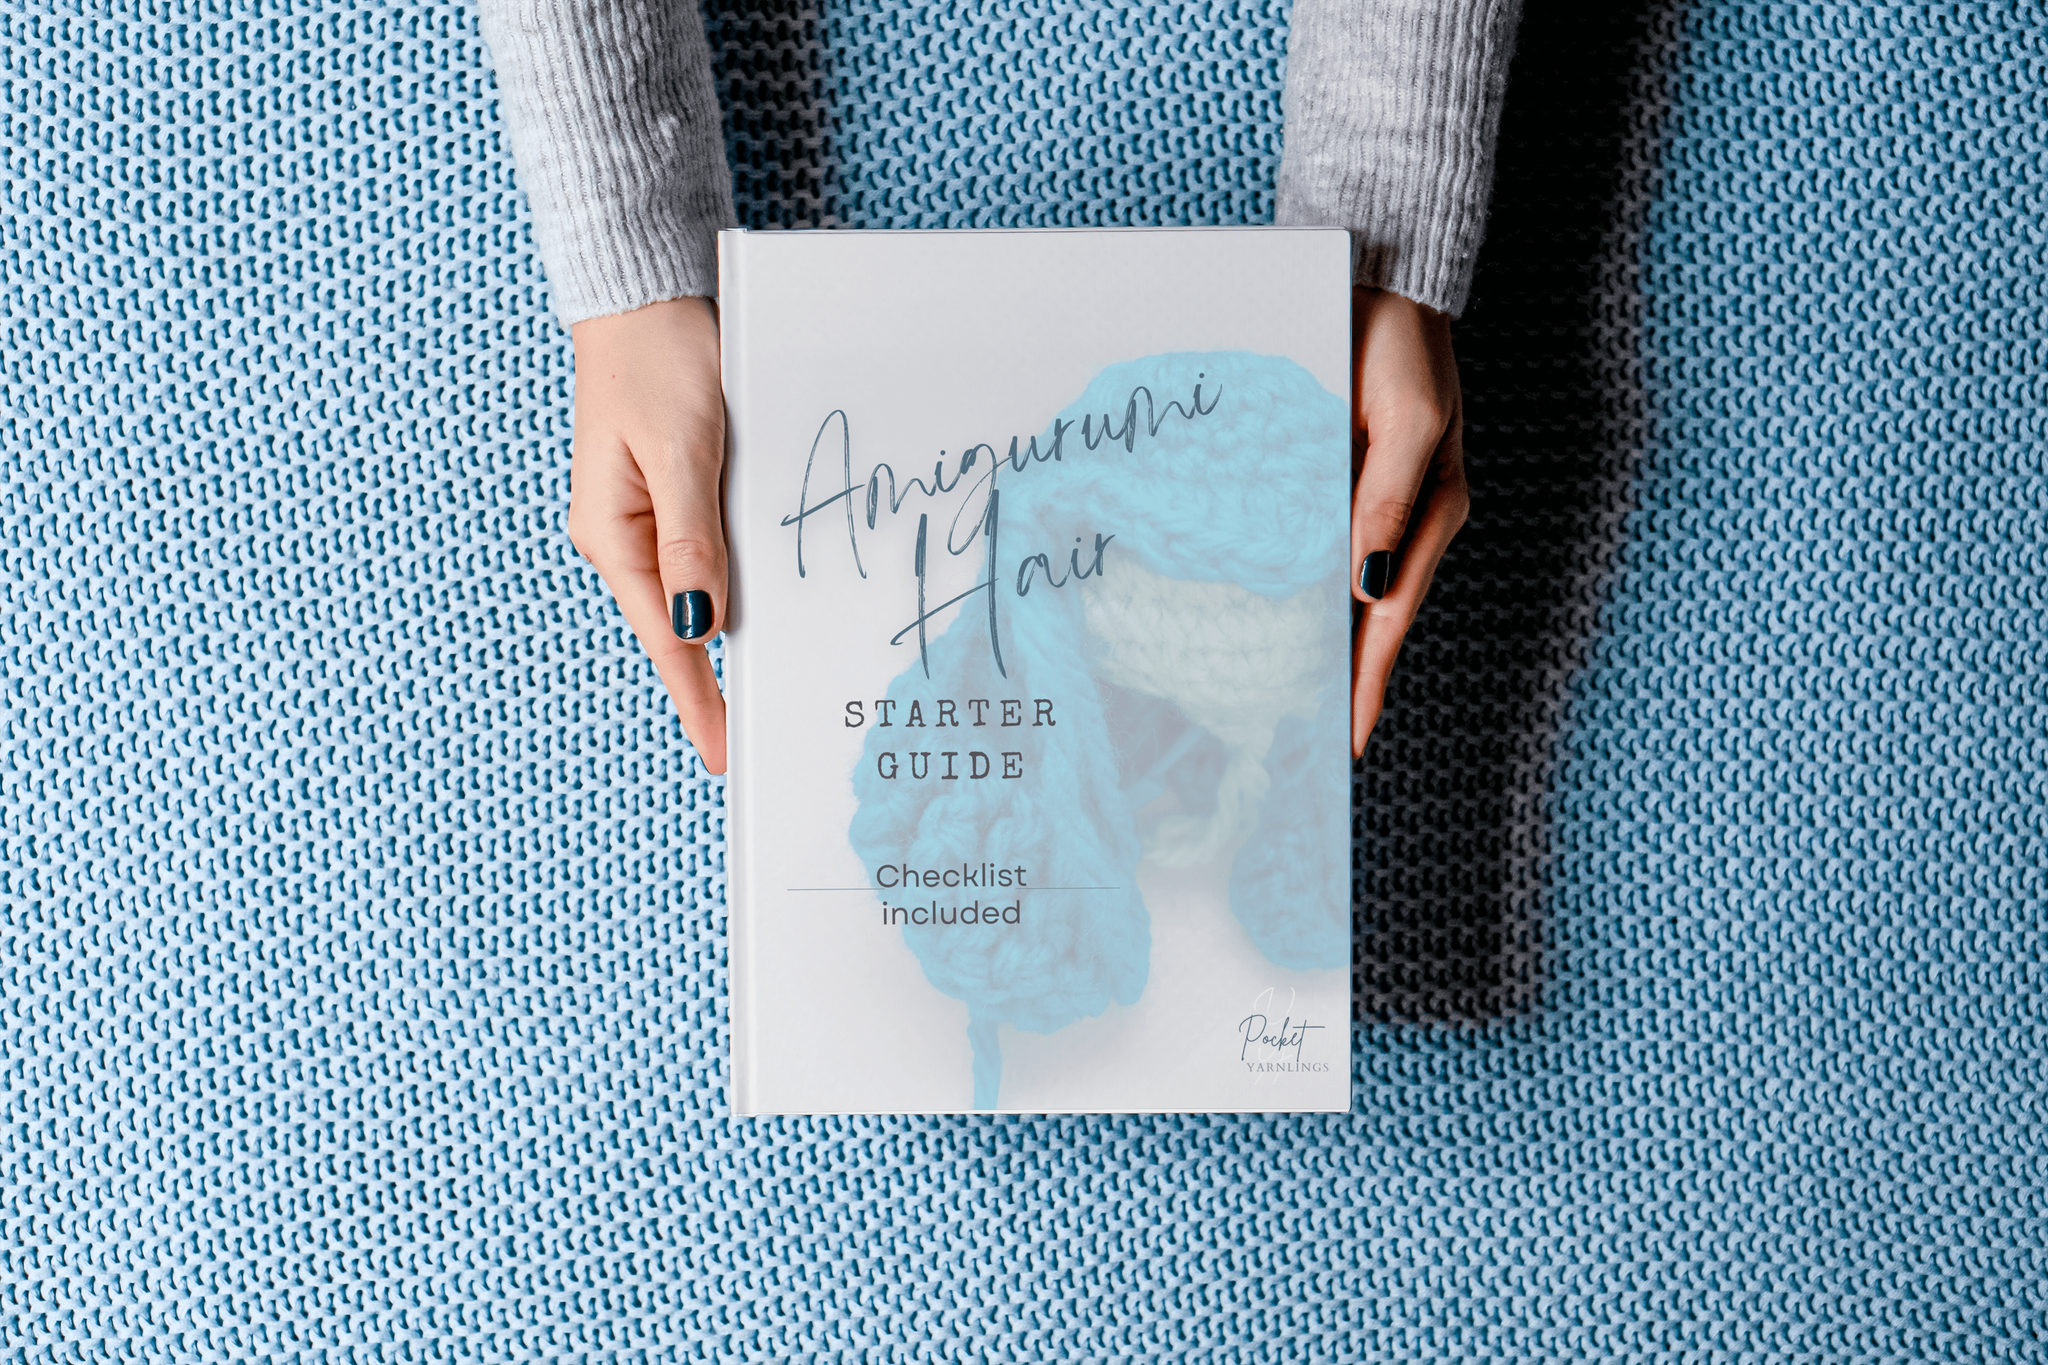
Free Amigurumi Hair Starter Guide
Click here to get the free checklist with the 7 steps to deciding the right hair for your next amigurumi doll! And some hair patterns to try! Click on image on left to grab it!