

Ch2 and Single Crochet to make a Pointed Tip

This is my simple way of making a quick pointed tip and it is very similar to how you make a simple cone. I often use it to make beaks for my birds and in this case for Owl.
Step 1) Start with slip knot and chain 2
This is a short foundation chain by starting off with a slip knot and then a chain of 2.
There are 2 ways to start off an Amigurumi - a magic ring or Ch2 and sc. In this case, start the latter way (I’ll explain why this method is better later).
Round 1: Ch2

Step 2) Single crochet 3 times in the 1st chain
Do a single crochet in the first chain and then repeat again 2 more times in the same chain.
In my patterns, I usually put the number of times I single crochet in the same chain as the number before the crochet type (I.e sc or hdc etc).
Round 2: 3sc1 - 3st

Step 3) Insert hook into the 1st single crochet
This is to get ready to form the first completed ring. Then yarn over and draw yarn through the 2 loops on the hook.
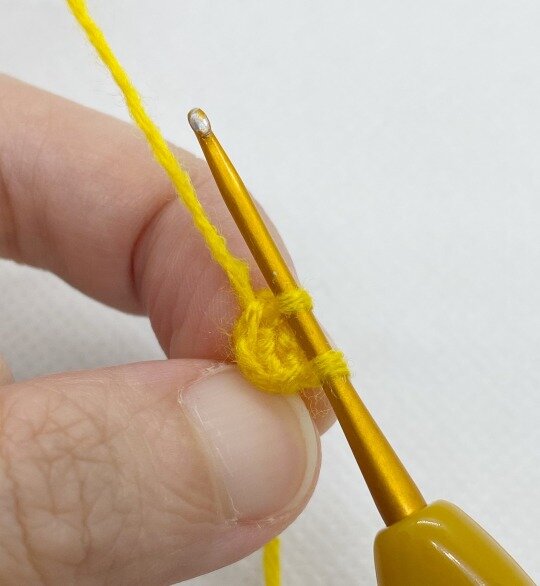
Step 4) Complete the ring
You would have completed the ring with a single crochet in the previous round.

As you can see here, the 3sc1 you had earlier crocheted will start to bulge upwards into a pointed tip. If you choose to start with a magic ring instead, you might still get the same effect but it tends to be flatter.
Of course, if you start off with a greater number in the 1st chain (e.g. 10sc), it will end up being much flatter and you won’t get the pointed tip that you want.
Step 4) Double each sc in the 2nd round
Now we are going to make the subsequent rows bigger so that the base becomes wider. This round, we crochet 2sc in each stitch in the round.
Round 3: 2sc3 – 6st

Step 5) Finish the last round with the increase: (Sc1, 2sc1)
This is even wider than the previous row and a more gradual increment using (sc1, 2sc1) in the round. It will make an even wider base.
Round 4: (Sc1, 2sc1) x 3 – 9st
Then sl st to end off
Of course, you could go on and make a wider base and a longer beak. It could continue proportionately as (sc1, sc1, 2sc1) and so on. But for Owl in this instance, I stopped at the 3rd round.

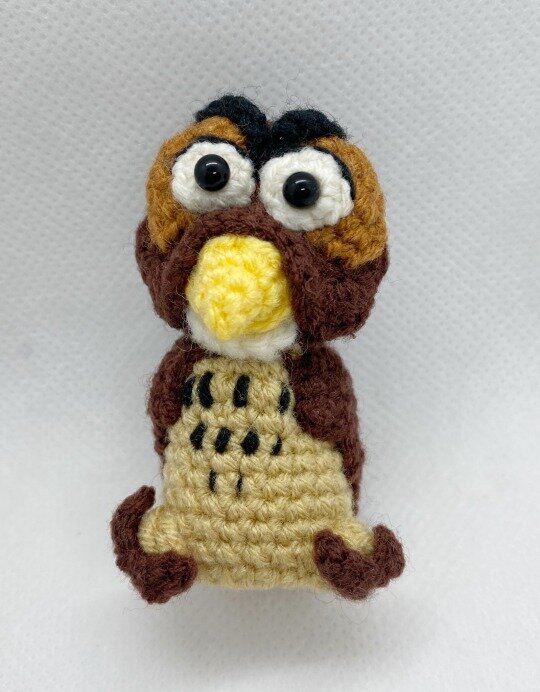
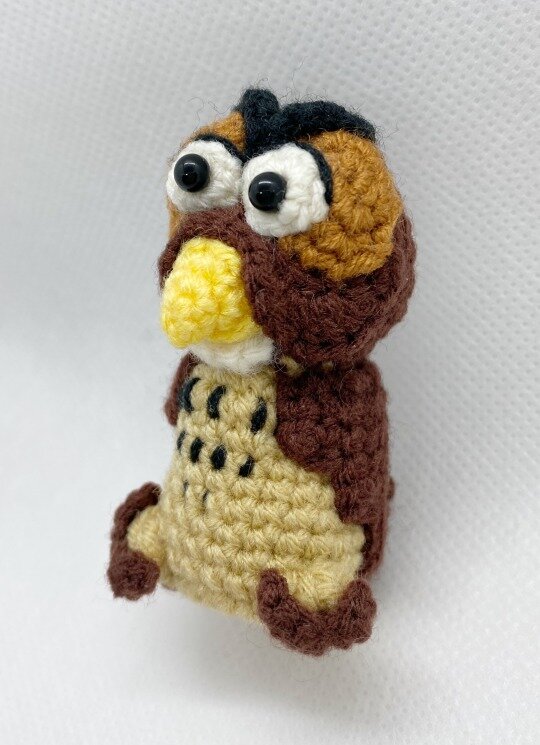
As you can see, the initial 3sc1 in the first round is now bulging outwards as a pointed tip! And it is starting to look like a tiny little beak… How it looks like when attached onto Owl’s face is just below:

My final Owl with his tiny little pointed beak! The full Owl pattern is here (his beak is just a tiny attachment section).
I made a Hippogriff previously during my Harry Potter collection and I also used the same technique to make his beak except that time I made it bigger…
If you found this useful, don’t forget to pin it and share!