

How to do a slip knot
This is the first tutorial in my ‘Back to Basics’ series.
Here is the introduction on how to initially start off, even before progressing on to making chains and circles. Then subsequent stitches built onto this can progress into round or rectangular shapes.
For all the following illustrations, note that the ball end of yarn is the part that is still attached to the yarn ball, while the free end is the unattached part.
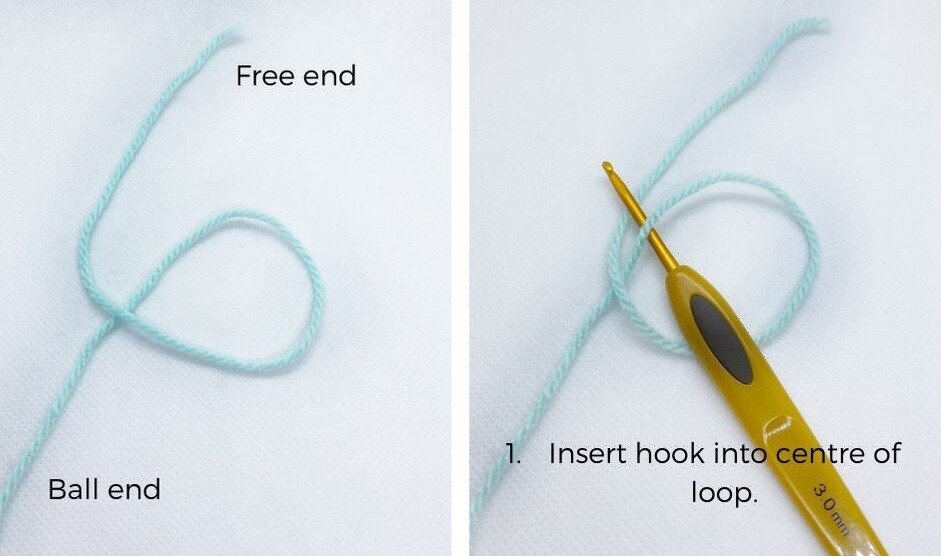
You can make the circle loop in the middle smaller by pulling the free end away or by pulling ball end tauter to the yarn ball. In the end, the circle loop in the centre will be pulled taut.

Wrap free end of yarn around hook to be pulled through centre of loop.

Remember when doing steps 3-4, don’t let the free end of yarn come out of the circle loop, you can pull the circle smaller by pulling on the ball end of yarn.

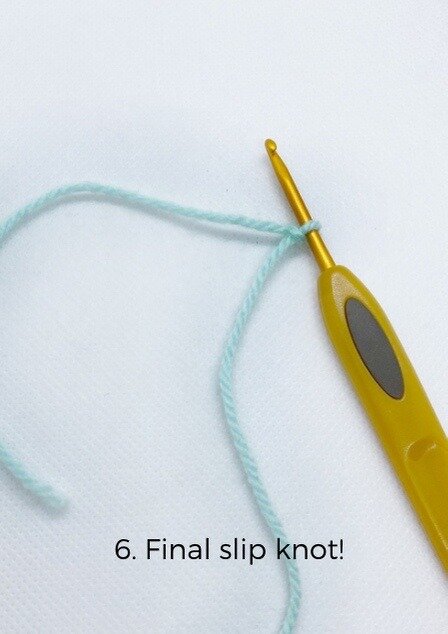
Make the loop on the hook smaller by pulling on the free end of the yarn. When the final knot is taut on the hook, you have a slip knot!
To continue on from here, you can either proceed to make a foundation chain or start a circle using a ‘chain 2 and single crochet method’. This will be in the next tutorial.

💡 Want to learn all the basics of crocheting amigurumi in one place?
Grab my free 77-page Amigurumi Foundation eBook — your complete step-by-step guide to mastering tools, stitches, and beginner toy techniques (normally $17!).