

5 Creative Ways on How to Crochet Doll Faces
Crocheting doll faces involves mastering various techniques to bring personality and expression to your creations. From choosing different stitches for eyes, noses, and mouths to exploring diverse shapes and sizes, creating a captivating doll face is an art form in itself. With patience and practice, crocheting doll faces becomes an exciting journey of translating imagination into endearing amigurumi gifts!

Table of Contents Show
Introduction to Crocheting Doll Faces
Let us get started first on materials you need to gather first, then basic crochet techniques you need to know beforehand. Then we can get into the meat of the article which involves how to crochet facial features – like head, hair, eyes, noses and mouths! Then we end off with some ideas for customization so you can get infinite ideas on how to personalize your crochet dolls!
Materials and Tools for Crocheting Doll Faces
When crafting expressive doll faces through crochet, the choice of materials significantly impacts the final look and feel. Here's an overview of suitable yarn types, colors, textures, and additional materials for creating detailed amigurumi faces:
Yarn for Crocheting Doll Faces
Yarn Types: Opt for fine or lightweight yarn, such as sport or DK weight, to achieve intricate facial details without adding excessive bulk. Cotton or acrylic yarns work well, offering durability, a smooth finish, and ease of manipulation.
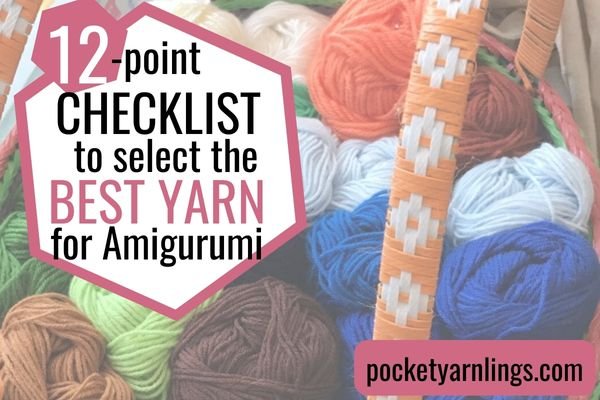
Colour of Yarn: Neutral tones like beige, ivory, or light brown serve as a versatile base for most doll faces. These can be difficult to source for in certain yarn brands but if you are looking at fingering or DK weight yarn, there is often a selection of skin coloured yarn to choose from.
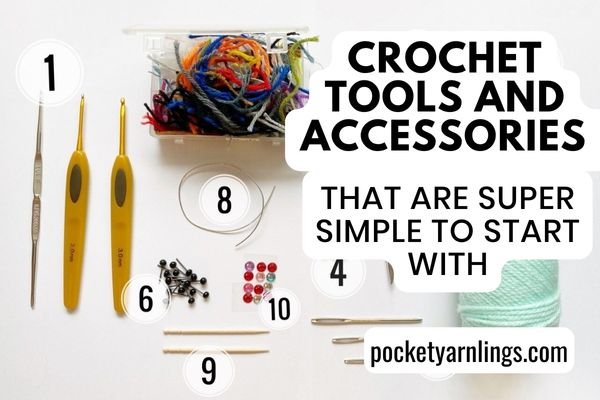
Crocheting Supplies for Crocheting Doll Faces
Crochet Hooks: Use smaller crochet hooks suitable for the chosen yarn weight to achieve tight and defined stitches for facial features.
Darning Needle: Important to sew different facial parts together and also to sew the doll head to the body if required as well.
Stuffing for Doll Head: Use polyfil stuffing or even leftover recycled yarn to stuff the doll head before closing up or attaching to the main body
Eye Accessories for Crochet Doll Faces
You can use safety eyes to add realistic, secure, and uniform eyes to amigurumi dolls. Available in various sizes, colors, and styles, they provide a polished, professional appearance to the eyes. There are other accessories you can consider like googly eyes, button eyes, cloth eyes, which will be further discussed below.
When selecting yarn and additional materials, consider the desired expression, personality, and style of the doll. Experimenting with various textures, colors, and combinations allows for creativity in bringing out the character and uniqueness of each amigurumi creation.
Basic Crochet Techniques for Doll Faces
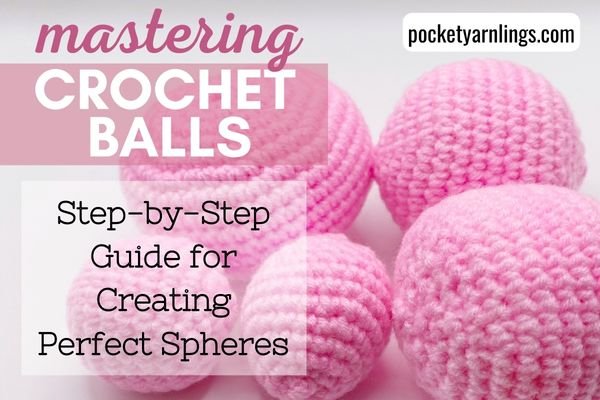
The most basic doll face is to crochet a sphere and add 2 safety eyes and that could quite simply be your doll face. This is probably the easiest and most basic way to create a crochet doll face. To crochet this, you would just need to learn the basic crochet techniques for crocheting a sphere – which would include crocheting a magic ring, single crochet, single crochet increases and decreases and stuffing the sphere.
For more details on each of the techniques, check out the relevant topics below:
Magic ring – “24 Easy Peasy things you need to know about Magic Ring in Crochet”
Single crochet – “Master the Art of Single Crochet Stitches: A Comprehensive Guide and Tips”
Increases in stitches – “15 different detailed Ways on How to Increase in Crochet”
Decreases in stitches – “15 different detailed Ways on How to Decrease in Crochet”
Crocheting a ball or sphere – “Mastering Crochet Balls: Step-by-Step Guide for Creating Perfect Spheres”
In the next section, we will be talking about more detailed ways to shape the face beyond the simple sphere with safety eyes.

25 Ideas to Supercharge your Next Crochet Doll Face
Grab this free Ideas List to get Doll Face Customization Ideas and get inspired! Just click here or on the image on the left.
Crocheting Expressive Amigurumi Doll Facial Features
In crocheting doll faces, each feature contributes uniquely to the amigurumi's expression and personality. Eyes, noses, mouths, cheeks, and eyebrows offer a canvas for creativity, allowing makers to craft a wide spectrum of emotions and characters. Different sizes, shapes, and placements of these features create distinct expressions—small, widely spaced eyes convey innocence, while varied nose shapes evoke whimsy or distinction. Mouths, whether small and closed or wide and smiling, dictate mood. These components act as storytelling tools, enabling the translation of imagination into individualized amigurumi personalities.
For this section, we will be individually talking about how to crochet the doll’s head, hair, eyes, nose and mouth to give you more ideas on how you can make your own amigurumi doll face look slightly different from the rest.
How to crochet a doll’s head?
Here are some suggestions to crochet your doll amigurumi head even before starting on their faces. Changing up the shape of the head will give the final doll face a slightly different appearance as well, consider trying out more unusual shapes like heart-shaped, oval, square or triangular heads.
Spherical Head: The most common shape, achieved by increasing stitches evenly in rounds until a spherical form is created.
Heart-Shaped Head: This head starts off wider at the top and then narrows down the middle to the bottom, where it ends with a sharp chin, making the final head shape appearance appear heart-shaped.
Oval Head: The techniques used in this method is very similar to the next one, for making a square shape, by using a double crochet cluster stitch. The final effect is a rounded chin and an oval face.
Square Head: Similar to the previous oval head, the square head method also utilises double crochet cluster stitch but this time, it goes into back loops only (BLO). The residual front loop only (FLO) border left behind gives a sharper and more angular square like jaw.
Triangular Head: This method is described as a triangular head or more like an inverted triangle because the top of the head is narrower and the bottom broader. Alternatively, more like a snout-like appearance, which I have adapted for my rabbit amigurumis as well.

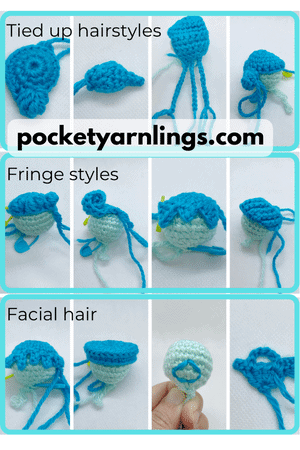
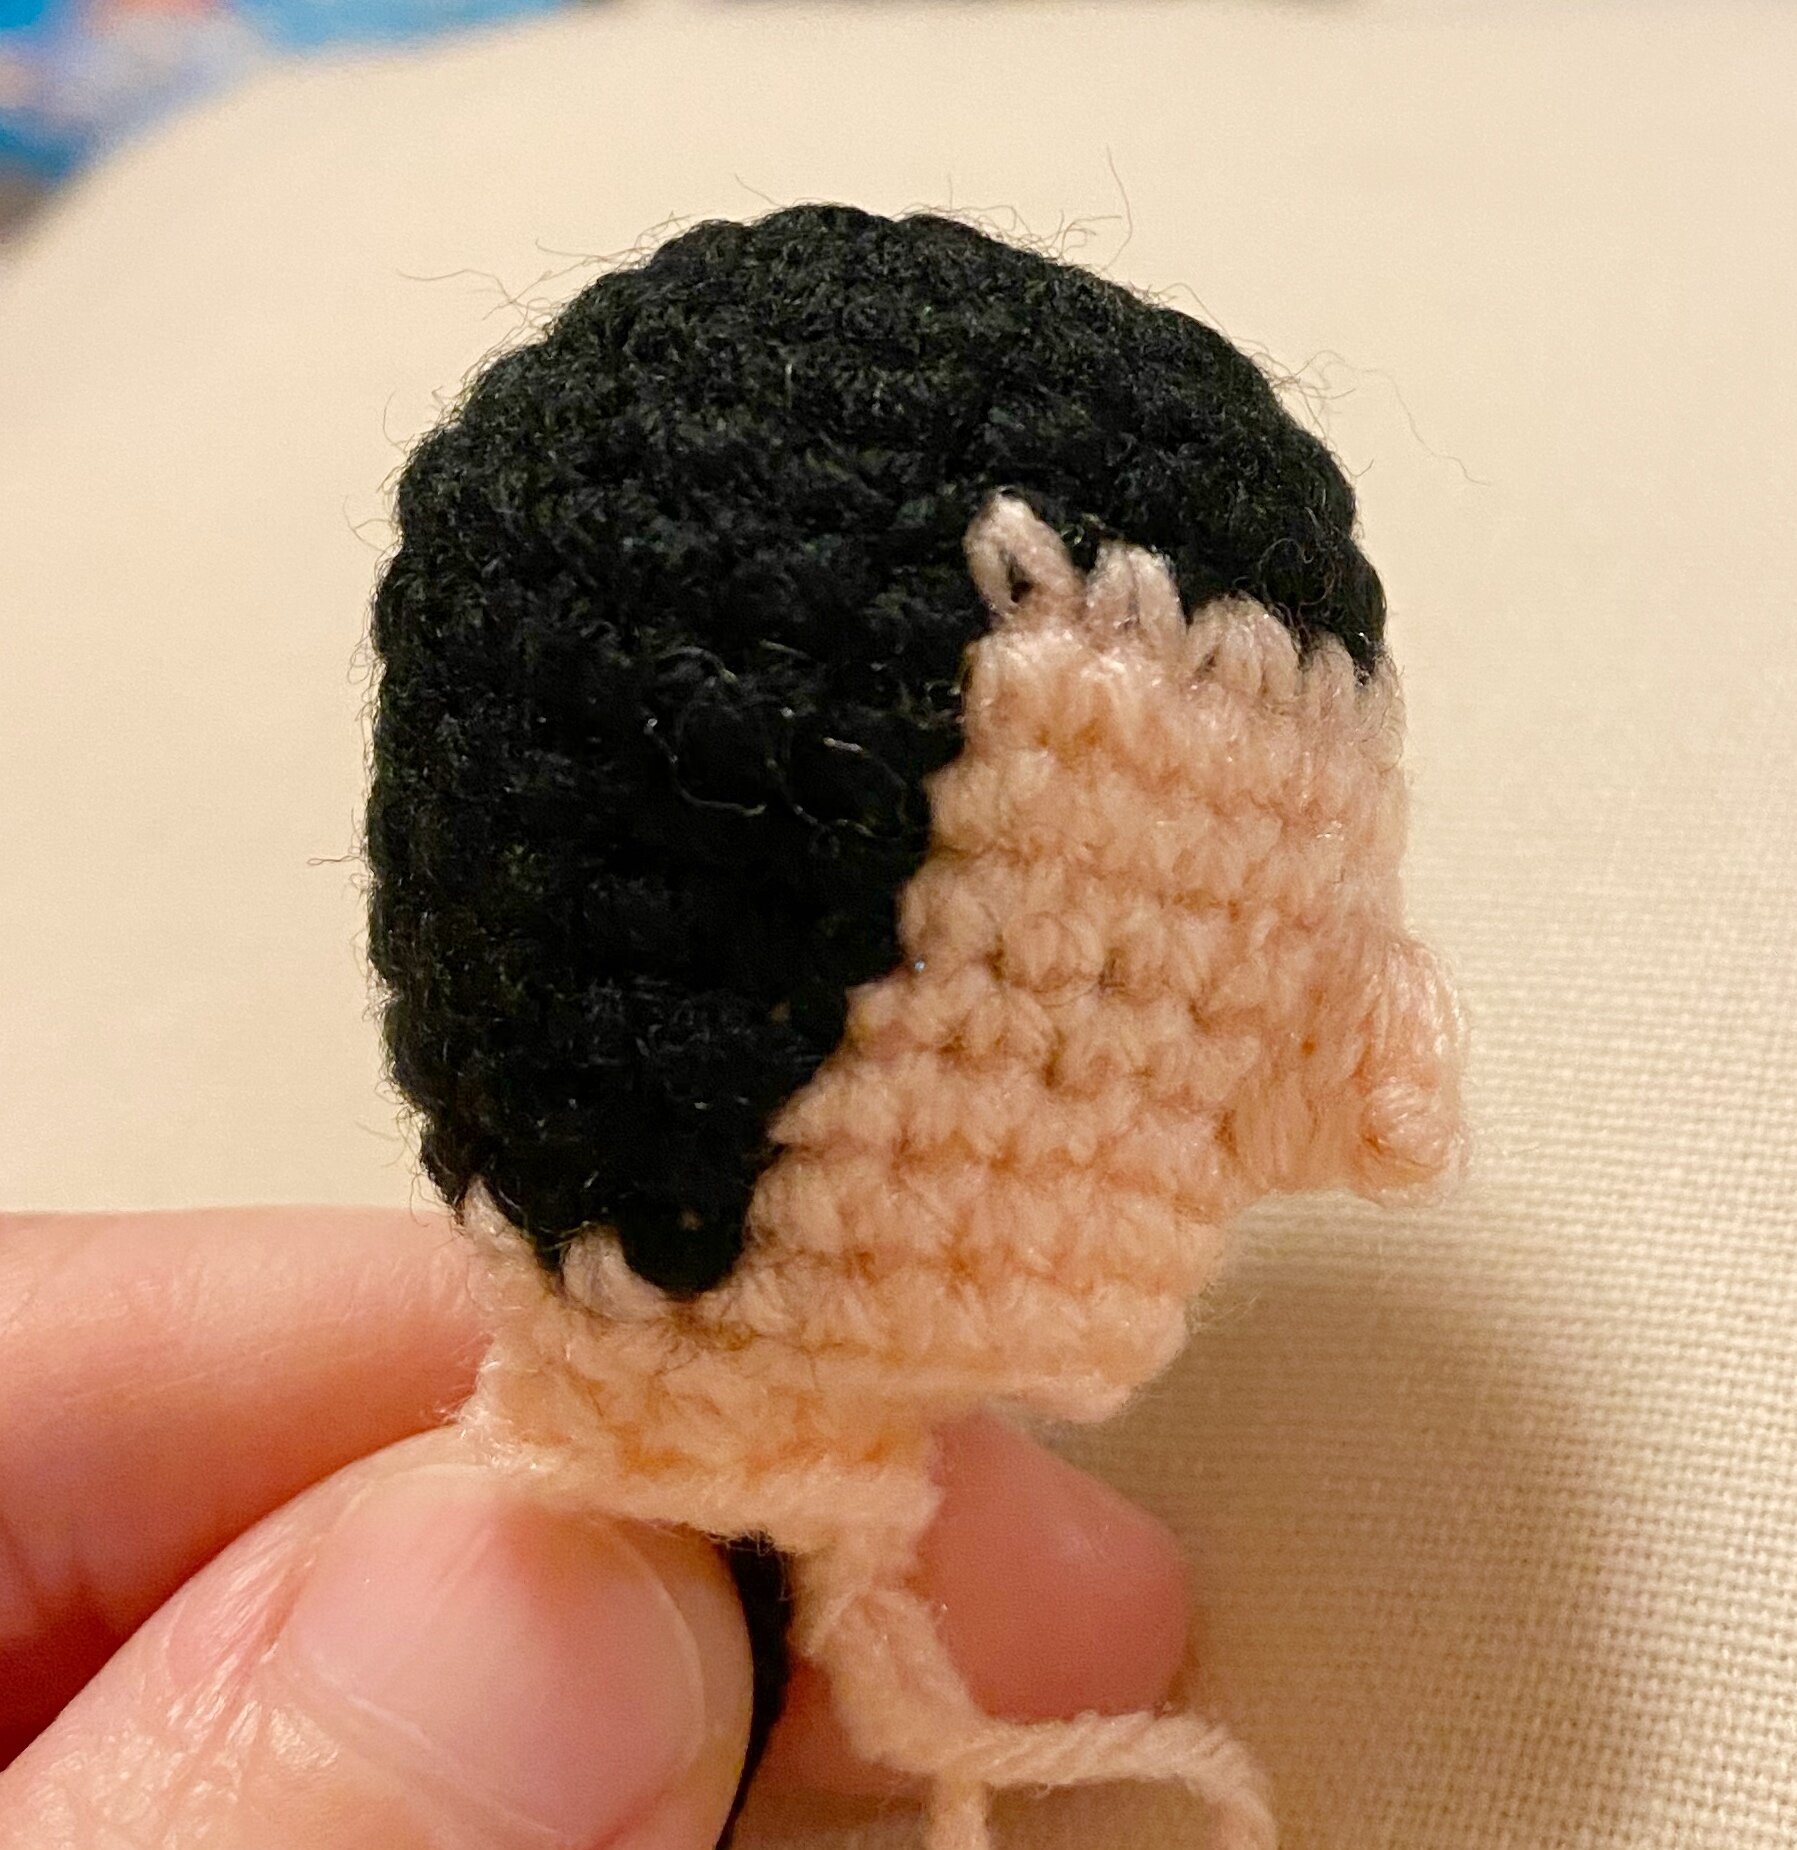
How to make hair for crochet dolls?
Next up to doll up the head would be to include hairstyles for the doll head. To add different textures, consider trying out different sewing and crocheting techniques like the ones suggested below to change the appearance of the hair. The easiest would be to simply change up the colours of the yarn on the crochet doll’s head.
Loop and Hook: This method involves creating loops of yarn on the doll's head using a crochet hook and then cutting those loops to create strands of hair.
Sewing Down: Sew down yarn repeatedly on the doll’s head to cover up the scalp and change up the colours of the hair.
Loop Stitch: This technique involves making loops directly onto the doll's head using a crochet hook, creating a textured and often curly or wavy hair effect.
Chain Loop Fringe: Crocheting chains and attaching them in rows to create a a long flowy hairstyle for the doll's hair.
Direct Crochet: Creating the hair directly onto the doll's head, using various crochet stitches to form the desired hair texture.
Wig Cap: Making a separate cap that fits the doll's head and then attaching hair to the cap. This method allows for easy removal or change of hairstyles.
Combination of Above: Utilizing a mix of these techniques to achieve a unique and desired hairstyle for the doll. For instance, using loop stitches for the main bulk of hair and adding crochet chains for fringe or highlights.
Each method offers its own advantages in terms of style, texture, and ease of implementation. Depending on the doll's design and the desired look, a combination of these methods can create a more detailed and intricate hairstyle.
To get more ideas on this, you might want to check out these other resources below:

How do you crochet a doll eye?
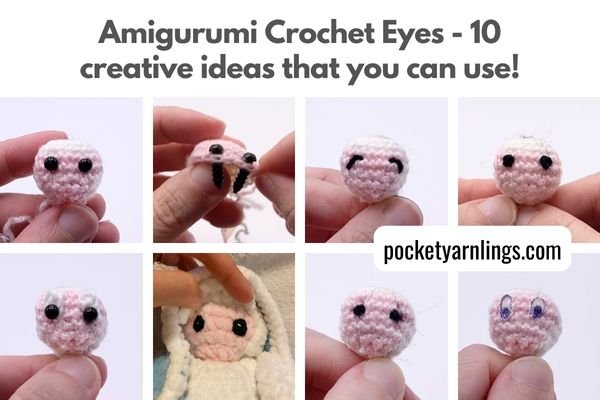
There are so many different ways to incorporate eyes for your amigurumi dolls, using different techniques like sewing, felting, crocheting, embroidery to using external accessories that can be glued on separately like button, cloth, googly eyes and safety eyes. Here are some examples below and if you want even more detailed versions of each idea, you can also check out another comprehensive blog post specifically on eyes alone that I linked to below.
Safety and Glass Eyes: These are usually plastic or glass eyes with a safety back that snaps into place, ensuring they stay securely attached to the doll.
Cloth Eyes: Sewn or embroidered fabric circles or ovals that are stuffed and attached to the doll, often giving a softer, more handmade appearance.
Googly Eyes: Small plastic eyes with a movable pupil that can be glued onto the doll, giving a playful and animated look.
Button Eyes: Decorative buttons that are sewn onto the doll to serve as eyes, providing a classic and sometimes vintage feel to the doll's appearance.
Sewed-On Eyes: Using yarn or thread to sew eyes directly onto the amigurumi, creating sewn on eyes for a customized look.
Embroidered Eyes: Using embroidery techniques with yarn or thread to create eyes, giving the doll a unique, handcrafted appearance.
Crocheted Eyes: Making eyes with crochet stitches, often in a circular shape and sewn onto the doll, providing a seamless integration with the amigurumi's design.
Needle Felted Eyes: Sculpting eyes using needle felting techniques to create 3D eye shapes that are then attached to the doll.
Each method offers its own style and aesthetic to the amigurumi doll. Safety considerations, desired appearance, and the overall design of the doll often influence the choice of eye-making technique. For more detailed instructions and ideas on creating doll eyes, check out this blog post, “Amigurumi Crochet Eyes - 10 creative ideas that you can use!”.
How to crochet doll noses?
Round Noses
Round noses in amigurumi dolls offer various options for crafting unique facial features. The button nose, a tiny circular piece sewn onto the face, adds a charming and diminutive touch. In contrast, the bulbous nose stands out with its larger, more prominent rounded shape, while the fleshy nose, fuller and larger, contributes to a more lifelike and substantial appearance. Each style brings its own character and dimension to the doll's facial expression.

Triangular Noses
Triangular noses in amigurumi dolls offer a diverse range of shapes for crafting distinctive facial characteristics. The pointed nose is a nose that tapers to a point and sharper than a button nose. Contrarily, the straight nose, with its clean triangular shape has straight edges. A crooked nose introduces asymmetry and character, while a wider triangular nose brings distinctiveness. Conversely, the thin nose, slender and delicate, suits smaller dolls, offering a more refined and subtle feature for their faces. Each variation allows for personalized and expressive facial features in amigurumi.
Downward Pointing Noses
Downward pointing noses in amigurumi dolls present a spectrum of expressions and characterizations. The snub nose is a shortened downward nose, which adds a subtle charm. In contrast, the hooked nose, with its pronounced bend, contributes to distinctive and characterful appearances. A droopy nose, longer and downward-pointing, creates a somber or contemplative expression. The beaked nose, resembling a bird's beak, brings an exaggerated and distinctive feature, often enhancing specific character designs. Each of these variations allows crafters to convey nuanced emotions and personalities through the doll's facial structure.

Upward Pointing Noses
Upward pointing noses in amigurumi dolls showcase diverse facial expressions and nuances. The upturned nose, pointing skyward, often signifies cheerfulness and positivity in the doll's expression. A Nixon nose, characterized by its pointed prominence, reminiscent of former U.S. President Richard Nixon's nose, adds distinction and prominence to the doll's facial features. In contrast, a flat nose, with minimal protrusion, offers a subtler appearance compared to other nose shapes, contributing to a more understated and refined facial structure in amigurumi dolls.
Each nose type can significantly impact the doll's personality and expression. The choice of nose shape often aligns with the desired character or creature you're creating. All these are gone through in great detail including the steps to create each type of nose inside my Amigurumi Doll Face Shaping Course. Some examples of how they look like can be found here “Making Different Amigurumi noses!”.
How to crochet a mouth on a doll?
Mouths for an amigurumi doll are often overlooked or sometimes amigurumi designers prefer to not leave a mouth so that it leaves you up to your imagination what the doll expression is.
No Mouth: Some amigurumi designs don't include a mouth, leaving the face without a defined mouth shape. This style can convey a sense of mystery or simplicity.
Sewed-On Mouth: Creating a mouth shape by stitching or embroidering yarn or thread onto the doll's face, offering customization and flexibility in mouth design.
Crocheted Mouth: Constructing the mouth directly through crochet stitches, either as a separate piece sewn onto the face or crocheted directly onto the doll's head.
Small Mouth: Making a smaller, more subtle mouth shape, which can give a cute or reserved expression to the doll.
Large Mouth: Designing a larger or more pronounced mouth, which can convey a wide range of emotions from excitement to surprise or even laughter.
Facial Hair Mouth: Utilizing yarn or thread to create a mouth that incorporates elements resembling facial hair, such as a moustache or beard, adding character and personality to the doll's face.

The choice of mouth style can significantly impact the overall expression and character of the amigurumi doll. Depending on the desired emotion or personality of the doll, each mouth style can be customized and adjusted.
Customization and Personalization of Crochet Doll Faces
Customization is the heart of amigurumi crafting, especially when it comes to doll faces. Here's how crafters can embrace creativity to personalize their creations:
Colour Palette Exploration: Encourage experimentation with diverse colour combinations beyond traditional choices. Vibrant hues for eyes or subtle tones for cheeks and lips can add character.
Size Variations: Varying the sizes of facial features can radically change the doll's appearance. Larger eyes might convey innocence, while a smaller mouth can create a shy or demure expression. Play with proportions to define the doll's individuality.
Style and Texture: Utilize different yarn textures to add depth and realism to facial elements. Fuzzy yarns can mimic hair, while smoother textures can create smooth skin. Consider experimenting with various stitches to craft distinct facial contours.
Mix and Match Techniques: Combine different crochet techniques for eyes, noses, and mouths. For instance, embroidered eyes paired with crocheted noses or sewn-on mouths can produce a unique and customized look.
Embrace Imperfections: Encourage crafters to see imperfections as opportunities for character-building. A slightly asymmetrical face or an unconventional feature can lend charm and uniqueness to the doll.
Expressive Features: Experiment with facial expressions. Tilted eyebrows, subtle smiles, or even closed eyes can evoke various emotions, allowing the doll to tell its own story.

Encourage crafters to break away from traditional patterns and guidelines, fostering an environment where your imagination can go wild. Each amigurumi doll's face becomes a canvas for individual expression, reflecting the maker's creativity and imagination. Ultimately, the goal is to empower crafters to infuse their dolls with distinct personalities, making each one a truly one-of-a-kind creation.
Pin the image below if you found this article useful so that others may find it too!

Conclusion of Crocheting Doll Faces
In the art of crocheting doll faces, every stitch and contour contributes to the creation of captivating characters. Through careful manipulation of yarn and meticulous crafting, these faces become windows into the souls of the amigurumi. Each intricately crocheted nose, eye, and mouth brings forth its own story, adding depth and individuality to every doll.
Crafting these faces is an artful journey where imagination meets skill, allowing creators to breathe life into their creations. I hope reading this article has given you some inspiration and thoughts on how to make your next doll amigurumi just a little bit more special than your last!
25 Ideas to Supercharge your Next Crochet Doll Face
Grab this free Ideas List to get Doll Face Customization Ideas and get inspired! Just click here or on the image on the left.