

Using Surface Single Crochet in Amigurumi

In this tutorial, I’ll go through step by step on how to do a surface single crochet (or surface sc) and how I did it on my Pooh Bear to make his T’shirt ‘pop’!
I often like to use surface single crochet or Check out the full pattern for Winnie the Pooh here, by the way. to add detailing to amigurumi, especially when there is insufficient room to make a T-shirt over the body of the ami.

The image on the left is my Pooh Bear amigurumi without the surface sc done yet. Then on the right, I’m just starting out the surface sc at the bottom of his T-shirt. So let’s dive into the steps!
Check out the full pattern for Winnie the Pooh here, by the way.
Making a surface single crochet
This is just like making a regular single crochet but now we directly apply it on the surface of a separate piece that you have already crocheted.
A surface single crochet creates a more raised overlapping layer on the original Amigurumi. (As opposed to a surface slip stitch which creates a flattened effect, check out an old blog post about it.)
Have a completed Amigurumi body piece ready. Also have another separate ball of yarn with the desired colour (whether same or different).

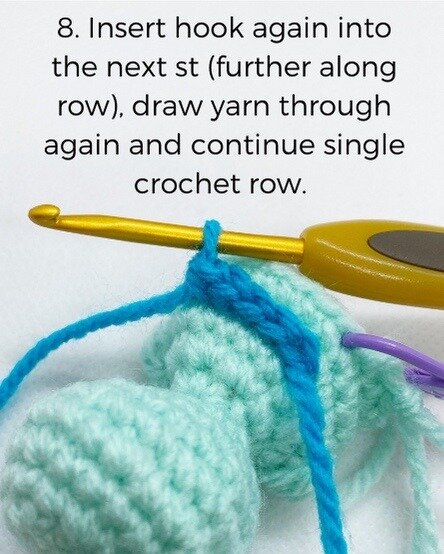
In step 1, insert hook into the surface of the ami and out through the adjacent stitch. Then pull yarn through both holes like in step 2.

Then in step 3, insert back into same initial 2 holes to start the first surface sc.

Steps 4-6 involves the usual steps with making a regular single crochet but this time it’s on another surface. End off in step 7 by drawing yarn through both loops on hook to form the first sc.

Continue single crochet along the surface of the amigurumi to form a whole row.
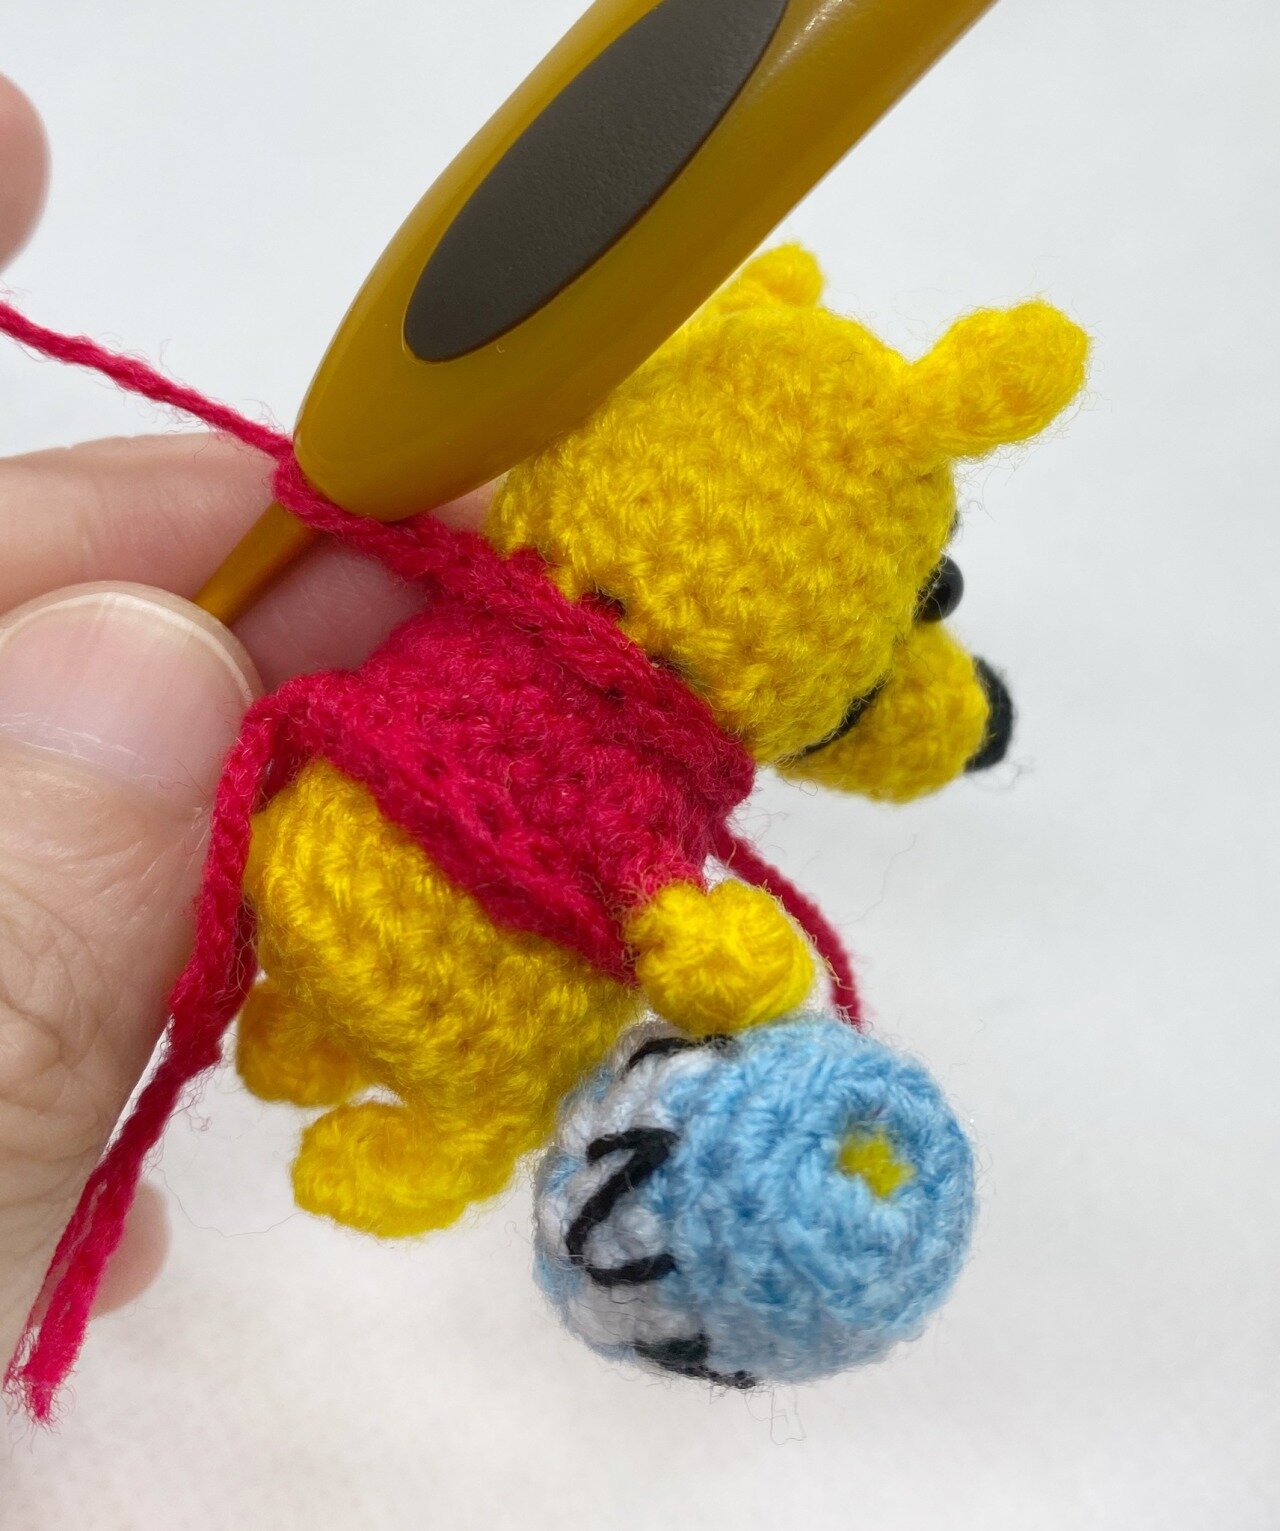
The completed row of surface single crochet! You can see how it adds an additional texture to the ami. You can see how it makes a difference to my mini Winnie the Pooh below!
Using a surface single crochet
I decided to use this technique to make the T-shirt for my Winnie the Pooh. As you can see, I did 2 separate surface sc rows, one at the top and the other at the bottom of his T-shirt. (The one over the top was in a V-shape, rather than a regular straight line.)
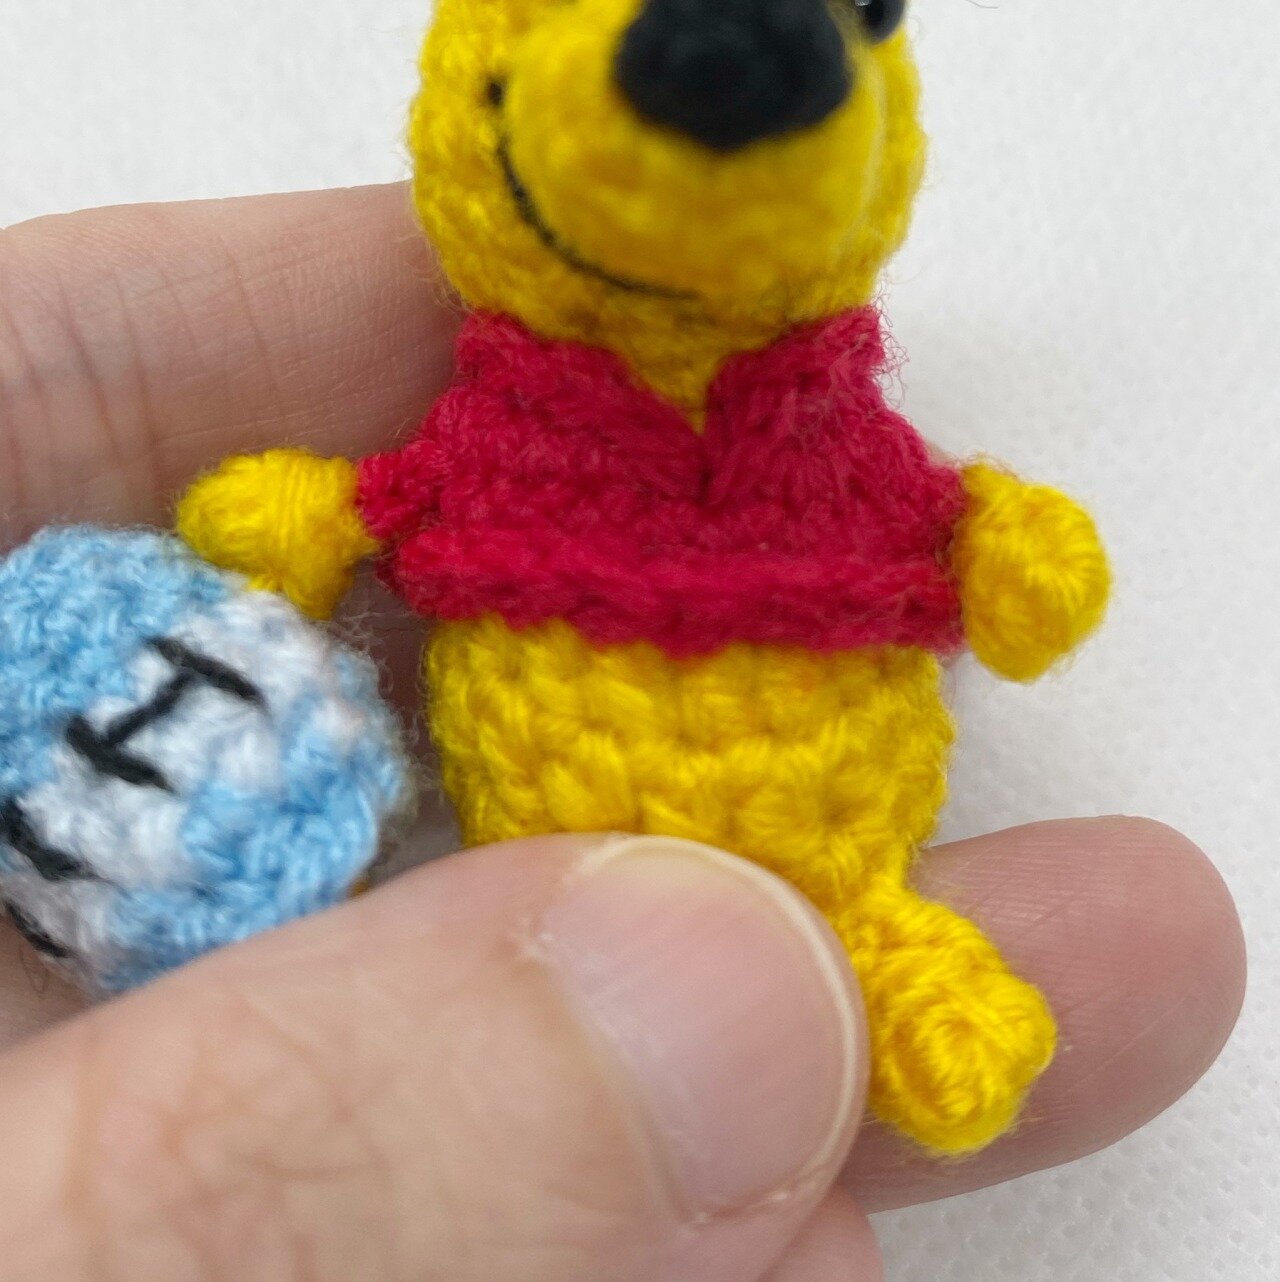
Ta-da! The final T-shirt trimmings for my Pooh Bear! I did something similar for Dobby the house-elf from Harry Potter previously but using surface slip stitch instead.
You can see the subtle differences between using a surface sc and a surface sl st. Sometimes I try one out and frog it to try the other technique, just to see which one turns out better! (Note: I have included both techniques in my free ebook below for easier reference. FYI :)
If you want to check out more crochet tutorials and resources, check out my Freebie Vault below…
Hope this was useful! How do you use the surface single crochet technique on your amigurumis? Let me know!