

How to make a hanging mobile

This is a short tutorial on how to make your own homemade mobile from an embroidery hoop, which you can just get from your regular craft store or online. I actually prefer a hoop mobile to a cross mobile, mostly because you can choose to hang more items on it. You can basically choose how many strings to add on, in any part of the hoop!
1) Obtain supplies
Just get a plain old simple bamboo hoop, there are varying diameters, ranging 13cm, 15cm, 18cm, 20cm, 23cm, 26cm, 30cm and even 34cm. I usually use the 18cm or 20cm hoop sizing, which is good enough for a simple mobile.
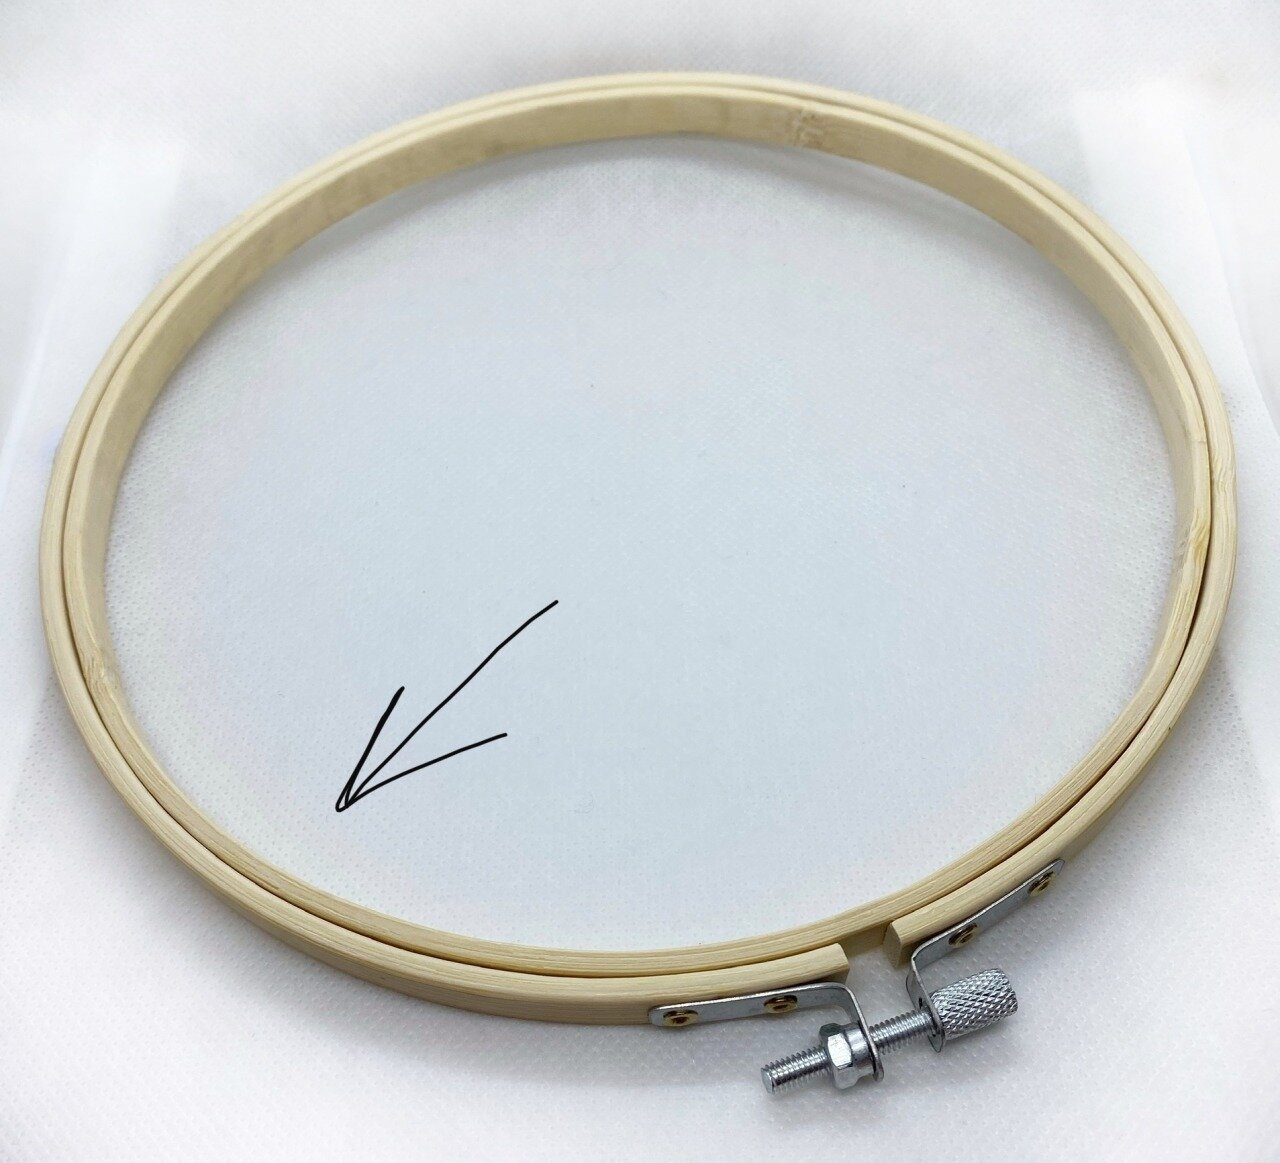
Remove the inner hoop from the embroidery hoop. This circle does not have any metal attachments on it and it is where you place all the attachments on. Get a ball of string, it can be made of cotton or nylon, or even one ball of your yarn (beware of it fraying though).

2) Tying strings downwards
Using the string obtained above, tie to the inner hoop, go around 2-3 times to make a sturdier hold and tie a simple dead knot. Dangle the strings downwards first. Tie at 4 points on the hoop (or more depending on how many you intend to hang) - make sure they are equally spaced out. Once you hang on the pieces, you can adjust string locations to balance out the weight on all sides of the mobile.


3) Tying strings upwards
Now tie a second set of strings, projecting upwards instead. Similarly, tie around 2-3 times for a sturdier hold. I prefer tying strings projecting upwards separately from the ones downwards. The downward ones are for attaching the individual mobile pieces and are more variable - the length can change, number of pieces attached etc. Whereas the strings projecting upwards are eventually grouped together and are relatively fixed in position, so they should not be adjusted.


💡 Want to learn all the basics of crocheting amigurumi in one place?
Grab my free 77-page Amigurumi Foundation eBook — your complete step-by-step guide to mastering tools, stitches, and beginner toy techniques (normally $17!).
4) Grouping top strings together
When all the strings projecting upwards are tied down, group them all together. Make sure they are taut and evenly distributed to create a uniform appearance. These strings are not affected by the varying weights of the mobile pieces you will be adding on later. You can adjust the location of the string attachment on the hoop or adjust the relative length of each of the grouped strings to create a symmetrical and uniform appearance.

Add one more unattached string down the middle, this is to hang the central mobile piece attachment or the ‘centre of attention’. This string is not attached down to the hoop but is grouped with all the other strings. Tie them all together in a big knot but leave enough room to make a loop with the residual string on top. The loop at the top is for hanging the mobile on a ceiling hook.

5) Loading the amigurumi pieces
This is the fun part! You can start loading individual pieces onto the strings projecting downwards. Anything from felt pieces to paper craft… but of course, for me I load my very own amigurumi! So I have made many over the years… if you want to see various tutorials on how to make some of your favourite characters, check this out.
Use a needle to string through the individual amigurumi pieces and tie a dead knot at the end. You can always tie a small live knot instead if you feel like changing up the pieces!
Depending on how long you make the strings, you can hang the pieces either in 1 plane or 2 planes. For example, with the Star Trek mobile I made, I placed the Enterprise right in the middle string and all the surrounding characters at 1 level but at varying heights.

As for the Hanna Barbera characters I made, there were 9 pieces in all, so I hung 2 pieces on 1 string, with the string going right through the top piece and knot tied at the lower piece. Only the central piece, Snagglepuss, was alone on the string.
You can always switch it up… by:
- changing the number of string attachments on the hoop
- changing the number of amigurumi pieces attached to one string, some can have 1, others with 2
- changing the location of each piece on the string at varying heights
- changing the characters you decide to hang.
The possibilities are endless, and you can keep changing the mobile every time you make something new!

If you need the embroidery hoop, you can get it here.
See more examples of other mobiles I have made here. Will be adding more characters along the way, whenever inspiration strikes so do look out for them! If you do make any hanging mobiles from the tutorial above, be sure to show me! I would love to feature them!
**There are affiliate links in this blog post.**
💡 Want to learn all the basics of crocheting amigurumi in one place?
Grab my free 77-page Amigurumi Foundation eBook — your complete step-by-step guide to mastering tools, stitches, and beginner toy techniques (normally $17!).