

Free Hobbit Crochet Pattern!

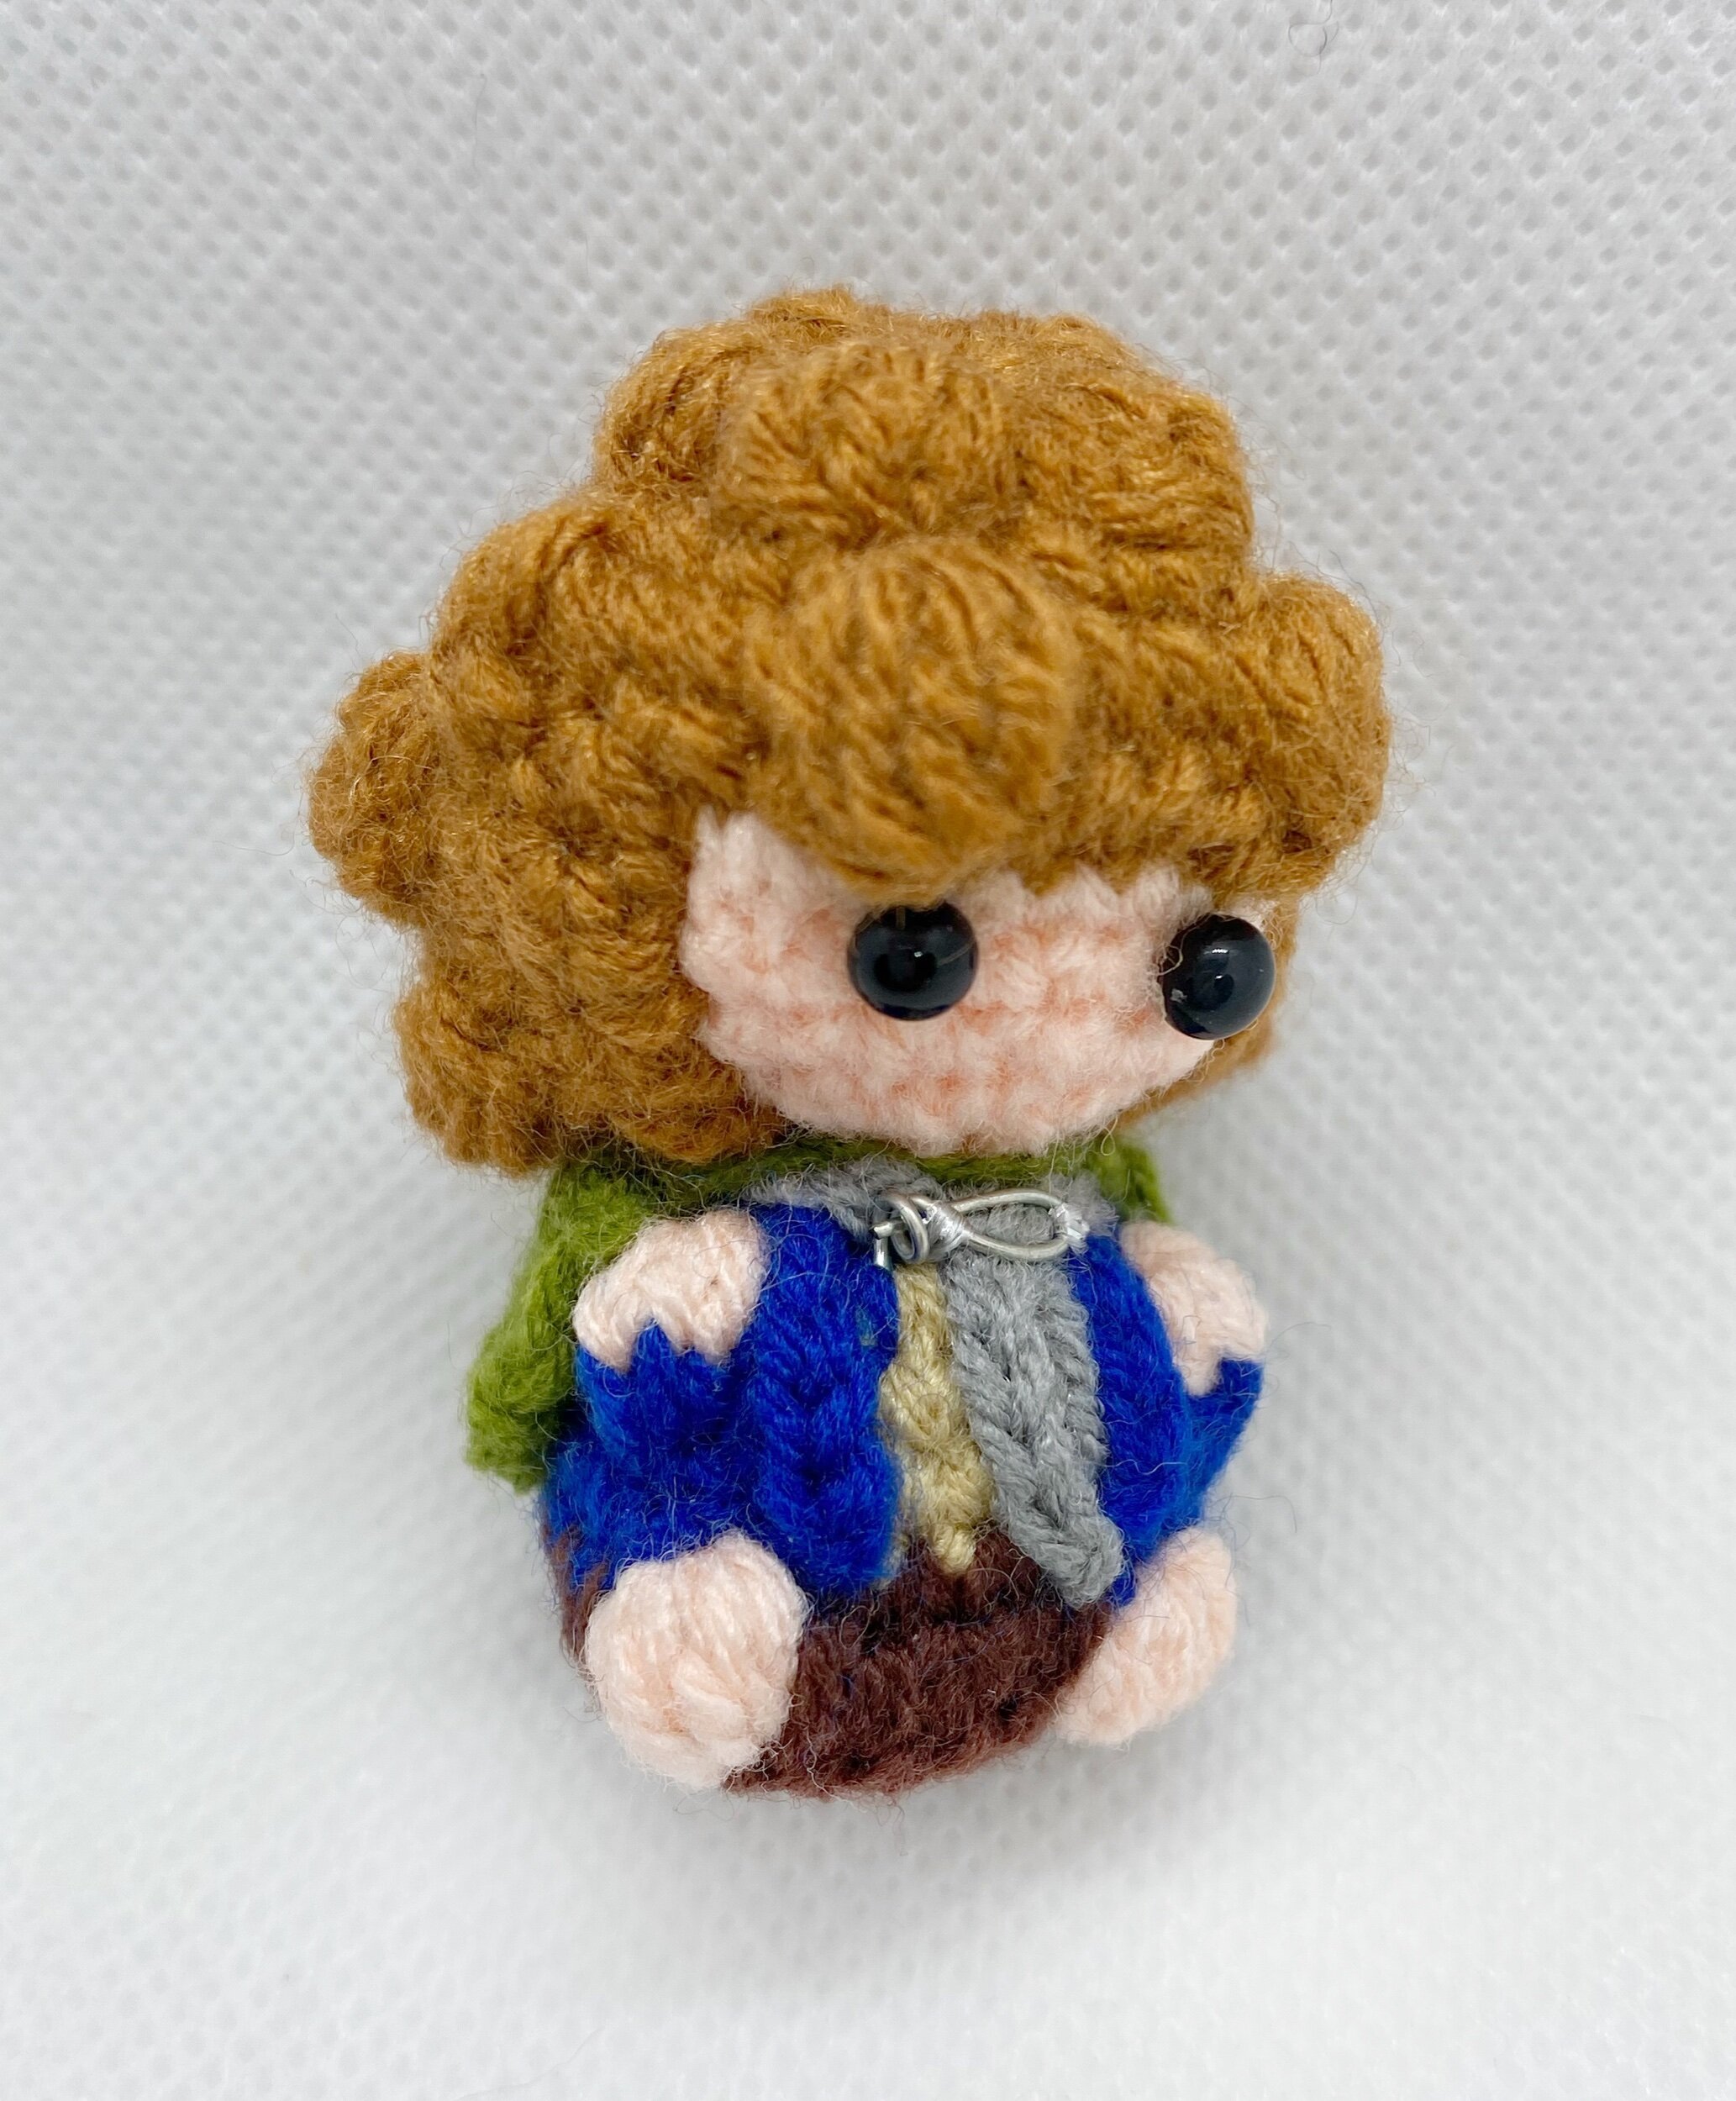
Hey guys another free pattern has landed! This little guy has a special place in my heart, he is Pippin! My sister’s favourite hobbit and quite possibly the silliest hobbit! Making the hair for these little guys were pretty challenging and I would not say I am the most satisfied with them but this is some of my earliest work! Go test it out, it’s basically the same as Ben in his swimming suit (free email CAL) but with a special kind of wig cap.
Terminology
Ch = chain
Sc = single crochet (2sc1 means 2 single crochet in same ch)
Sl st = slip stitch
St = stitch (refers to number of stitches in one round)
Hdc = half double crochet
Dc = double crochet (yarn over 1x)
Sc2tog1 = single crochet decrease
Bobble stitch = 4 double crochet bobble
Surface sc = single crochet directly onto surface
Materials and Tools
2.0mm Clover crochet hook
Orion Top Deluxe Yarn, Crown Yarn (or any equivalent acrylic yarn) - beige, brown, blue, grey, algae green, light brown, dark brown
Darning needle
Stitch markers
Filling – use leftover yarn or polyester fiberfill
Scissors
4mm glass eyes or safety eyes
Craft wires
Head
Round 1: Magic ring 10 (brown) – 10st
Round 2: 2sc10 (brown) – 20st
Round 3: Sc20 (brown) – 20st
Round 4: (Sc1, 2sc1) x 10 (brown) – 30st
Round 5: Sc12 (brown), sc12 (beige), sc6 (brown) – 30st
Round 6: (Sc1, sc2tog1) x 4 (brown), (sc1, sc2tog1) x 4 (beige), (sc1, sc2tog1) x 2 (brown) – 20st
Round 7: Sc8 (brown), sc8 (beige), sc4 (brown) – 20st
Round 8: Sc2tog4 (brown), sc2tog4 (beige), sc2tog2 (brown) – 10st
Round 9: Sc2tog5 (beige) – 5st
Body
Continue from Round 9 of head.
Round 10: 2sc3 (blue), 2sc1 (light brown), 2sc1 (blue) – 10st
Round 11: 2sc6 (blue), 2sc1 (blue then light brown), 2sc1 (light brown), 2sc2 (blue) – 20st
Round 12: Sc10 (blue), 11th arm, sc2 (blue), sc3 (light brown), sc2 (blue), 19th arm, sc1 (blue) – 20st
Arms (at 11th and 19th positions): 4dc bobble stitch, top half beige, bottom blue
(Bobble stitch for arms = top half beige, bottom blue
From the 10th single crochet in Round 12, you will have 1 blue loop on hook
Yarn over beige, insert hook, yarn over beige again, draw beige yarn through –> you will have 2 beige loops and 1 blue loop on hook
Then draw blue yarn through 2 beige loops on hook –> you will have 2 blue loops on hook
Repeat process: yo beige, insert hook, yo beige and draw beige yarn through –> you will have 2 beige loops and 2 blue loops on hook
Then draw blue yarn through 2 beige loops on hook –> you will have 3 blue loops on hook
Repeat again: yo beige, insert hook, yo beige and draw beige yarn through –> you will have 2 beige loops and 3 blue loops on hook
Then draw blue yarn through 2 beige loops on hook –> you will have 4 blue loops on hook
Repeat last time: yo beige, insert hook, yo beige and draw beige yarn through –> you will have 2 beige loops and 4 blue loops on hook
Then draw blue yarn through 2 beige loops on hook –> you will have 5 blue loops on hook
Then pull through blue yarn through all 5 blue loops on hook and sc1 in next main stitch.)
Body
Continue from Round 12 of body above.
Round 13: Sc13 (blue), sc4 (light brown), sc3 (blue) – 20st
Round 14: Sc13 (blue), sc4 (dark brown), sc3 (blue) – 20st
Round 15: Sc12 (dark brown), 13th leg, sc5 (dark brown), 19th leg, sc1 (dark brown) – 20st
Legs (at 13th and 19th positions): 4dc bobble stitch, both top and bottom beige
Follow same method as above for the bobble stitch for arms, except this time it’s a regular 4dc bobble stitch with one colour.
Round 16: Magic ring 10 then 2sc10, to join up to round 15 (all dark brown) – 20st
Wig cap
Using light brown yarn,
Round 1: Magic ring 10 - 10st
Round 2: [Sc1, (5dc bob, sc1)] x 5 - 15st
Round 3: (Sc2, 2sc1) x 5 - 20st
Round 4: [Sc3, (5dc bob, sc1)] x 5 - 25st
Round 5: Sc16, ch1 and turn - 16st
Round 6: [Sc3, (5dc bob, sc1)] x 3, [sc2, (5dc bob, sc1, sc1), ch1 and turn – 20st
Round 7: Sc20, ch1 and turn – 20st
Round 8: [Sc1, sc2tog1, (5dc Bob, sc1)] x 4, sc1, sc2tog1, sc1, ch1 and turn – 19st
Round 9: (Sc1, sc2tog1) x 5, sc2 – 12st


Cape
Using algae green yarn,
Row 1: Ch11
Row 2: Sc5, ch1 and turn – 5st
Row 3-5: Repeat row 2 – 5st
Row 6: Sc5, fasten and end off – 5st
Join up at front using knot and then a dead knot.
Make small cape pin using craft wire to bend into an oval shape, then subsequently sew it down with silver yarn.
Jacket lapels
Using blue yarn,
Ch3
Attach along the blue/ brown borders down the middle of chest, on either sides
Scarf
Using grey yarn,
Ch25
Wrap around the neck into a knot and sew it down at the front
Assembly
Head components
Attach wig cap onto hairline of head.
Place the 2 glass eyes on 2nd row of beige face, with the curly hair wrapping around the top and back of head.
Body components
Sew on the jacket lapels and scarf as mentioned above.
Attach on the cape at the back of the body.
Make small cape pin as mentioned above using craft wire and sew it to the front where the cape joins up over the chest.
Disclaimer: Do tag us @pocketyarnlings on Instagram or share a picture once you have completed it. Hope you have fun making it!

Ta-da the four little hobbits! For the 2 on the left, I used a different hair technique while for the 2 on the right, I used the bobble stitch technique I mentioned above when making the wig cap. This is roughly how it looks like at the start of the hair for Frodo and Sam below!

These 2 hairstyles are for making short curly hair which is one teeny tiny segment of my Amigurumi Hairstyles, A Comprehensive Guide ebook in collaboration with Knotions magazine below->

It is basically 60 pages worth of tips and tricks and step by step instructions to making all types of amigurumi hairstyles!
"A delightfully detailed eBook illustrating so many quick, easy ways to crochet and customize doll hair using yarn! Comprehensive, clever, and creative! An absolute treat for any amigurumi artist." - Jade from Sweet Softies

If you would like to find out more and see some snippets of the book in various blog posts in my Amigurumi Hairstyles series, do go check it out here! In the meantime, have fun making this Hobbit!