

DIY Mini Bow and Arrow

Craft wires are useful in making amigurumi in many different ways. I have also made many archers with their bows using craft wire. This time I made it for Merida, with also some yarn involved :). So let’s see how I did it!
To make a simple mini bow using craft wires, you only need the following 5 steps:
1) Bending wires into shape
Get hold of craft wire (I usually use about 0.6-0.8mm ones) and bend it like in the following picture. It should form a D-shape and you should always bend the sharp edges inwards so that you have no protruding ends. This can be easily hidden after you crochet onto it.

2) Crocheting onto wires
Use single crochet technique and crochet directly onto the curved side of the wires. If you are not familiar with basic crochet stitches, go check out my free ebook to see how to do it.
Remember to try and wrap in the stray tailing yarn inside the single crochet as you go along the bow, so that it stays hidden. Apply glue on the stray yarn and wrap it around the ends.
I would recommend Uhu glue paired with a toothpick cause I have tried many other types of glue - craft glue is not strong enough and super glue is too strong and sticky.

3) Making the arrows (and satchel)
I used simple recycled old white cloth and cut out the shape of the fletching of the arrows. 2 separate pieces to be glued down on either and opposed over some toothpicks (blunt ends).
Depending on how many arrows you intend to make, the satchel you make must be able to fit it. I generally make small amigurumi, so the satchel is made of a base of magic ring 5. I can only fit 2 arrows but that’s generally good enough for the characters I make.

4) Making the Amigurumi for which the bow and arrows are meant for
Of course if you are making amigurumi and the bow and arrows are a complement or accessory, you would have to make the main character for which it is attached to.
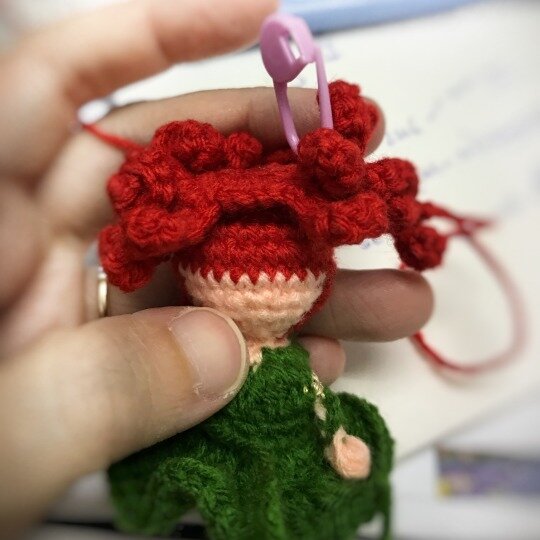
As you will see later, I have used this technique for many of my archer characters. In this case, I made Merida! You can see her unmanageable hair here... Then off to the final and most exciting step, to put them all together!
5) Putting it all together!
So you need the amigurumi, the bow, the arrows and the satchel and a darning needle to sew them all together. Remember to decide on how you would like to place the individual pieces.
I usually place the archer holding the bow (of course the handle side, not the string side) in the right hand, while the arrows placed in the satchel over the back.
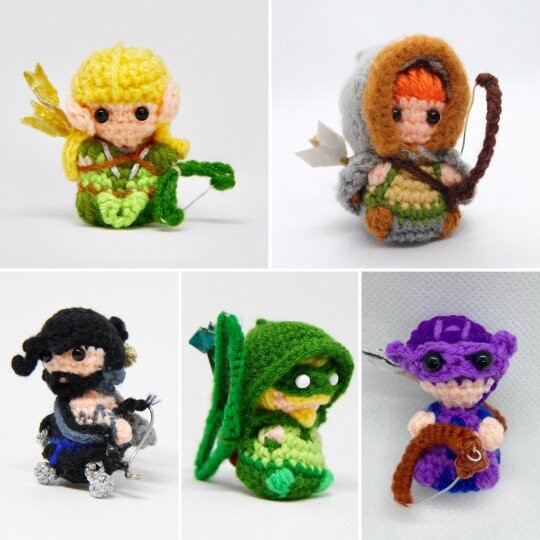
The range of archers I have used the same techniques for... They include Green Arrow from Justice League, Ygritte from Game of Thrones, Legolas from Lord of the Rings and Hanzo from Overwatch. All with varying colours and positions!

This time I made it for Merida. The full pattern to make Merida will be available soon…
*There are affiliate links in this post. We will receive a commission if you make a purchase through our affiliate link at no extra cost to you.*
Hope this was useful for making your very own bow and arrow. You can always make it bigger proportionately with bigger wires and yarn. Just use your imagination! Remember to tag us @pocketyarnlings on Instagram or tumblr if you do make something out of it, I would love to see it!