

Magnetic components in my Kissing Couple!
To make my amigurumi sets more interactive for kids, I have been using some tiny magnets inside. I know there are some hang-ups with using magnets when kids are playing but so far my preschooler seems to be loving it. When making the amigurumis, the crocheted layers between each ami does cover it quite well, assuming you don’t have many gaps in between, so the child should not be exposed to the magnets.
Alternatively, specifically for the kissing couple on the bench, the magnets could be removed and the amis just made as they were. So this time, I’ll be talking about how I incorporated them into their faces and how I did that for an earlier animal set I did too!
Magnets used

I used the 8mm sized magnets, there are a variety of sizes, the next one up is 12mm. There is a balance between the size of the magnets because the bigger ones are sometimes difficult to fit inside the head but the smaller ones have weaker magnetic potential. It is possible sometimes when the yarn used to crochet the individual pieces are thicker, after the full ami is completed, the magnetism is not strong and the intended effect is not there. So there is a bit of trial and error, depending on the size of the button magnet and the thickness of yarn used.
Insertion points

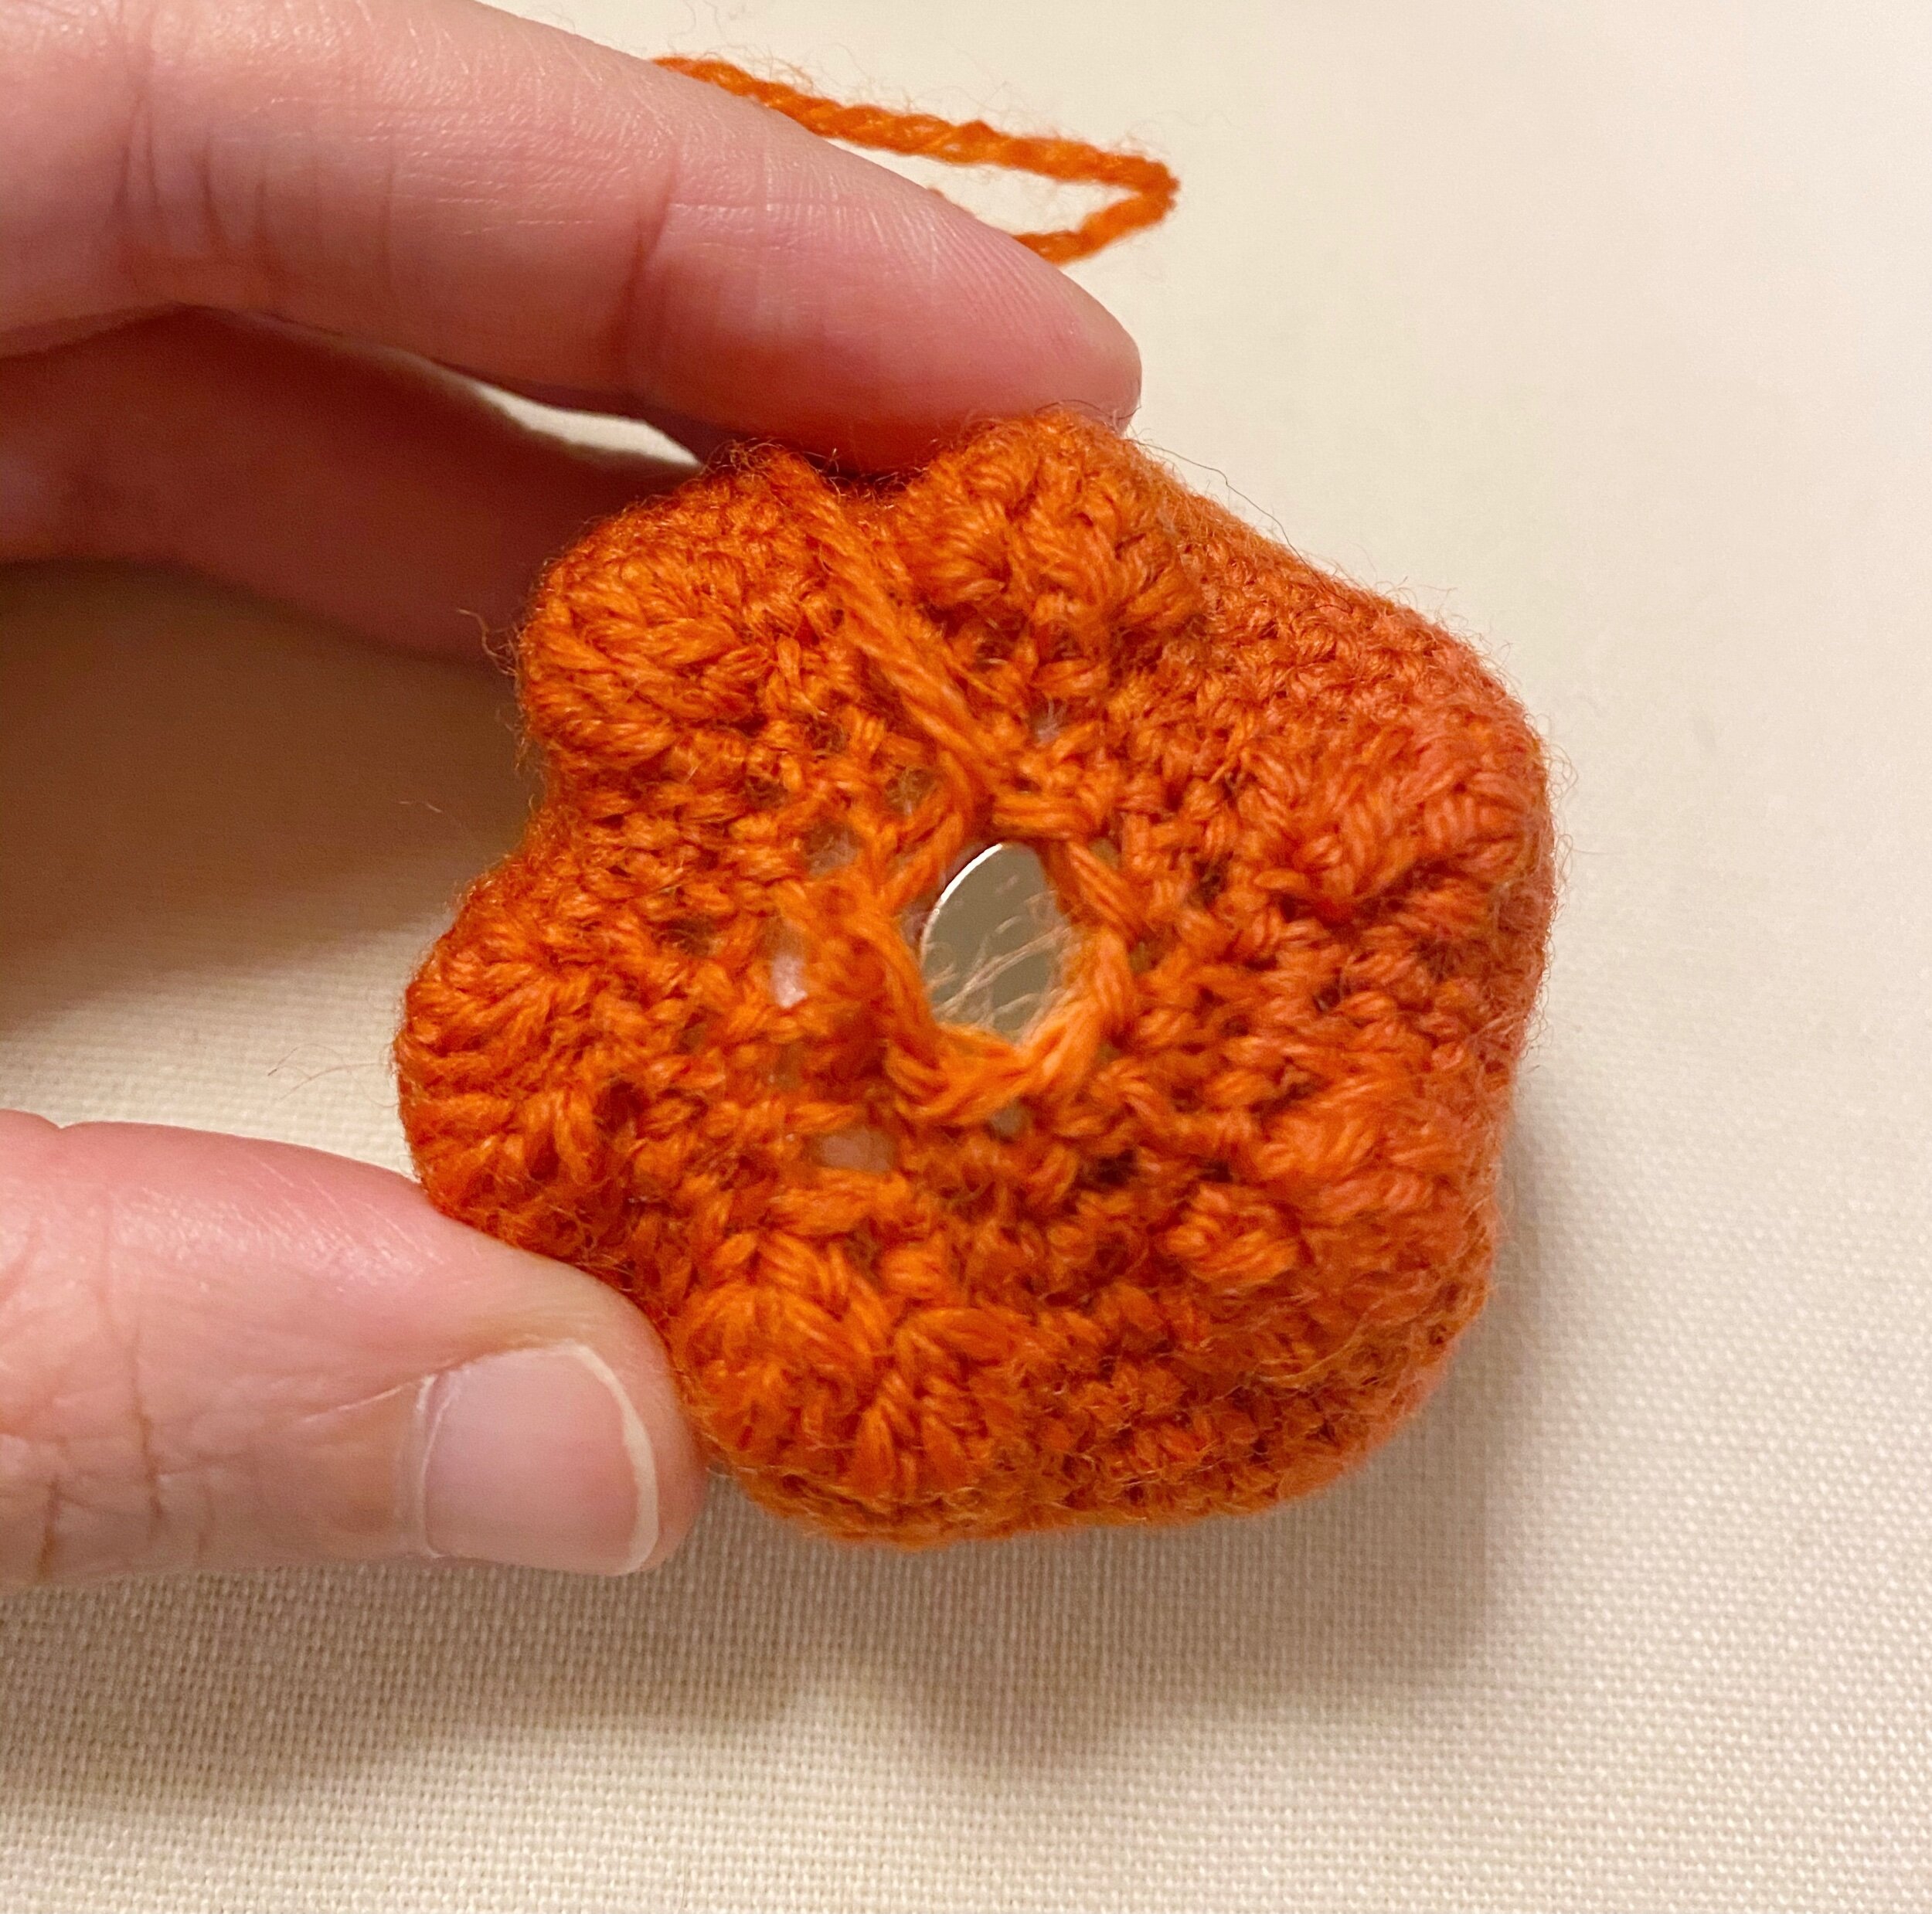
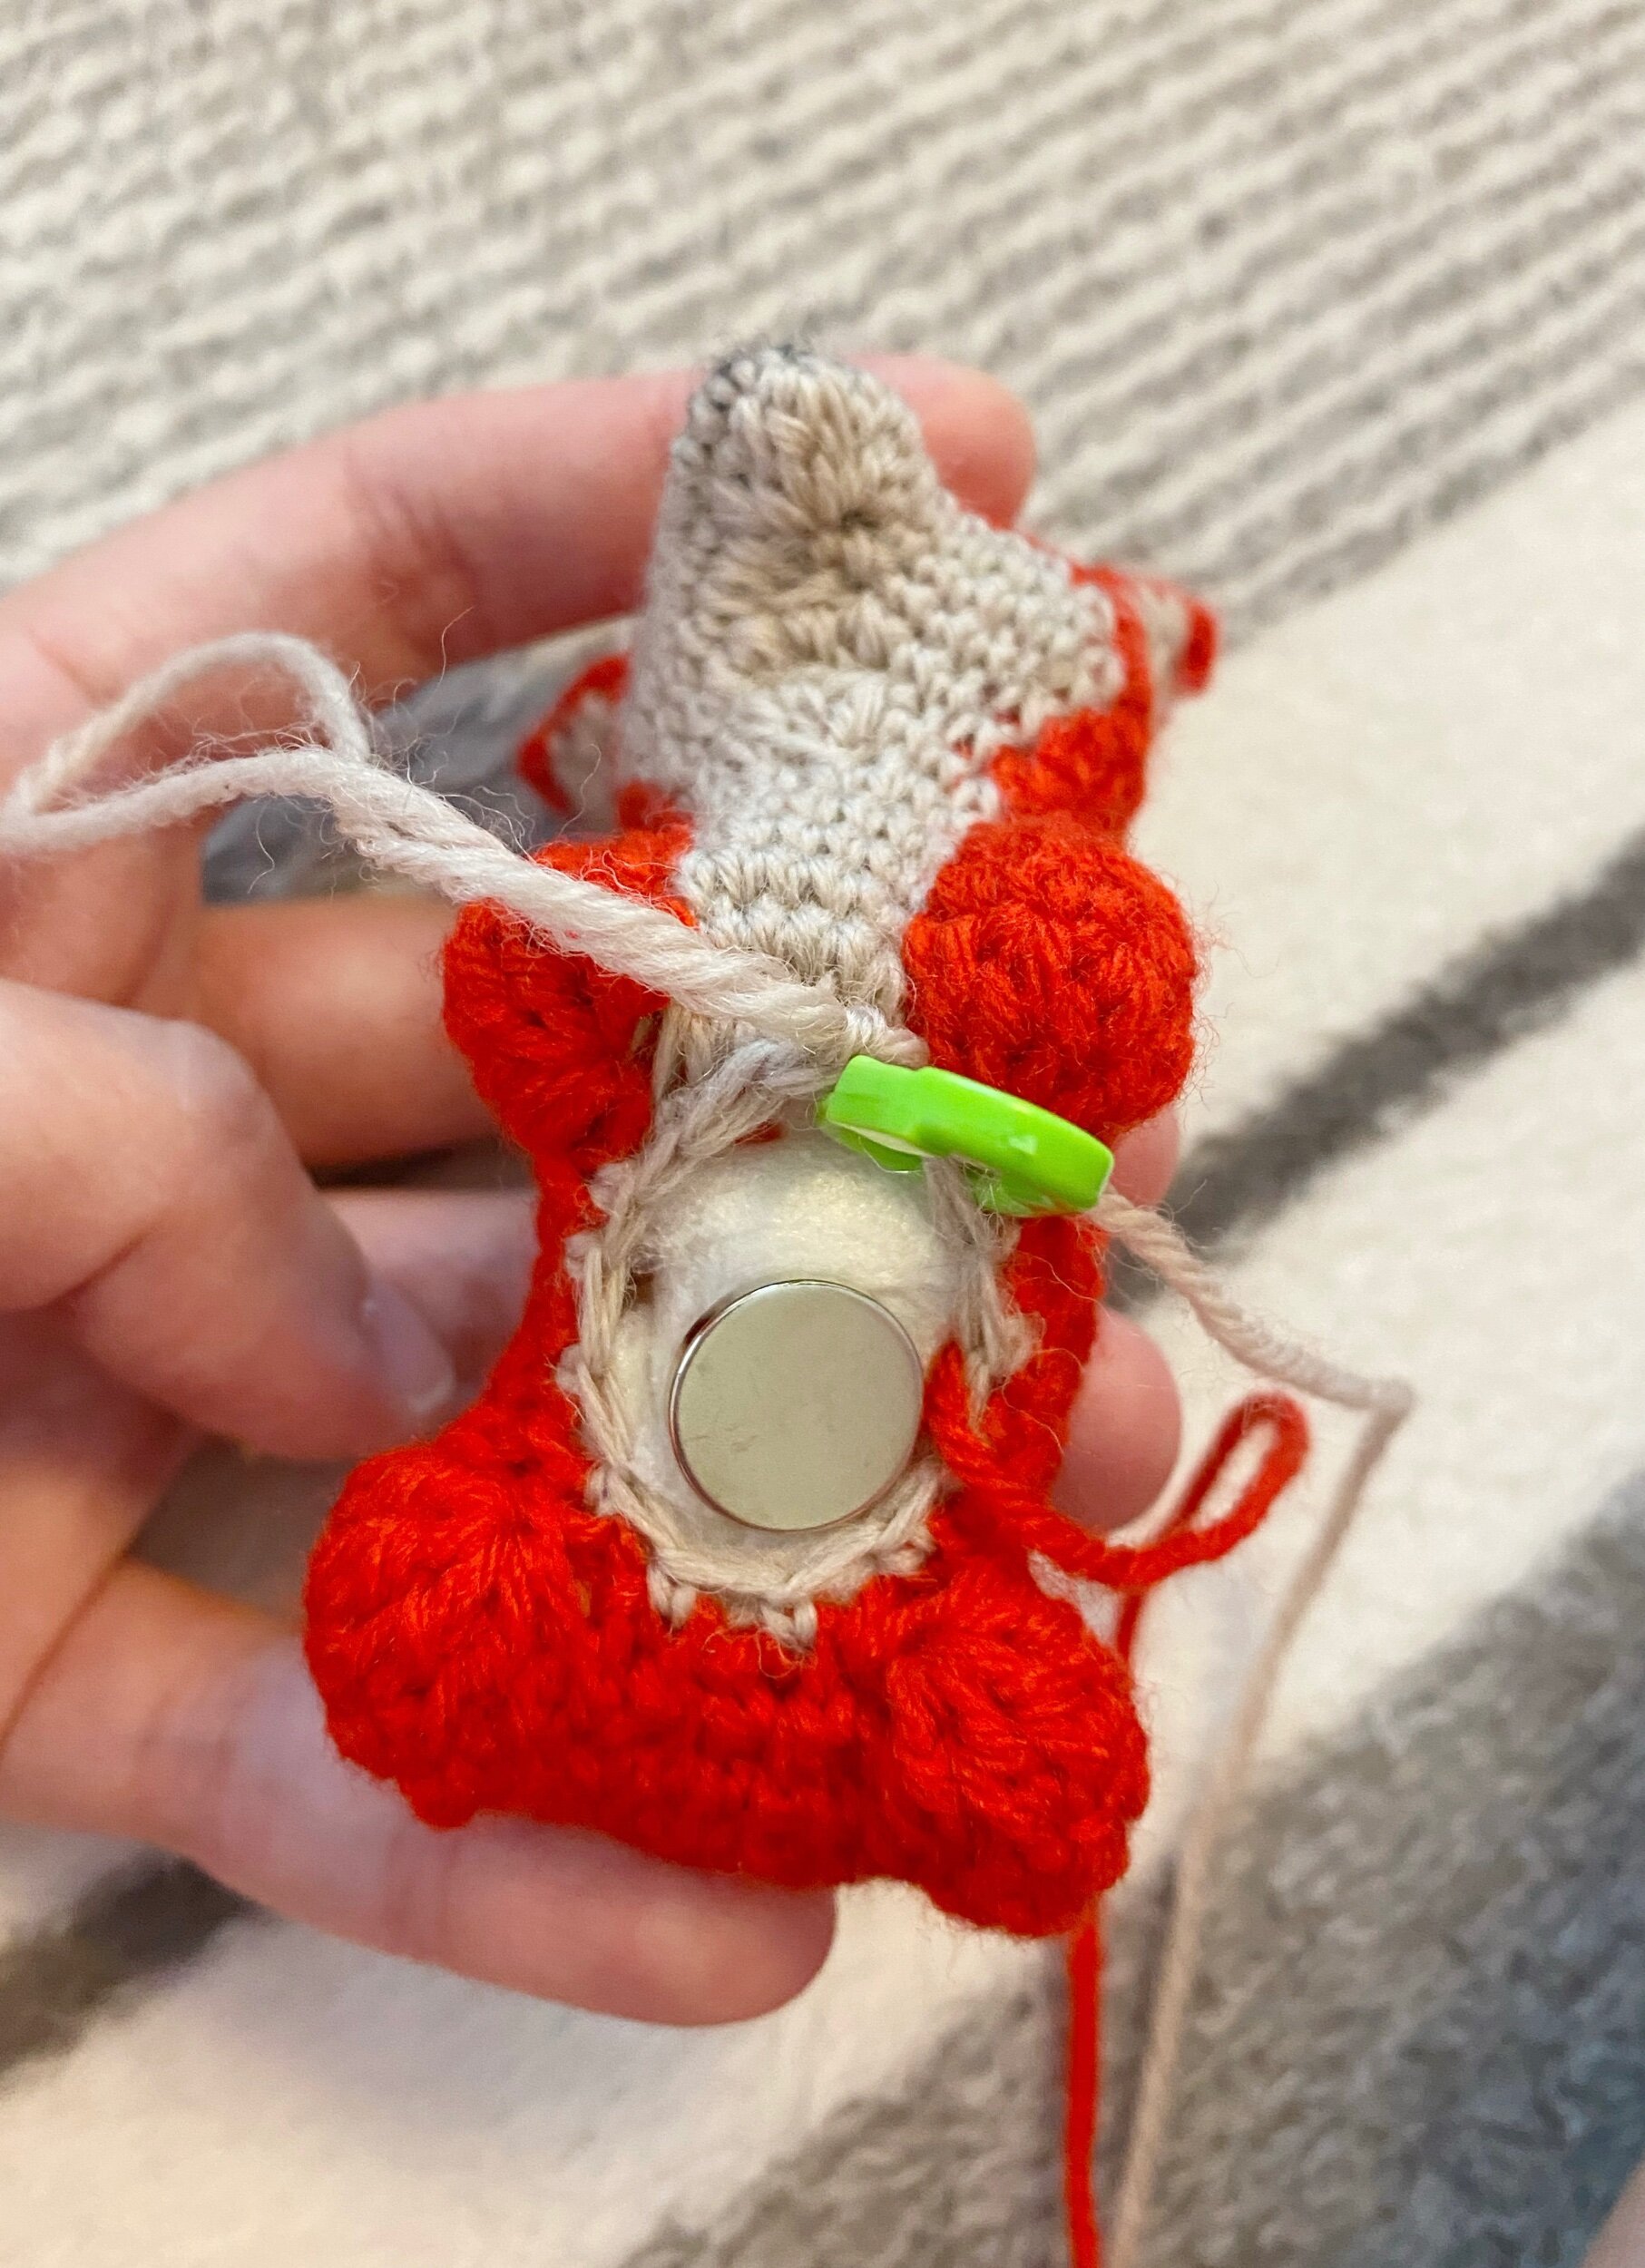
As you can see here, squeezing in the 8mm magnet was not too easy already, mostly because my amigurumis are smaller in size. Then again, making them with thicker or bulkier yarn might increase the size but similarly weaken the magnetism or attraction potential. To make it easier to insert in the magnet and continue crocheting around it, I placed another magnet on the outside to keep the internal one in place. So it looks a little like the 2 images below…


Intended magnetic effect
Similarly for Peter the boy, I added in another button magnet for Jane the girl. Whether you choose to include in the magnet in the end or not, this was the final intended effect. My little one knows there are magnets inside and she tries to line them up so that they can attract properly. At times, she dangles one over the other to test the strength of the magnetism too lol! I had to factor in a few things while making the pattern, which was to allow for the faces to be connected and yet enough space for the body below the heads to move freely, so that was a bit of a challenge.

All in all it was good fun making it and I love this set! This is how the final result looks like, in case you missed my previous post. You could position them this way without the magnets but it’s pretty difficult to keep them in this position :). I keep brainstorming new ways to try and make my ami sets more interactive, if you have any idea, I would love to see them in the comments below! What do you think of them?

Other sets making use of magnets
This was a woodland fall animal set I made some time back and my first attempt at using magnets, I had made some animals split into 2 and then magnetic components between them so that kids can mix and match each animal. It was all good fun! I even made a loghouse to keep everything together after they are done playing, although to be honest, I recently found my daughter’s bottom half of the hedgehog in an ice cream truck and the top half in the loghouse, haha. Check out more about that set below or click on the image below! Or see how I used the magnets in them in further detail!


In case you were looking for this set to make the Kissing Couple on the Bench, check it out below->

What do you think guys of using magnets? Of late, I have been brainstorming other ways to make interchangeable components which does not require using magnets, just crocheting using yarn, but I guess you have to stick around to find out more yah? :)