

How do you Shape Amigurumi?
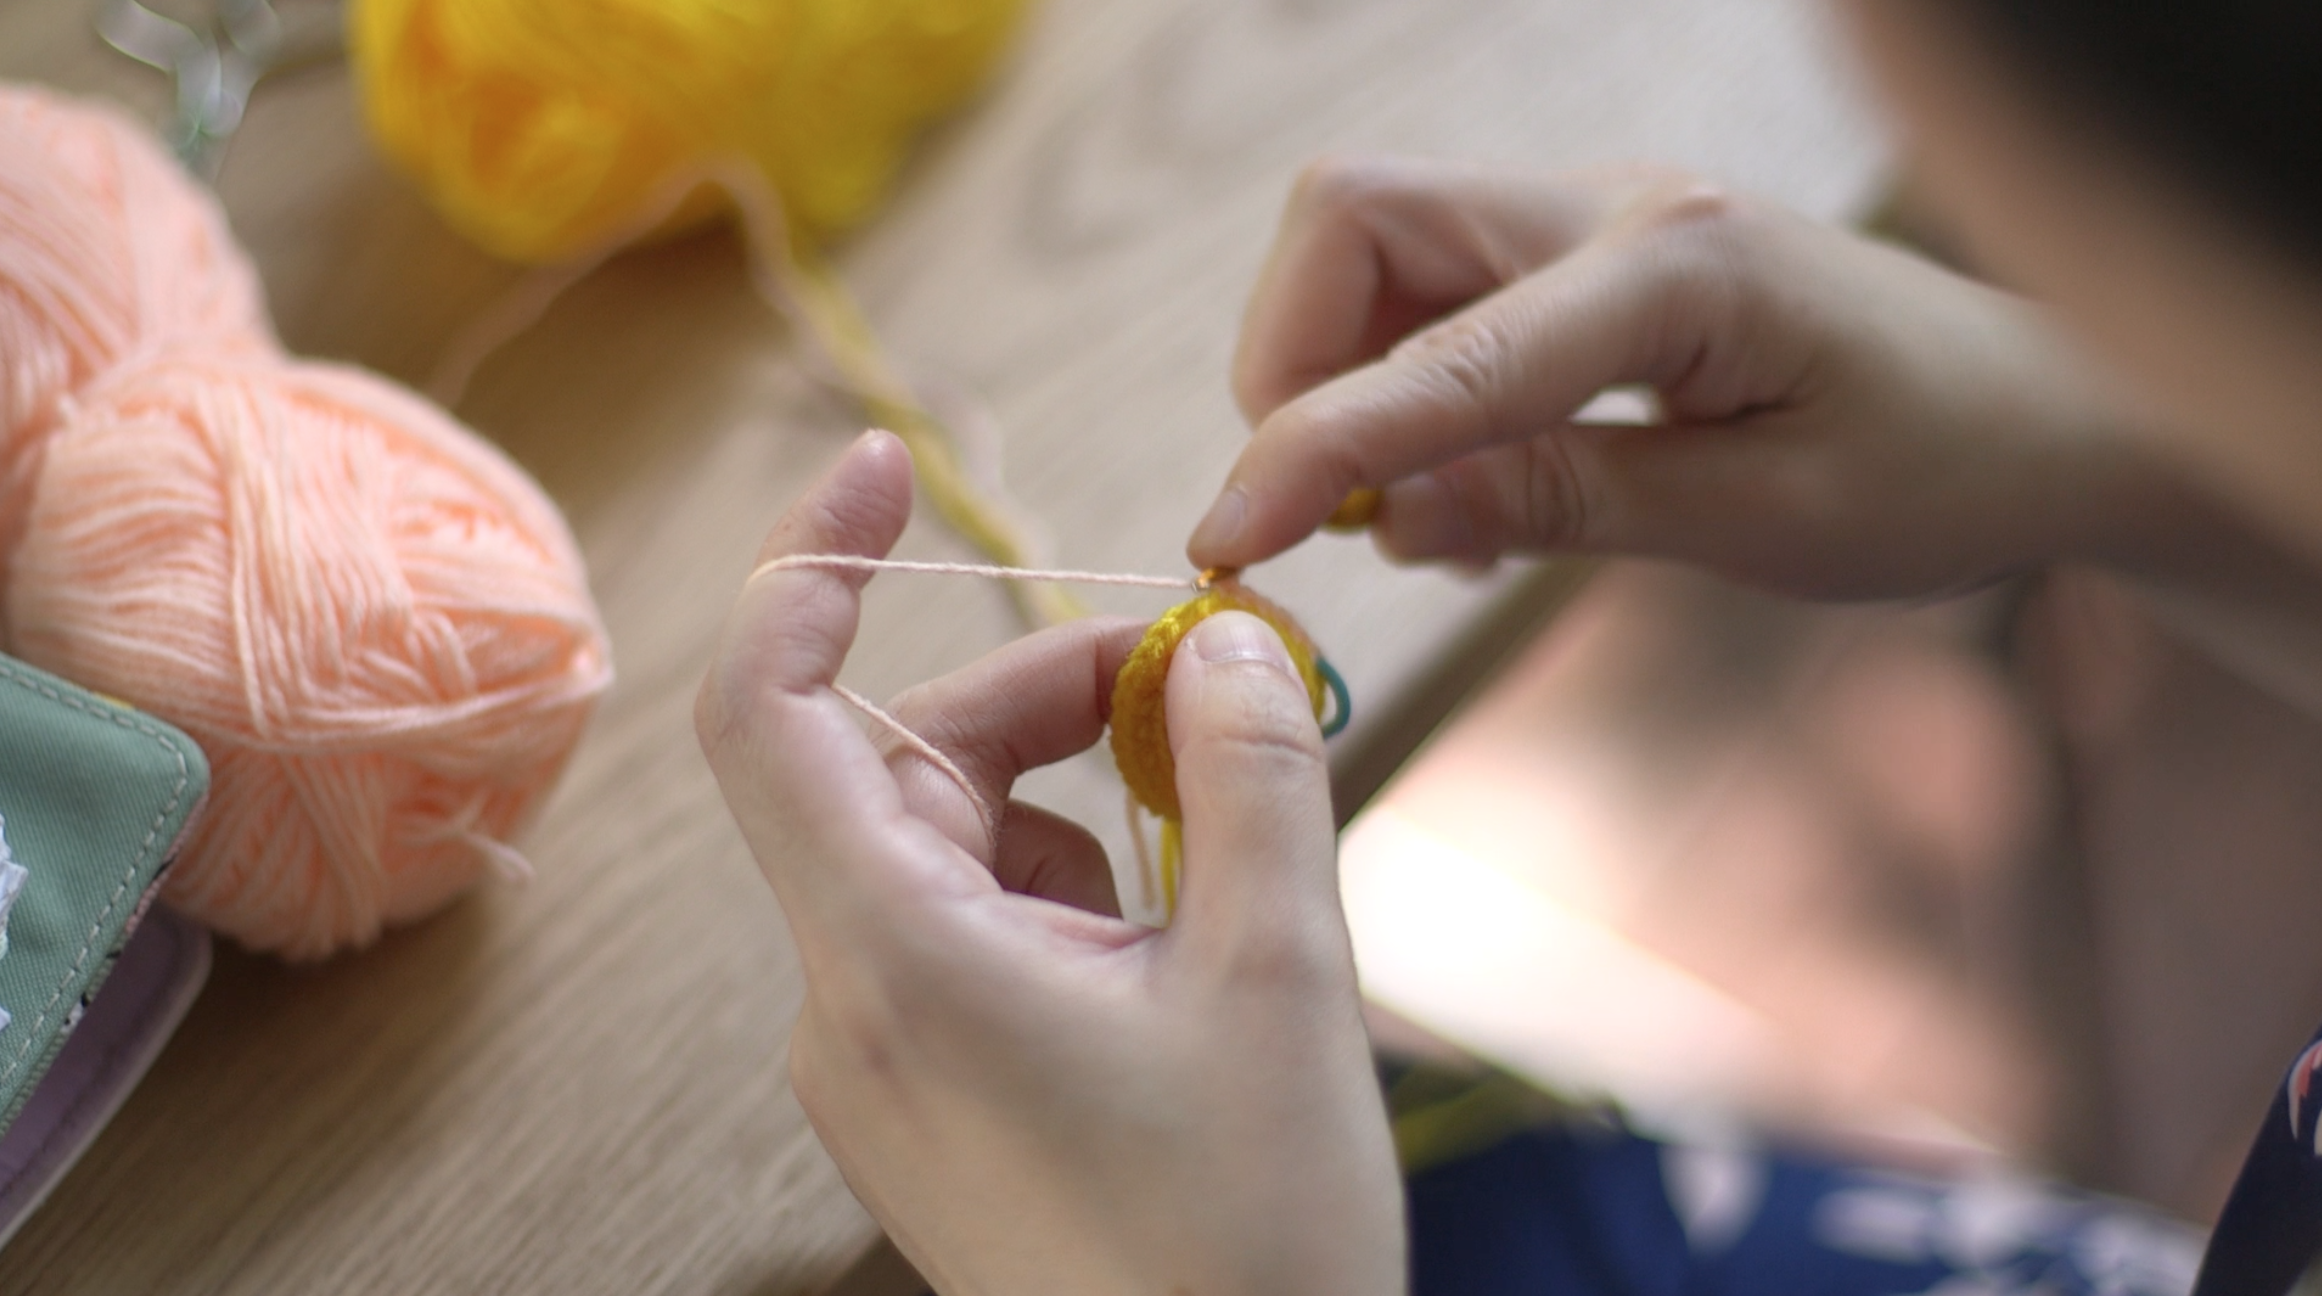
Amigurumi or crocheted toys is a slightly different artwork from other types of crochet. Mostly because it involves 3D rather than 2D projects, which means that the crocheting techniques often involve rounds rather than rows.
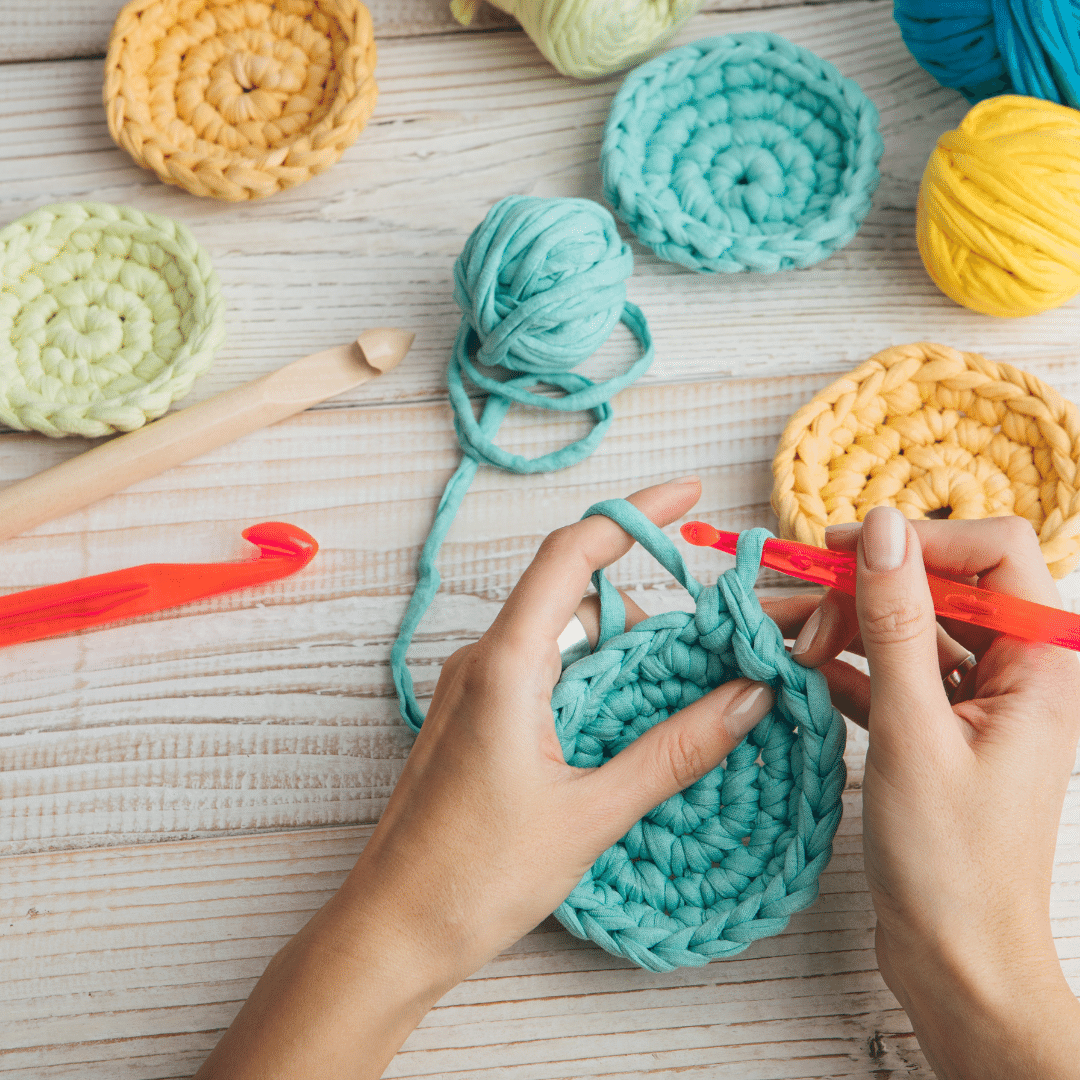
While creating a variety of textured fabric can made using different crochet stitches (like shell stitch, loop stitch etc), similarly, making amigurumi involves putting together many different shapes. Each 3D shape has its own set of crochet techniques to create it.
Which brings us to the next question.
Table of Contents Show
What is amigurumi shaping?
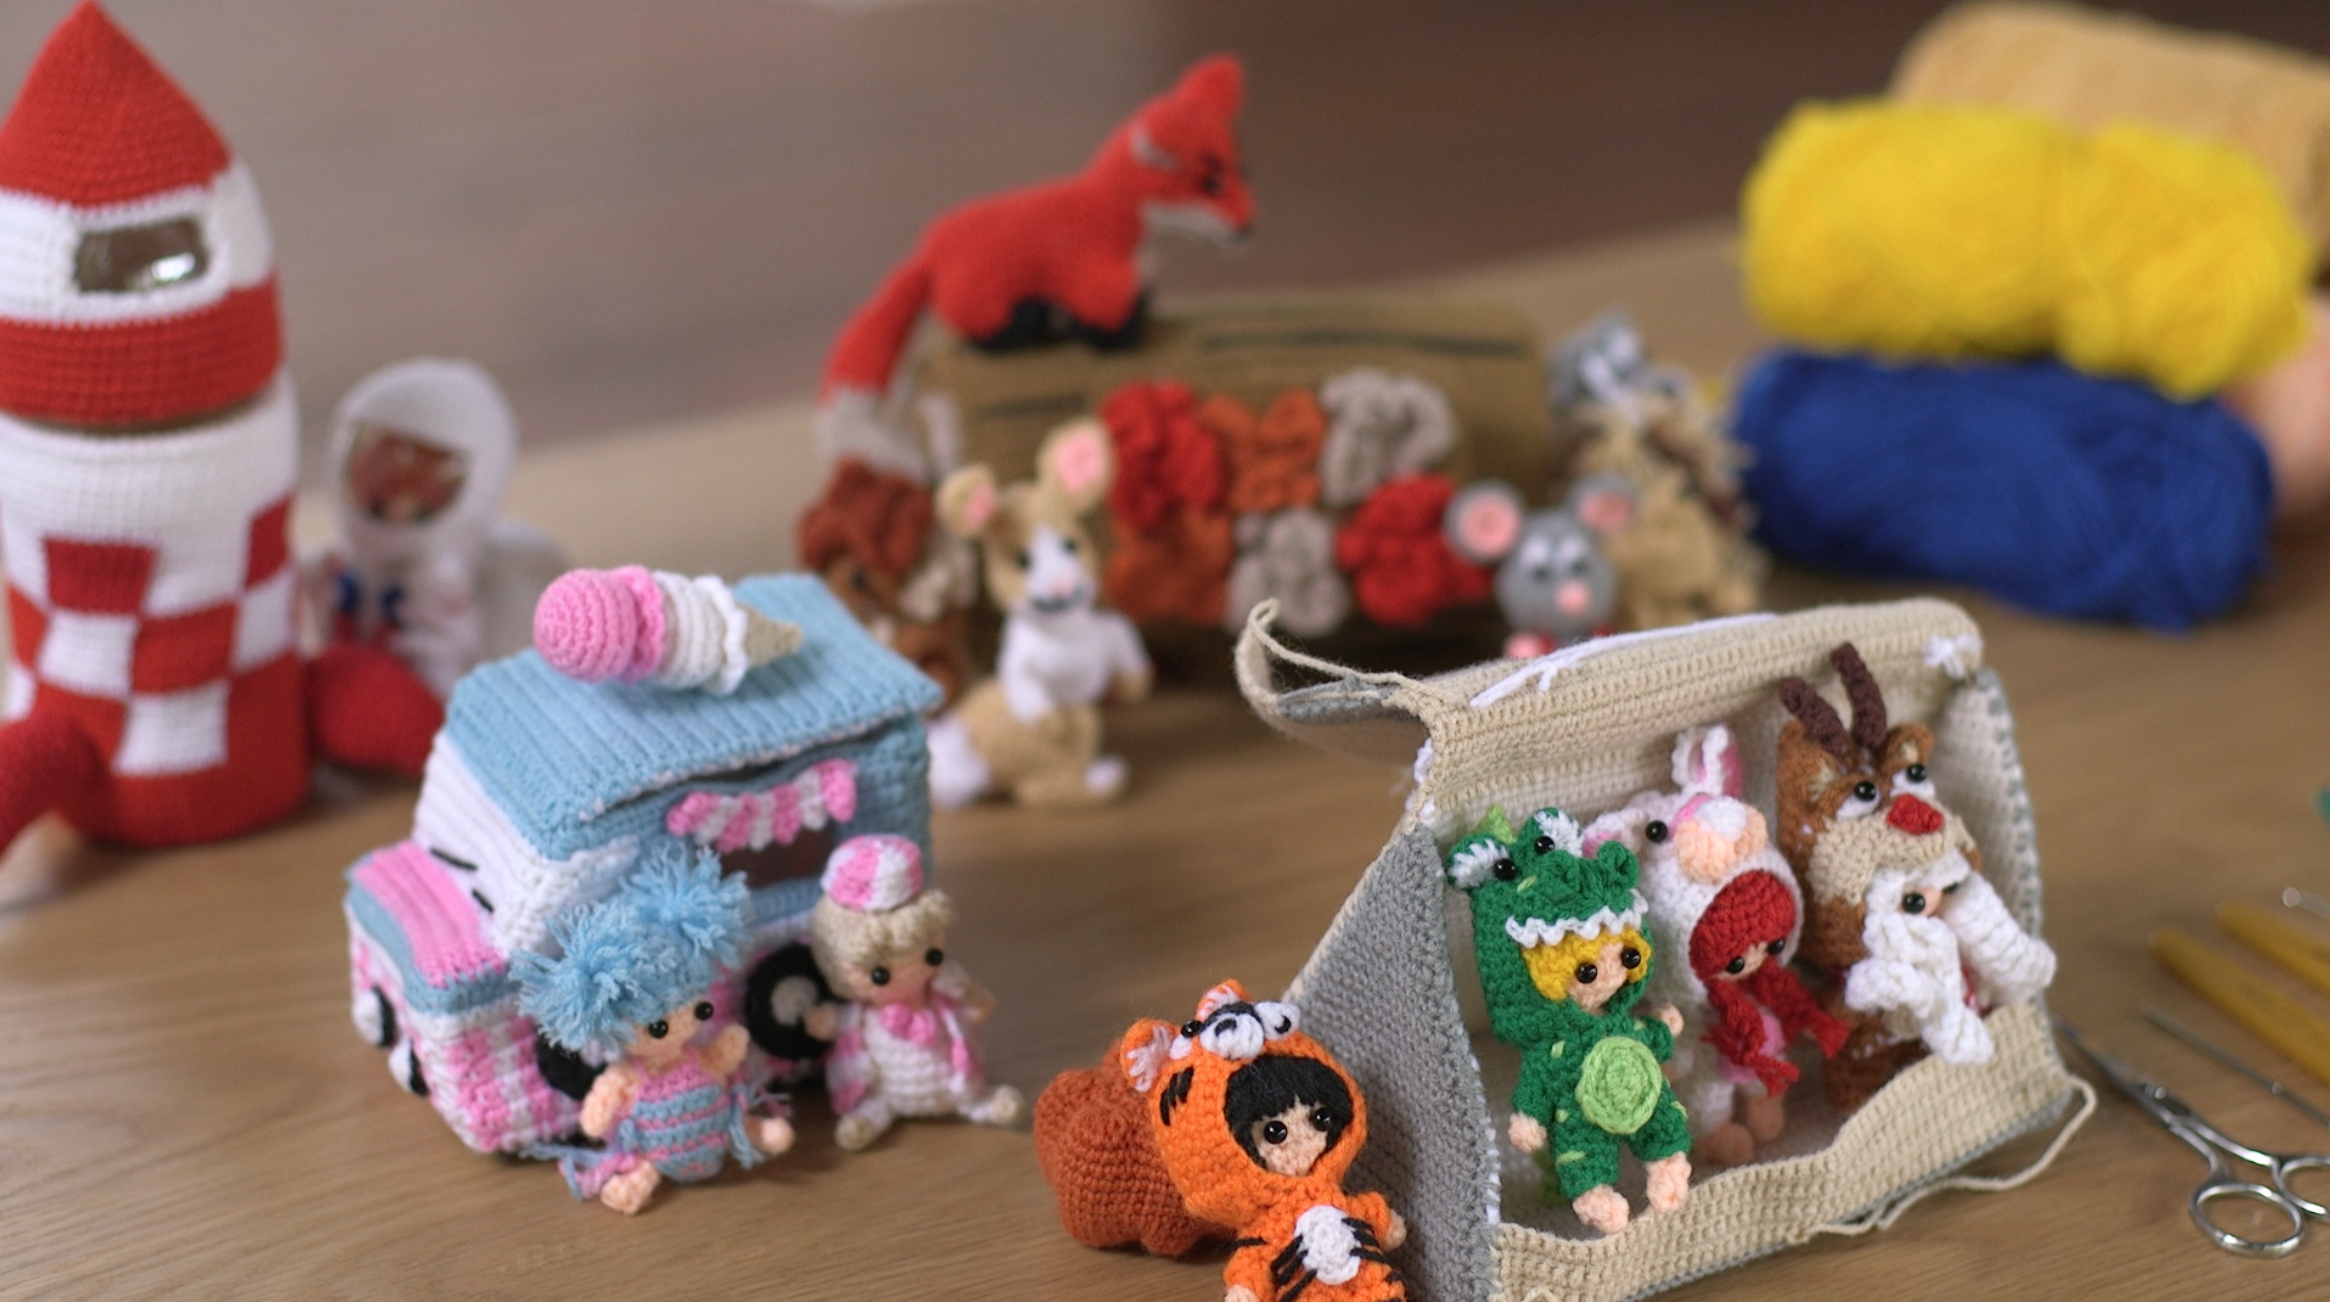
Amigurumi shaping is the process of crocheting and bringing together many different 3-dimensional shapes to form one unified figure or toy. This can be achieved in many different ways, of which the commonest is to crochet each individual 3D shape and then combine them all together through the process of sewing.
How do you shape amigurumi?
In its simplest form, let's take an example, if you crochet a sphere, which basically involves a magic ring, then increasing stitches, then stitches all around, then decreasing stitches and then ending and fastening off. This is one shape.
Then if we progress on, and now we want that sphere to be the head. We can crochet a similar ball only larger in size and place it at the bottom of the first ball. Now we have shaped our first snowman - meaning we have brought 1 smaller sphere and 1 larger sphere together to create a full snowman amigurumi. That is how I started!

And so it goes on, if you want to add limbs to the snowman, crochet 4 cylinders. Then sew them to the sides of the body as the arms and the legs. Now you have added 4 additional shapes to the amigurumi figure.
How do you make different shapes in amigurumi?
Up until now, you roughly get the concept of how Amigurumis are basically 3D figures made up of smaller 3D shapes. Which means to make amis, you will need to know how to crochet different 3D shapes. To learn how to get started on this, check out this blog post here on ‘How to crochet different shapes in amigurumi?’.

What is the easiest shape to crochet?
In general, it would be helpful to consider 2D flat crocheted surfaces and their equivalent 3D versions. For instance, a flat circle would correspond to a sphere or even a cylinder. A triangle could correspond to a cone or even a pyramid. A square to a cube or a rectangle to a cuboid. To start off with, the easiest 3D shapes that are most commonly used in Amigurumis would be the sphere, cylinder and cone shapes. You can see more on how to crochet them here.
How do you crochet amigurumi without a pattern?
Some crocheters prefer learning new crochet techniques from new crochet patterns, by learning the way the designer has decided to shape a certain part, like for example the snout or the face.
Once you have learnt that technique, you could repeat it again when creating your own amigurumi and incorporate it into its face or even tweak it slightly and then use it. Some would call this process amigurumi shaping or amigurumi designing.
With enough different crochet techniques under your belt, you could choose to repeat back the same techniques and crochet an amigurumi freehand or without a pattern.
What I tend to do personally is every time I pick up a new crochet technique, I usually change it up, tweak it, improve it to what I want and add it to my library of crochet techniques. Then if there's a certain look I want to create, I go back to that library and pull out the technique I want and mix and match them to create different Amigurumis without having to follow a pattern.
For instance, the bobble stitch is a popular textured stitch used in crocheting various fabrics, ranging from hats to garments and to blankets. I decided to incorporate that special stitch as arms in my amigurumi, sometimes noses, shoulder pads and even hairstyles!
Which then leads me to the next question.
How can I improve my amigurumi?
This is quite a broad question to ask but I tried to narrow it down into certain subcategories. To improve your amigurumi, there are a few ways to achieve that - by improving the quality of its parts, improving the finishings and improving the crochet techniques involved in making them.
Firstly, the easiest actually is to improve the quality of everything involved in the process of creating that amigurumi, most notably the yarn quality, stuffing quality and even the safety eyes quality. Also equally important I dare say is the quality of the crochet hook, if you invest in a ergonomic one that does not cause wrist pain, you could arguably crochet longer and tackle more difficult stitches because you will not experience pain.
Secondly, improving finishings will make your amigurumi neater, by reducing gaps, adding adequate stuffing, weaving in ends nicely and fastening off tightly. This will definitely help to make your amis look polished at the end!
Thirdly, is to improve your crocheting techniques by using more advanced techniques to create less common 3D shapes (think biconvex, crescentoid, hemicylindrical etc), asymmetrical shapes and even various bends. You could also use crocheting to replace sewing when combining different pieces together. These not only improve the appearance and quality of the amigurumi but possibility its durability as well.
How do I start designing amigurumi?
Learning how to do amigurumi shaping I would say is the first step to learning how to do amigurumi designing. Mix and match shapes to create different desired outcomes and you would end up with distinct Amigurumis which you have designed! If you always wanted to customize dolls or toys for your kids, then start off with learning how to crochet shapes and then combining them in the process of amigurumi shaping.