

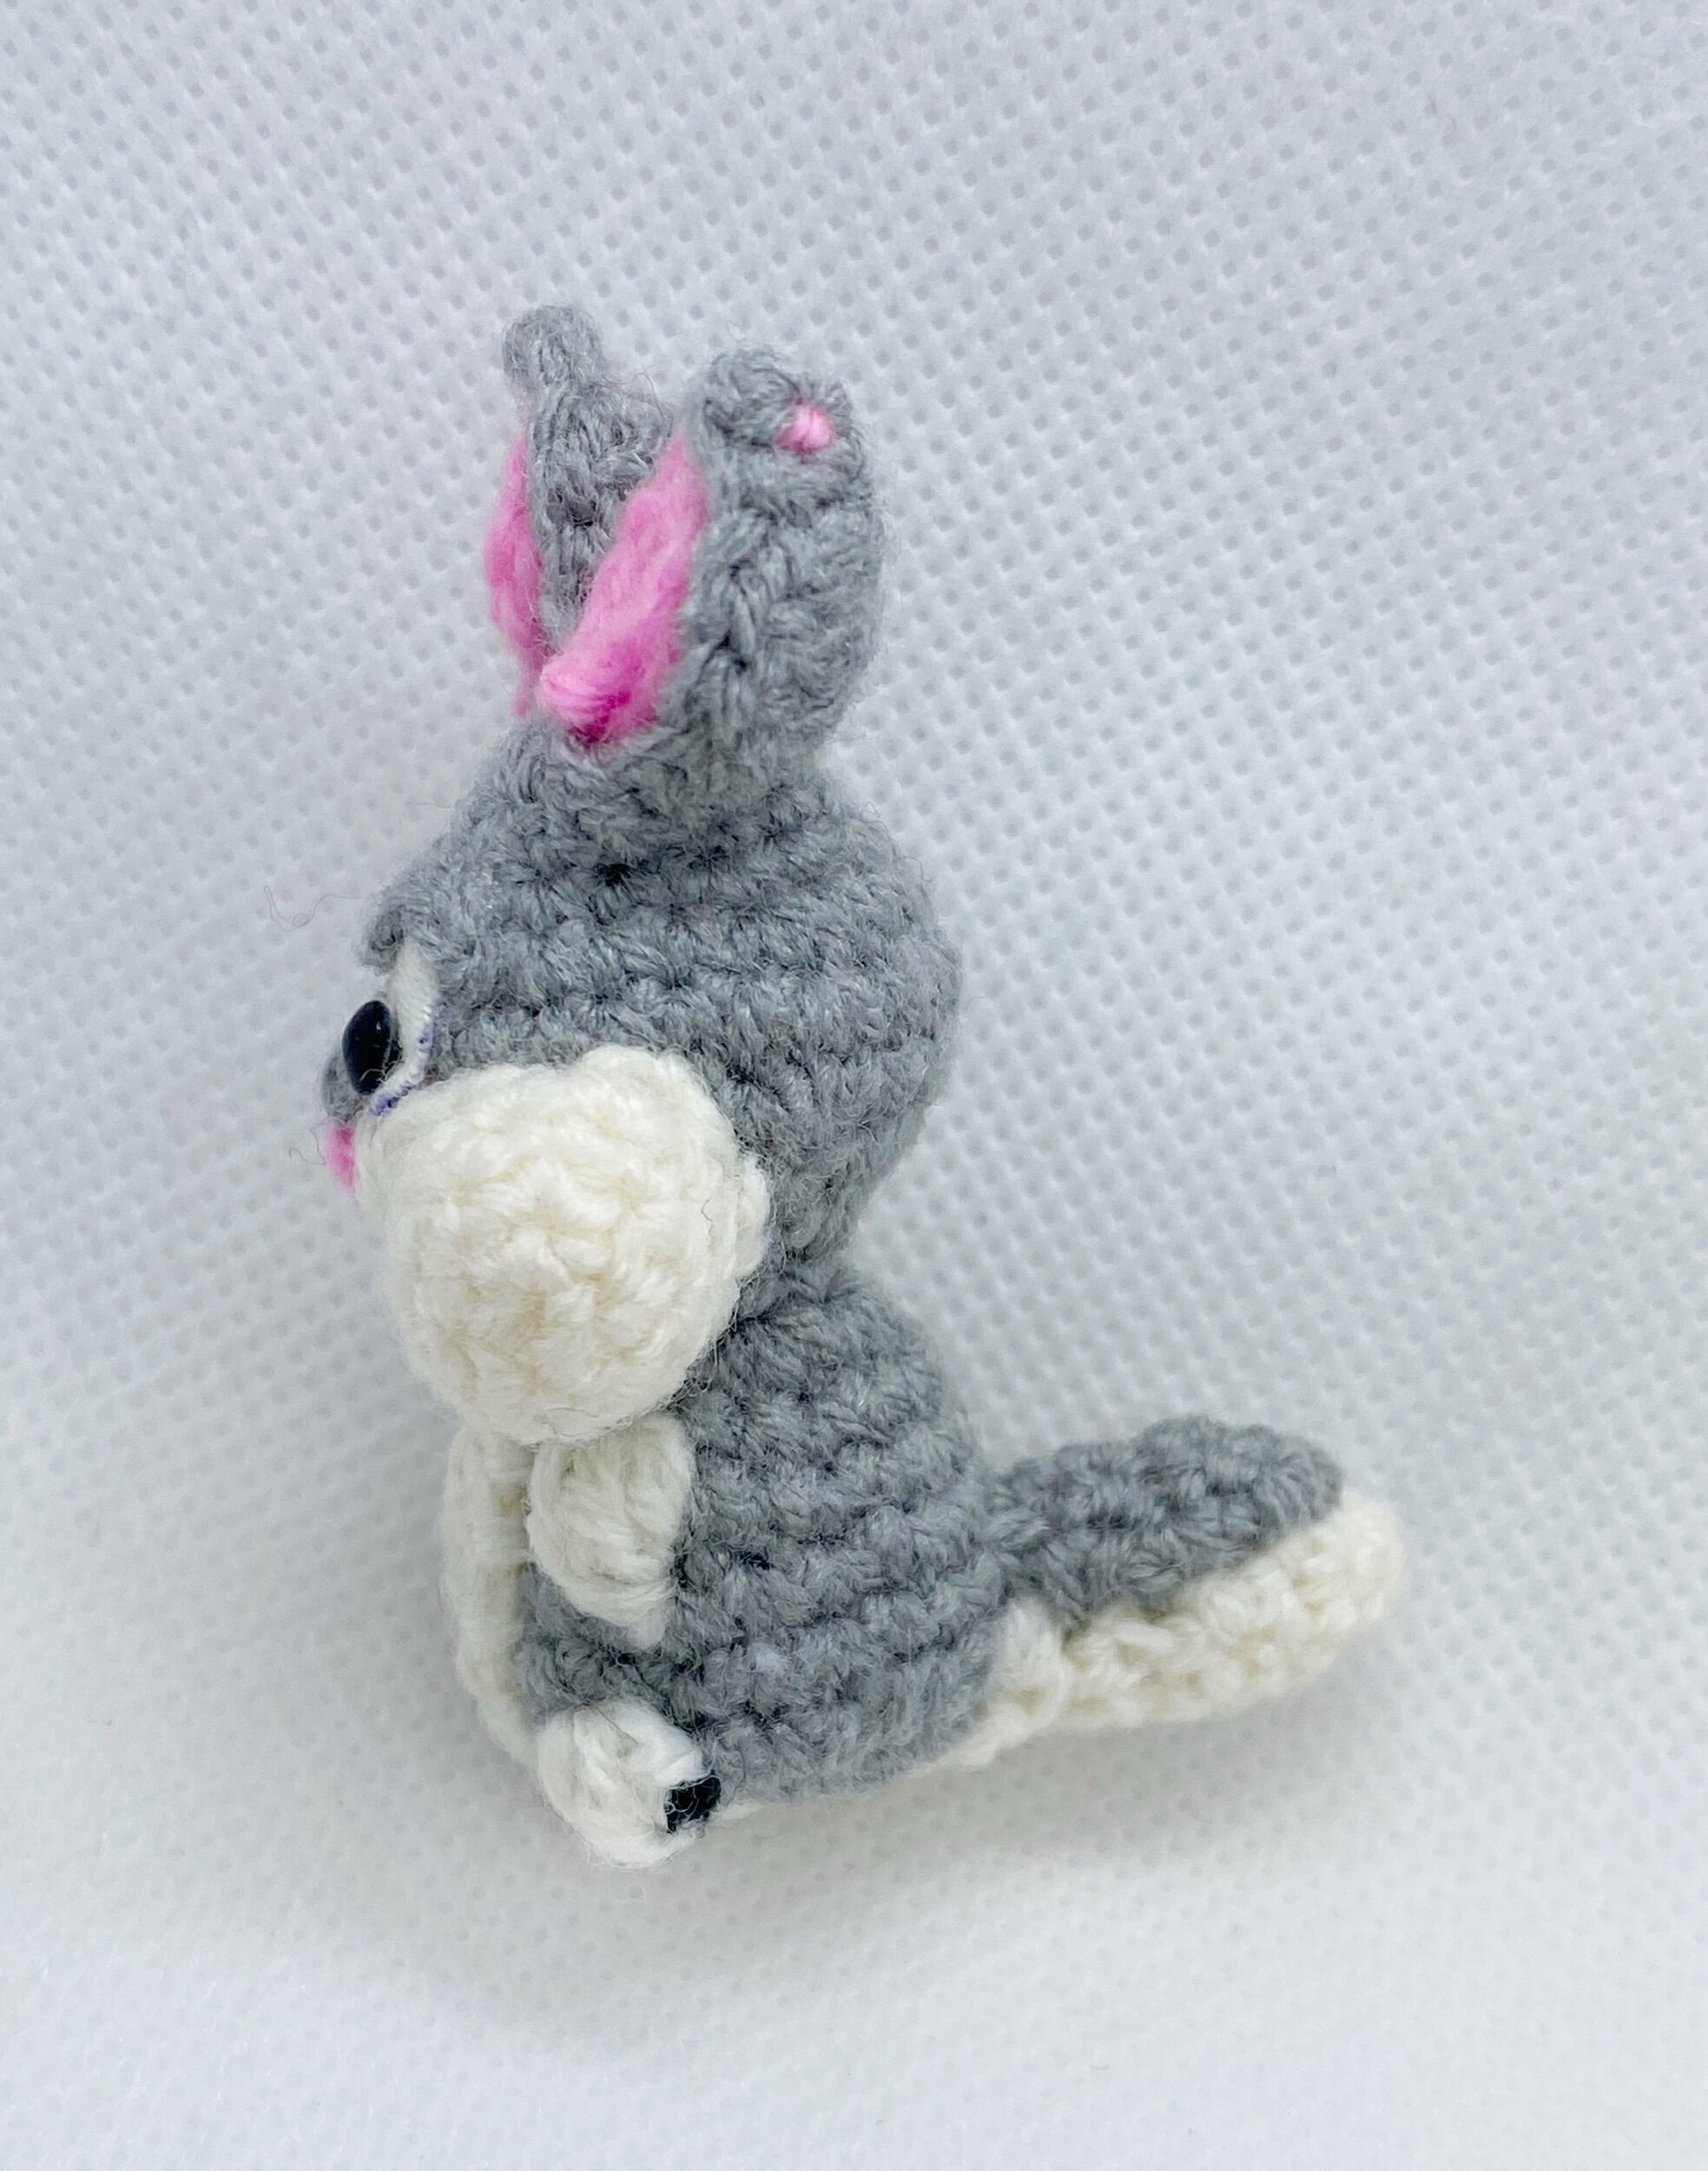
Free Bunny Crochet Pattern!

If you happened to miss my pattern tester call, no worries, I have the Bunny pattern here for free! He works up pretty fast and I did need some additional supplies this time which included some recycled white cloth and a permanent black marker. Would also love to thank all the awesome Pattern Testers who helped me test this collection out!
Terminology
Ch = chain
Sc = single crochet (2sc1 means 2 single crochet in same ch)
St = stitch (refers to number of stitches in one round)
Dc = double crochet (yarn over 1x)
Tc = treble crochet (yarn over 2x)
Sc2tog1 = single crochet decrease
Bobble stitch = 4 double crochet bobble (4dc bob)
Materials and Tools
2.5mm Clover crochet hook
Orion Top Deluxe Yarn, Crown Yarn (or any equivalent acrylic yarn) - light grey, white, black, light pink
Darning needle
Stitch markers
Filling – use leftover yarn or polyester fiberfill
Scissors
4mm glass eyes or safety eyes
Recycled white cloth
Head – light grey
Round 1: Magic ring sc6 – 6st
Round 2: 2sc6 – 12st
Round 3: Sc12 – 12st
Round 4: (Sc1, 2sc1) x 6 – 18st
Round 5: (Sc2, 2sc1) x 6 – 24st
Round 6: (Sc3, 2sc1) – 30st
Round 7: (Sc3, sc2tog1) x 6 – 24st
Round 8: (Sc2, sc2tog1) x 6 – 18st
Round 9: (Sc1, sc2tog1) x 6 – 12st
Round 10: Sc2tog6 – 6st
Body (continue from head) – light grey
Round 11: Sc2, 2sc4 – 10st
Round 12: 2sc10 – 20st
Round 13: Sc10, 4dc bob (arm), sc7, 4dc bob (arm), sc1 – 20st
Arms (at 11th and 19th position): 4dc bobble stitch, top and bottom half all white
Round 14: Sc20 – 20st
Round 15: Repeat round 14 – 20st
Round 16: Sc12, 4dc bob (leg), sc5, 4dc bob (leg), sc1 – 20st
Legs (at 13th and 19th position): 4dc bobble stitch, top half white, bottom half (alternating black and white)
Fasten and end off with round 16. Add stuffing to the body. Use a new set of yarn to make round 17 as a separate piece, then join up the circle with round 16 above, using whipstitch.
Round 17: Magic ring 10 then 2sc10, to join up to round 16 – 20st
(Bobble stitch for legs = top half white, bottom alternating black and white
When changing colours from the 12th light grey single crochet in Round 16 to black, will need to pull through black yarn through 2 light grey loops on hook, like you would normally do when changing colour.
You will then have 1 black loop on hook
Yarn over white, insert hook, yarn over white again, draw white yarn through –> you will have 2 white loops and 1 black loop on hook
Then draw white yarn through 2 white loops on hook –> you will have 1 white and 1 black loop on hook
Repeat process: yo white, insert hook, yo white and draw white yarn through –> you will have 3 white loops and 1 black loop on hook
Then draw black yarn through 2 white loops on hook –> you will have 1 black, 1 white and 1 black loop on hook
Repeat again: yo white, insert hook, yo white and draw white yarn through –> you will have 2 white, 1 black, 1 white, 1 black
Then draw white yarn through 2 white loops on hook –> you will have 1 white, 1 black, 1 white, 1 black
Repeat last time: yo white, insert hook, yo white and draw white yarn through –> you will have 3 white loops, 1 black, 1 white, 1 black
Then draw black yarn through 2 white loops on hook –> you will have 5 mixed loops (1 black, 1 white, 1 black, 1 white, 1 black) on hook
Then pull through light grey yarn through all 5 mixed loops on hook and sc1 in next main stitch.)
Outer Ears – make 2, light grey
Round 1: Ch9
Round 2: Sc2, hdc1, dc2, hdc1, sc2, go around chain
Round 3: Sc2, hdc1, dc2, hdc1, sc2
Finish off leaving a tail for sewing to head.
Inner Ears – make 2, light pink
Round 1: Ch7
Round 2: Sl st 2, hdc2, sl st 2, go around chain
Round 3: Sl st 2, hdc2, sl st 2
Finish off leaving a tail for sewing to head.
Join up the inner ears to the front of the outer ears.
Muzzle – white
Row 1: Ch3, turn
Row 2: Sc2, ch1 and turn – 2st
Row 3: 2sc2, turn – 4st
Row 4: 2sc1, sc2, 2sc1, turn – 6st
Row 5: 2sc1, sc4, 2sc1 – 8st
Finish off leaving a tail for sewing to head.
Nose bridge – light grey
Ch3, sl st 1, dc1
Should get a small light grey triangle
Place light grey nose bridge on top of muzzle, stitch pink nose below nose bridge.
Cheeks x 2 – white
Round 1: Ch4, sc2, 3sc1, go around chain, sc1, 2sc1 – 8st
Round 2: Sc3, 2sc1, sc3, 2sc1 – 10st
Round 3: Sc10 – 10st
Round 4: Repeat round 3 – 10st
Finish off leaving a tail for sewing to head.

Eyebrows x 2 – light grey
Ch3
For the eyes, cut out 2 small ovals from an old piece of white recycled cloth. The glass eyes are to be attached on top of them and the eyebrows sewn above them.
Belly – white
Round 1: Ch4, sc2, 3sc1, go around chain, sc1, 2sc1 – 8st
Round 2: Sc3, 2sc1, sc3, 2sc1 – 10st
Finish off leaving a tail for sewing to body.
Extension of belly downwards – white
Row 1: Ch3, turn
Row 2: Sc2, ch1 and turn – 2st
Row 3-10: Repeat row 2 – 2st
Row 11: Sc2 and end off – 2st
To be attached between both bobble legs around base of main body.
Tail – white
Round 1: Magic ring 4 – 4st
Round 2: (Sc1, 2sc1) x 2 – 6st
Round 3: (Sc2, 2sc1) x 2 – 8st
Round 4: Sc8 – 8st
Round 5: Repeat round 4 – 8st
Round 6: Sc2tog4 – 4st
Finish off leaving a tail for sewing to body.
Topside of tail – light grey
Round 1: Ch4
Round 2: Sc3, ch1 and turn – 3st
Round 3: Repeat round 2 – 3st
Round 4: Sc3, turn – 3st
Round 5: Repeat round 4 – 3st
Round 6: Sc2, turn – 2st
Round 7: Sc1 and end off – 1st
Attach this light grey patch above the white tail.
Sew down whole tail to posterior midline of back at the bottom.

Assembly
Ears
Attach the 2 joint ears on either side of head, at the 2nd row.
Muzzle
Attach the muzzle over the bottom half of the head in the middle.
Sew down the light grey nose bridge over the top-edge of the muzzle in the midline, such that the base of triangle is at the top and tip of triangle is above the 1st row of white muzzle.
Nose
Use light pink yarn to sew down over the junction of nose bridge and muzzle (light grey/ white junction). Go over 3 times to form vertical stitches as the nose.
Cheeks
Attach the white cheeks to either side of the muzzle, over the lower half of the face. Add stuffing inside to puff it outwards.
Eyes
Place the 2 white oval cloth patches just above the muzzle and on either side of the nose bridge.
Attach the glass eyes at bottom of the white eye patches.
Add the chain of 3 as the light grey eyebrows above both eye patches.
Belly
Place the belly in the middle of body and sew down, in between the bobble arms.
Then attach the ‘extension of belly downwards’ piece in between both bobble legs, around the base of the main body.
Tail
Attach joint tail piece to the back of main body piece, at bottom and in the midline.
Disclaimer: Do tag us @pocketyarnlings on Instagram or share a picture once you have completed it. Hope you have fun making it!
