60 Crochet Planner Journal Ideas for your next Amigurumi (with free printable!)
Have you always wanted to organize your thoughts about your crochet projects? Being a creative person can sometimes mean your head is a mess of ideas, epiphanies, colours and inspiration! This is also possibly another reason why you are constantly stuck in between WIPs (or works-in-progress), because you are unable to gather your thoughts together.
Table of Contents Show
What is a crochet planner journal?
This is where my idea of a crochet planner journal comes in. I guess they could count as crochet planning worksheets, crochet plan templates or just crochet planner journal ideas in general - to list out and maybe to print out!
It is essentially like a journal where you brainstorm and plan out your crochet projects, so you know what you want to make before you start it, what you have to gather to make it, how to plan out the process, how to execute it and how to mark done along the way. Don't forget to reflect at the end and think about the challenges you face on the way and perhaps how to make it better the next round. Sounds simple right?
How do you keep a crochet journal?
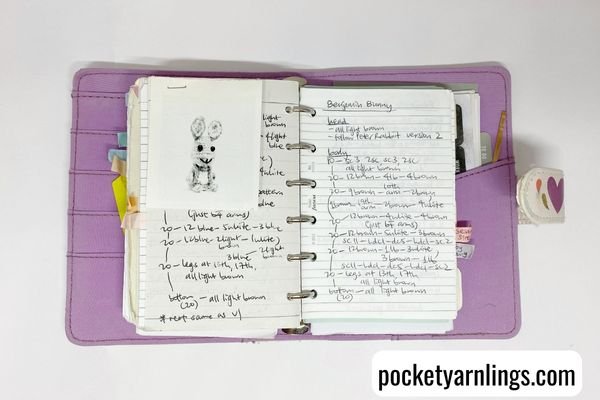
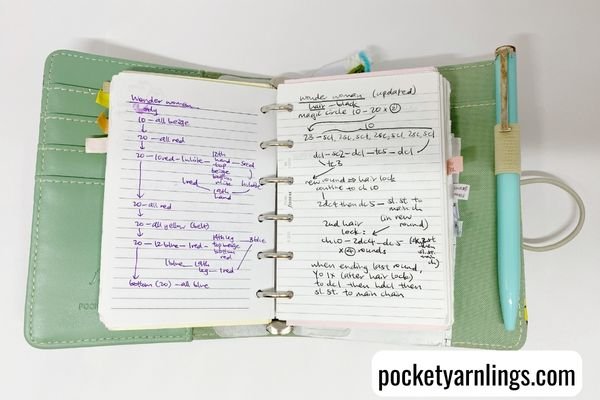
You could keep it by traditionally writing it down on pieces of paper (preferably recycled pieces) if you are old school. Or you could type it out inside google sheets or one drive so that you could take it on the go with you. You could keep a little crochet book or you could download a pretty template, print it out and then write your ideas on it!
This process sort of forces you to focus your thoughts on work processes that you repeat every time you create a new project. So instead of many balls of yarn placed together, possibly amongst your pile of WIPs, take to writing or typing all that you need down, to stay organized and focused.
I used to love writing down my patterns and what colours I needed, initially I was so haphazard, I did not really understand what I was writing when I referred back to it. Now I try to make everything in digital format because when I want to repeat something, it is so much easier to copy and paste, as compared to writing out everything again!
Why do a crochet planner journal?
There are many reasons to do and keep a crochet planner journal. First and foremost with most organizers, the idea is to stay organized! This helps with minimizing interrupted work and discourage you from moving onto the next thing so you can finish your crochet project or in this case, amigurumi.
Keeping track of your project also means you know where you left off in your pattern or designing process. Since crochet is such a portable hobby, you could bring along this crochet planner with your yarn or simply refer to your phone to see a digital version.
Another good use is that it also reminds you of deadlines, specific goals you set for yourself and targets. This can be pretty crucial if you are rushing out projects for seasonal gifts or even for magazine submissions.
Lastly, I think it helps with keeping your budget in check as well. By keeping track of what stash yarn you have and also by having a checklist on deciding the next yarn selection, you can convince yourself not to buy too much yarn (in case you go overboard because the colours are too delicious!)
Check out this article on '‘12-point Checklist to Select the Best Yarn for Amigurumi’.
Free Crochet Planner Journal!
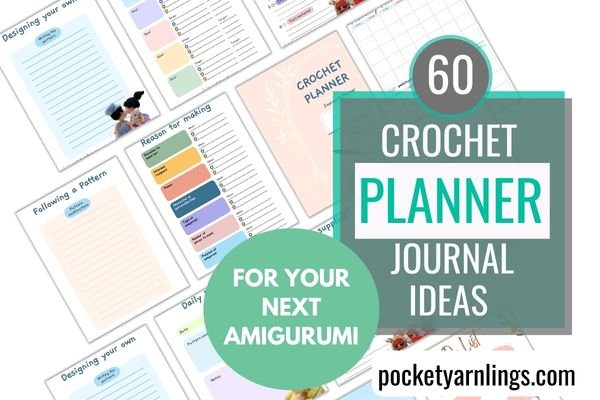
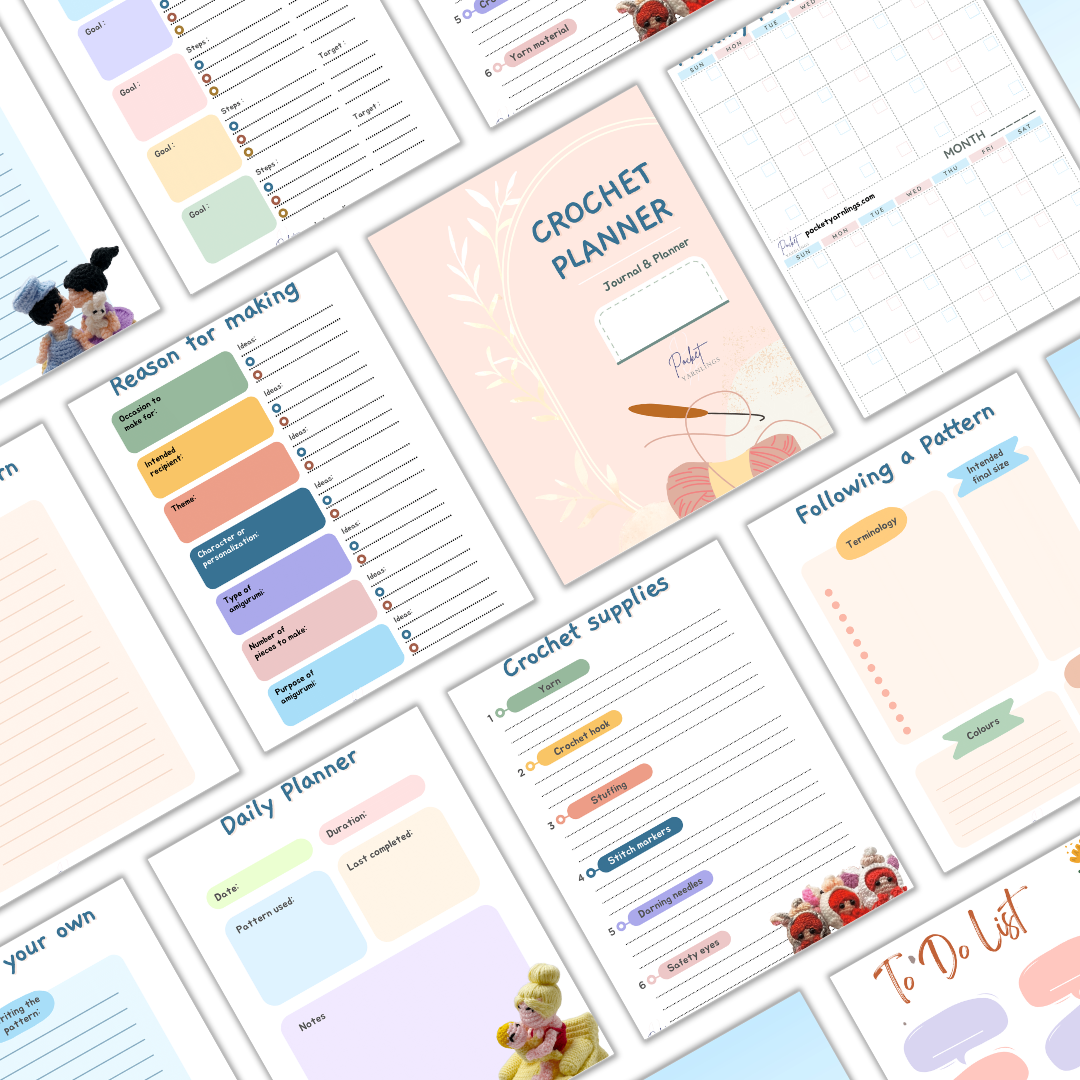
Click here to grab this 20-paged workbook and checklists that will help organize your creativity before you even start on your next crochet project! Or click on image on the left.
What do you write in a crochet journal?
This comes the meatiest part of this article and where I pour out all my random ideas that you should jot down in your crochet journal. Feel free to comment below if I have missed something out or if you have even better ideas!
Don't worry, I have a little free pretty download at the end that summarize all the points!
I broke it down into specific subsections so that they make sense in along the way in your amigurumi crocheting journey. Do note these are particularly meant for amigurumi crocheters. Let's get started!
Reasons for making
After thinking through the occasion you are making this for, which could either be seasonal (think Christmas or Halloween) or celebration (think birthday or anniversary), then remember specifically who you are gifting this amigurumi to, because it would affect the rest of the making process. Of course if you are making to sell, then also think about the quality you want to put across.
After thinking through the general theme, perhaps there are certain characters you want to make or maybe even personalization (like making your kid in her favourite Pyjamas because that's what I did.)
In general, there are so many different types of amigurumi, for me I prefer to break them down into different categories for me to plan out - animals, dolls, vehicles, plants, food, furniture. This helps me in moving forward with the designing process. Also remember to consider the number of pieces you need to make, whether all are different or all are the same (for instance like making a Teachers Day present).
Taking all the above into consideration, then ponder on the purpose of the amigurumi, whether it is ornamental, decorational for the home, playing, snuggling or even fashion. These will affect the final intended project appearance and size.
Timelines
Arguably everyone's least favourite part but oddly enough, enforcing this really allows you to move from one project onto the next one swiftly instead of idling in between your WIPs.
Make a note of the deadline you need to finish an amigurumi project by, figure out an estimated time to finish the project (based on your past experience). Then from there, infer the estimated time to make per day and the duration needed each time to make it. Don't forget to factor in time needed per piece if you intend to crochet multiple pieces.
Backtrack from there and decide on the date to start actually making the piece and record it down and similarly record down the date the project was finished - so in the future, you roughly know how long that project would take should you repeat something similar.
Include in a couple of calendars to keep track of your deadlines and also the dates that you can crochet, to make things easier to visualize for yourself.
Pin this image below and share this article if you found it useful!
Intended Amigurumi Project
In this part, we will be outlining the general idea for the project and here I subdivided them into either following a pattern or designing your own.
1) Following a pattern
After picking a pattern, remember to note down whether it is free or paid, or if paid also mention a budget for it somewhere.
Apart from mentioning the source of the pattern, also take note of whether the pattern includes pictures or videos to help with making the amigurumi.
Common parts of the pattern should include terminology (US or UK terms), crochet techniques (basic or special crochet stitches), skill level needed, gauge, colours needed, intended size of the final piece. Then set aside a couple of pages for you to write any pattern modifications you might want to do the the pattern (to make it your own!).
2) Designing your own
Designing your own amigurumi is more complicated than the previous step. But in our crochet planner or journal, we can break it down so that it does not stay cluttered in our brain.
Start off with a mood board or inspiration you might have, pick the colours involved, decide on the type of amigurumi (animal / doll / vehicle / etc) then we can get down to designing.
Do a general outline or drawing, then think about the shapes involved in making the amigurumi, consider the method of assembly of parts and make a deliberate conclusion on the difficulty level you want to set for your amigurumi.
When deciding your intended size of final piece, if you are crocheting for children, perhaps make minis for hanging mobiles, palm-sized one for role-playing preschoolers or medium plushies for toddlers to hug. It's all up to you and your imagination!
Then last but definitely not least, write out the amigurumi crochet pattern. Remember to include your own legend or terminology so you know what you are writing when you want to reference back in the future.
Crochet supplies
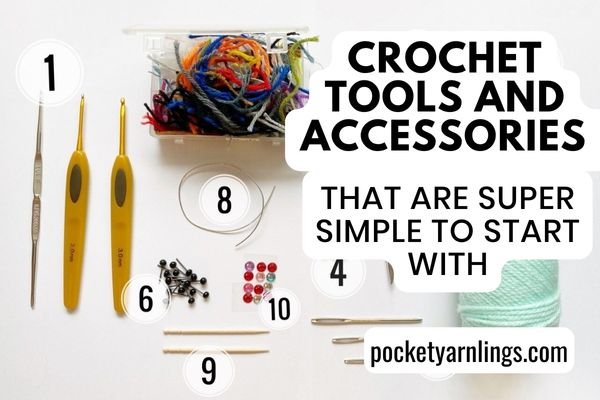
Now that you have the ideas in your head and likely down on paper too, we can start sourcing for supplies. This is like a quick checklist so that you know you have everything you need to create this project before you start. These include yarn, crochet hook, stuffing, stitch markers, darning needles, safety eyes and whatever additional accessories you feel you need.
For a detailed breakdown of all my crochet tools and accessories, remember to check out this blog post.
Then if you are wondering what kinds of yarn are best for your next amigurumi, some pointers to think through would include yarn material, name and brand, weight and ply, colours, quantity of each colour needed, dye lots, yardage needed or number of skeins needed, availability, costs and washability of yarn.
To see a detailed breakdown of each of these components of yarn, remember to also go check out this 12 point checklist on selecting the best yarn for amigurumi here.
Gifting ideas
After brainstorming and getting your supplies, think through some of these gifting ideas. When you were initially brainstorming the intended project, these were already some considerations about what you want to gift. When gathering your crochet supplies, consider getting these at the same time as well.
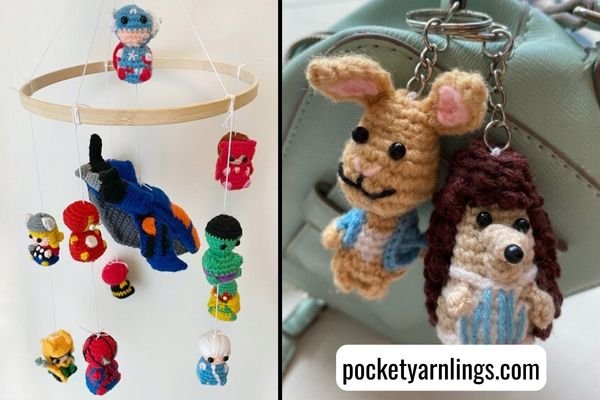
Remember these ideas are not exhaustive and if you think of more, remember to comment down below! These ideas include keychains, embroidery hoops to make hanging mobiles, earrings, handphone danglers, hair clips, magnets, cake topper stickers and miniature amigurumis inside small bottles.
Gifting supplies
With gifting amigurumi also comes packaging which is another fun part for crafty folks! Here are just some ideas but feel free to mix it up and come up with even more packaging ideas.
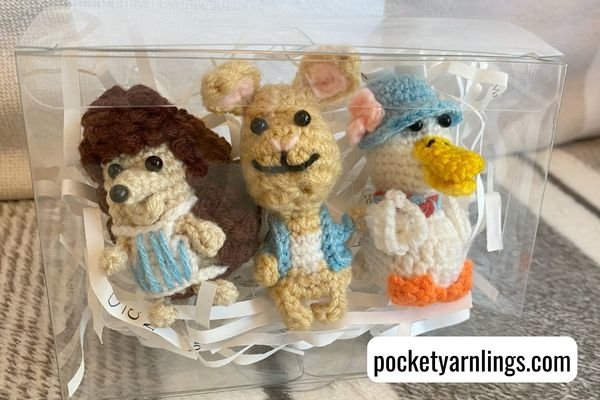
Some useful packaging supplies to just get in general include a packaging box (whether transparent plastic or cardboard), wrapping paper, ribbons and shredded paper for pretty packing. A additional nice touch would be to include an accompanying hand written card, some gift tags and also some care instructions for the amigurumi.
Challenges
Thought to add this little something in right at the end because it is kind of a reflection which is what you have when you journal. What challenges did you experience with this project? Were the arms too tight to crochet, was the hair disportionate? Was the yarn too scratchy? Pen these thoughts down so that the next time you refer back to that project, you will remember your challenges!
Think through the challenges you had with the yarn you chose, with the pattern you picked or designed, with the crochet stitches or techniques involved or even with the gauge. Then go one step further and think about tips and tricks for the next project. Perhaps something like use a smaller crochet hook for the same yarn, avoid loop stitches, do not stuff too much, start off with wider magic ring so head won't be pointy.
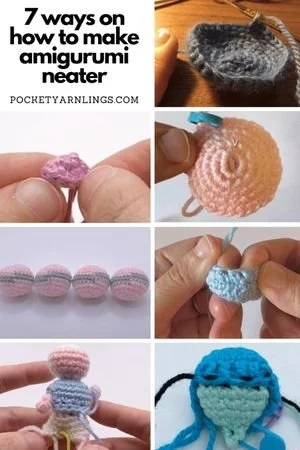
If you need some help with amigurumi tips and tricks in general, remember to also check out this post on '7 ways to make amigurumi neater'.
Conclusion
Whew there you have it, I really remembered counting 60 pointers above or maybe more but I hope they were useful! If you want it slightly more organized in bullet points with some pretty formatting, then do grab 20 pages of Free Printable Crochet Planning Sheets down below.
Whether they will be crochet planning worksheets or crochet journalling sheets or your final crochet project plan templates, use them as print outs or even scribble on them in PDF format, it is entirely up to you!
Free Crochet Planner Journal!
Click here to grab this 20-paged workbook and checklists that will help organize your creativity before you even start on your next crochet project! Or click on image on the left.


