How to Crochet a Curved Tube in Amigurumi (Using Stitch Height for Stronger Curves)
Learn how to crochet a stronger curve in amigurumi by combining stitch count and stitch height to create more defined bends with fewer rounds.
Table of Contents Show

Where This Fits in Amigurumi Bends
There are a few different types of bends you can create in amigurumi:
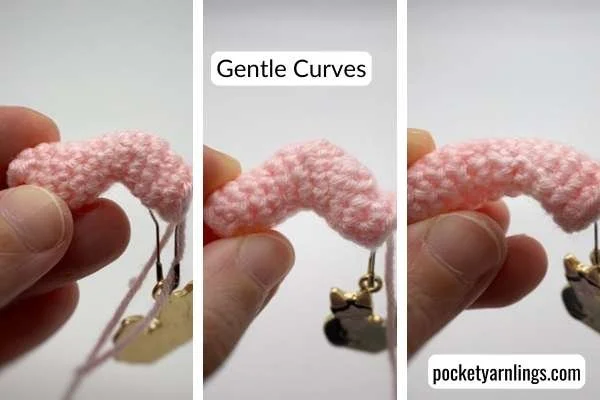
Gentle curves (smooth, gradual shaping)
Right angle bends (90° turns)
Sharp bends (steeper, more dramatic angles)
👉 In this tutorial, we’re still focusing on gentle curves — but this time, creating a stronger, more pronounced curve using both stitch count and stitch height.
How to Crochet a Curved Tube with Stitch Height
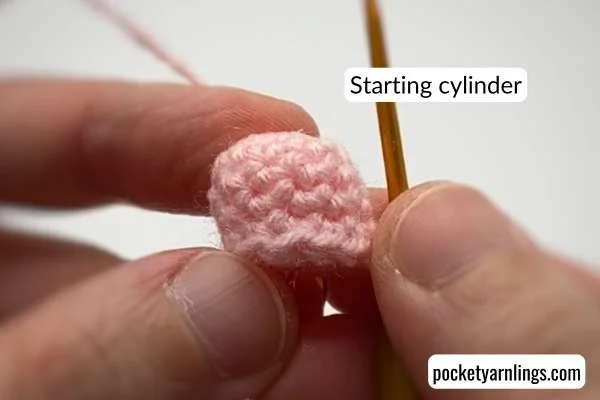
Start with a Simple Base Shape
Begin with a basic crochet cylinder worked in the round.
Keep your stitch count even
Work a short, straight tube
This forms your neutral base
Here’s a simple starting point:
Round 1: Magic ring sc 10 – 10 sts
Round 2: Sc 10 – 10 sts
Rounds 3–5: Repeat Round 2 – 10 sts
👉 This is the same foundation used across most bend techniques — only the shaping method changes.
How the Curve Forms (Using Stitch Height + Stitch Count)
In the previous method, we created a curve by:
increasing stitches on one side
decreasing stitches on the opposite side
This created a gentle, gradual bend.
In this method, we take it one step further.
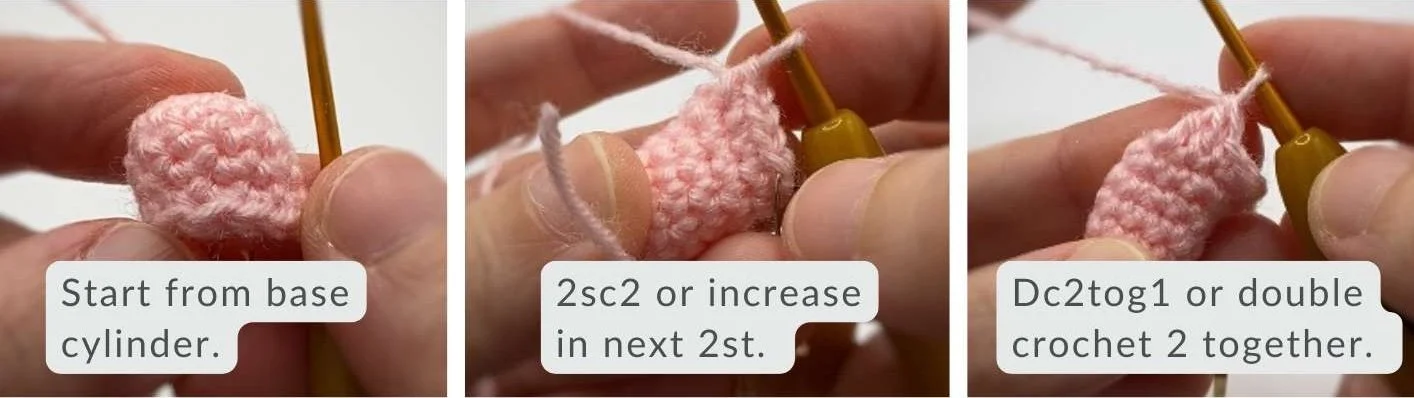
We still:
increase on one side → 2 sc in the same stitch
decrease on the opposite side
But now, the decrease is done using taller stitches:
instead of sc2tog → we use dc2tog
✨ What changes?
The outer curve (decrease side) now uses taller stitches
The inner curve (increase side) expands as before
👉 This makes the bend form faster and more noticeably

What the Finished Curve Should Look Like
The bend forms more quickly
Fewer rounds are needed
The shaping is more visible
It may start to look more like a bend than a soft curve
👉 Compared to stitch count or BLO/FLO methods, this creates a more defined shape with less effort.
Basic Pattern for a Stronger Crochet Curve
Here’s a simple example:
Pattern Snippet
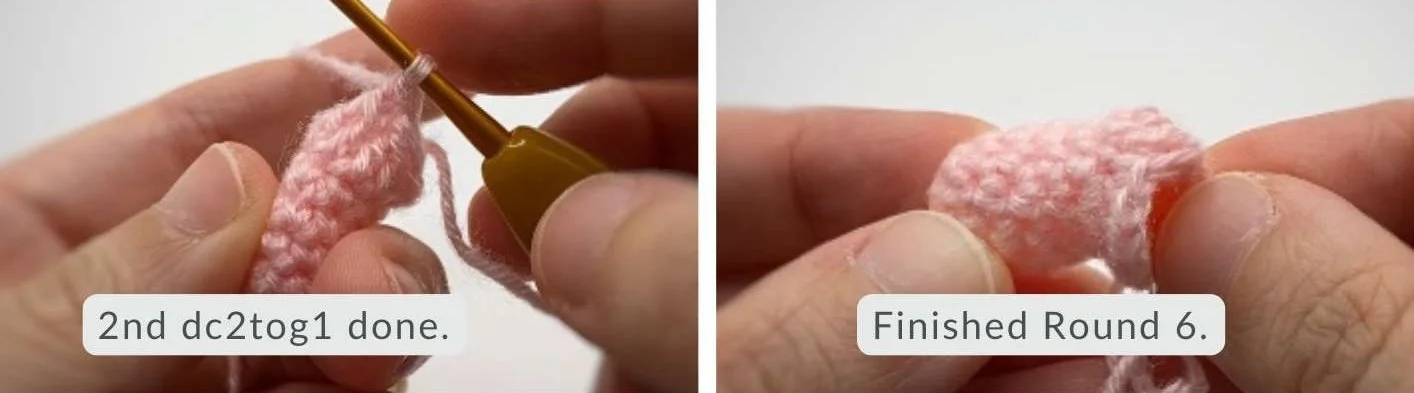
Round 6: Sc 1, 2 sc in next st, sc2, dc2tog, sc1 – 10 sts
Rounds 7–8: Repeat Round 6 – 10 sts
Round 9: Sc 10 – 10 sts
Round 10: Repeat Round 9 – 10 sts
Quick guide:
Decrease = outer curve
Increase = inner curve
Watch How the Curve Forms Step-by-Step
If you prefer to see how the stitches come together, you can follow along in this video below. Notice how the increases form the inner curve while the decreases pull the outer side inward more quickly due to the taller stitch height.
How to Control the Shape of Your Curve
Why This Method Can Over-Bend
Because this method uses taller stitches, the curve forms much faster.
Stitch count method → takes more rounds to bend
Stitch height method → bends in fewer rounds
👉 This means it’s also easier to accidentally overdo the shaping.
When to Stop Repeating (Important!)
This is where most crocheters run into problems.
If your piece starts twisting instead of forming a smooth bend, it’s usually because:
The shaping is repeated for too many rounds
The stitch imbalance continues too long
👉 Instead of bending, the piece forms a spiral.
💡 Key comparison:
Stitch count method → ~5–6 rounds to form a bend
Stitch height method → ~2–3 rounds to form the same bend
So if you keep repeating the shaping, the twist happens much faster.
Don’t Repeat This Step Forever (Important!)
👉 Stop repeating the increase/decrease rounds once the bend forms.
After that:
switch to regular single crochet (sc around)
maintain the shape
This stabilizes the bend so it stays in one section instead of continuing to curve. This is what turns a curve into a controlled bend.
How to Use This Technique in Amigurumi Designs
Because this method creates a stronger curve, it’s perfect for:
More exaggerated bends
Hunched backs or curved posture
Body-to-limb transitions with stronger shaping
Bent limbs (arms, legs)
Curved horns or ears
Use this when you want the bend to be clearly visible, not just subtle.
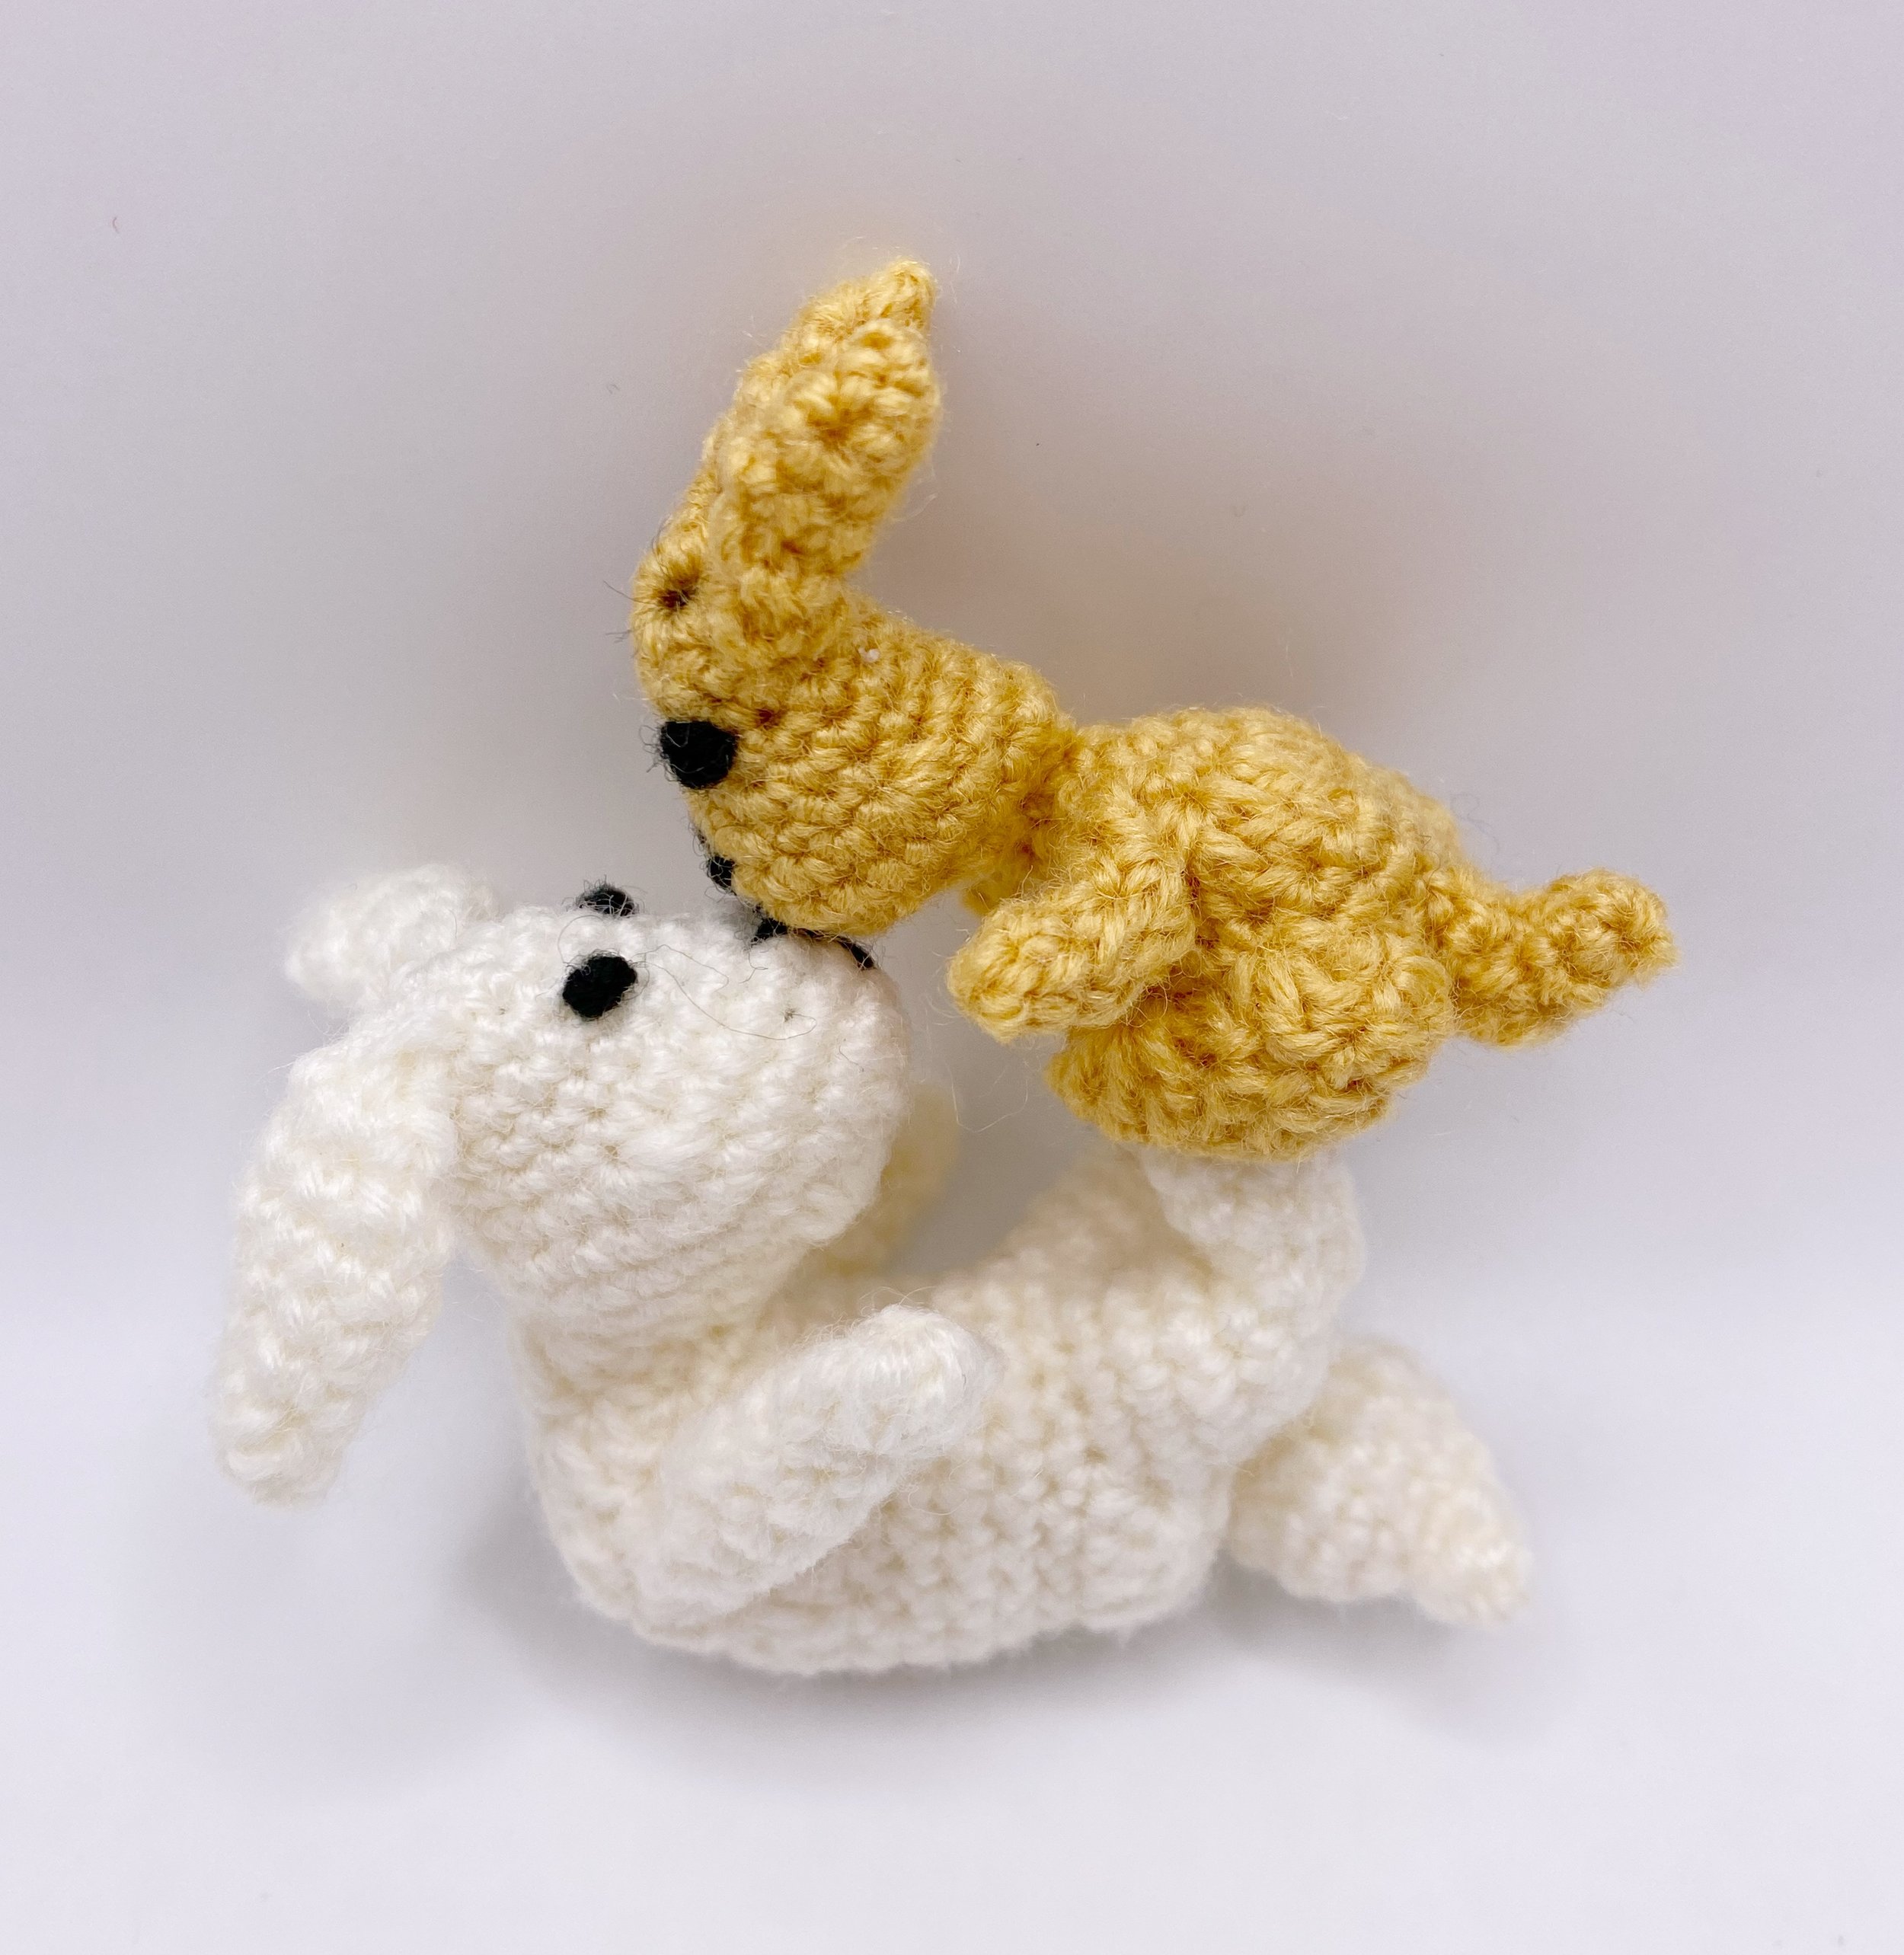
👉 For example, in my Easter rabbit design where the bunny is lying on its back with its legs lifted up while holding its baby, the legs are shaped using this method to create a more pronounced, natural bend.
Want to Start with a Simpler Curve First?
If you’re new to shaping curves, you may want to start with the gentler method first.
👉 The stitch count method creates a softer, more gradual curve and is easier to control.
👉 If you’d like a bigger picture of how all the bend techniques fit together, you can find them in the Ultimate Guide on How to Crochet Bends in Amigurumi (9 Ways to Shape and Control Curves).
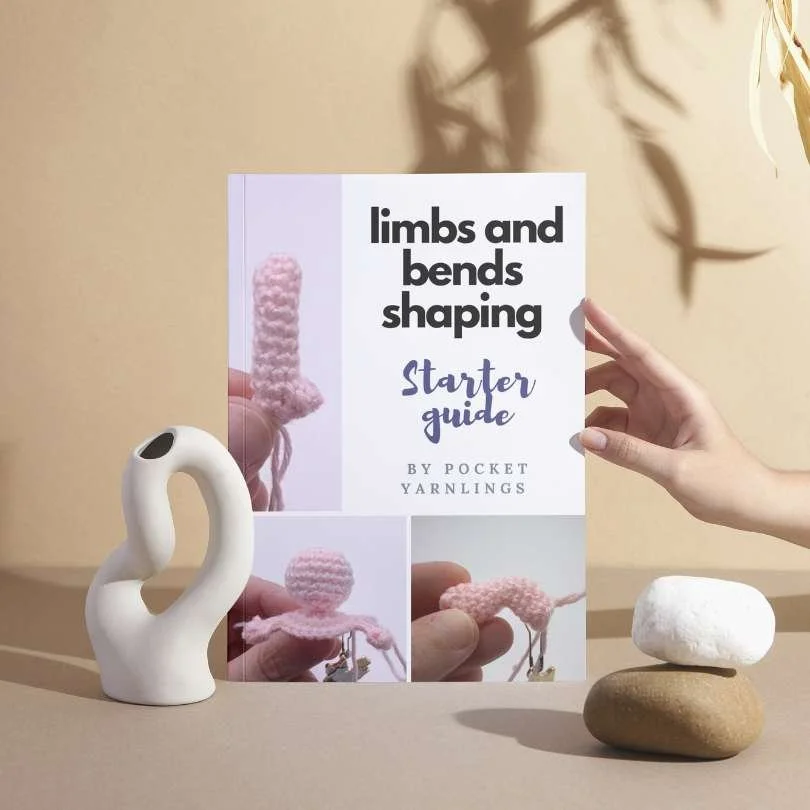
Try Your First Amigurumi Bends
Put what you’ve learned into practice with easy arm, leg, and bend patterns. Grab it free over here.
Want to Explore More Types of Bends?
This stitch height method is just one way to create stronger curves.
There are also:
gradual bends
perpendicular bends
steep bends and split bends
Each technique gives you a different level of control over shape and direction.