

Adding detailing to Mini Amigurumi
Just a background… I don’t like to add on limbs separately because it’s such a hassle. So I made an ‘extended bobble stitch’ for the limbs (if you want to see this technique, download my free 30-page ebook here).
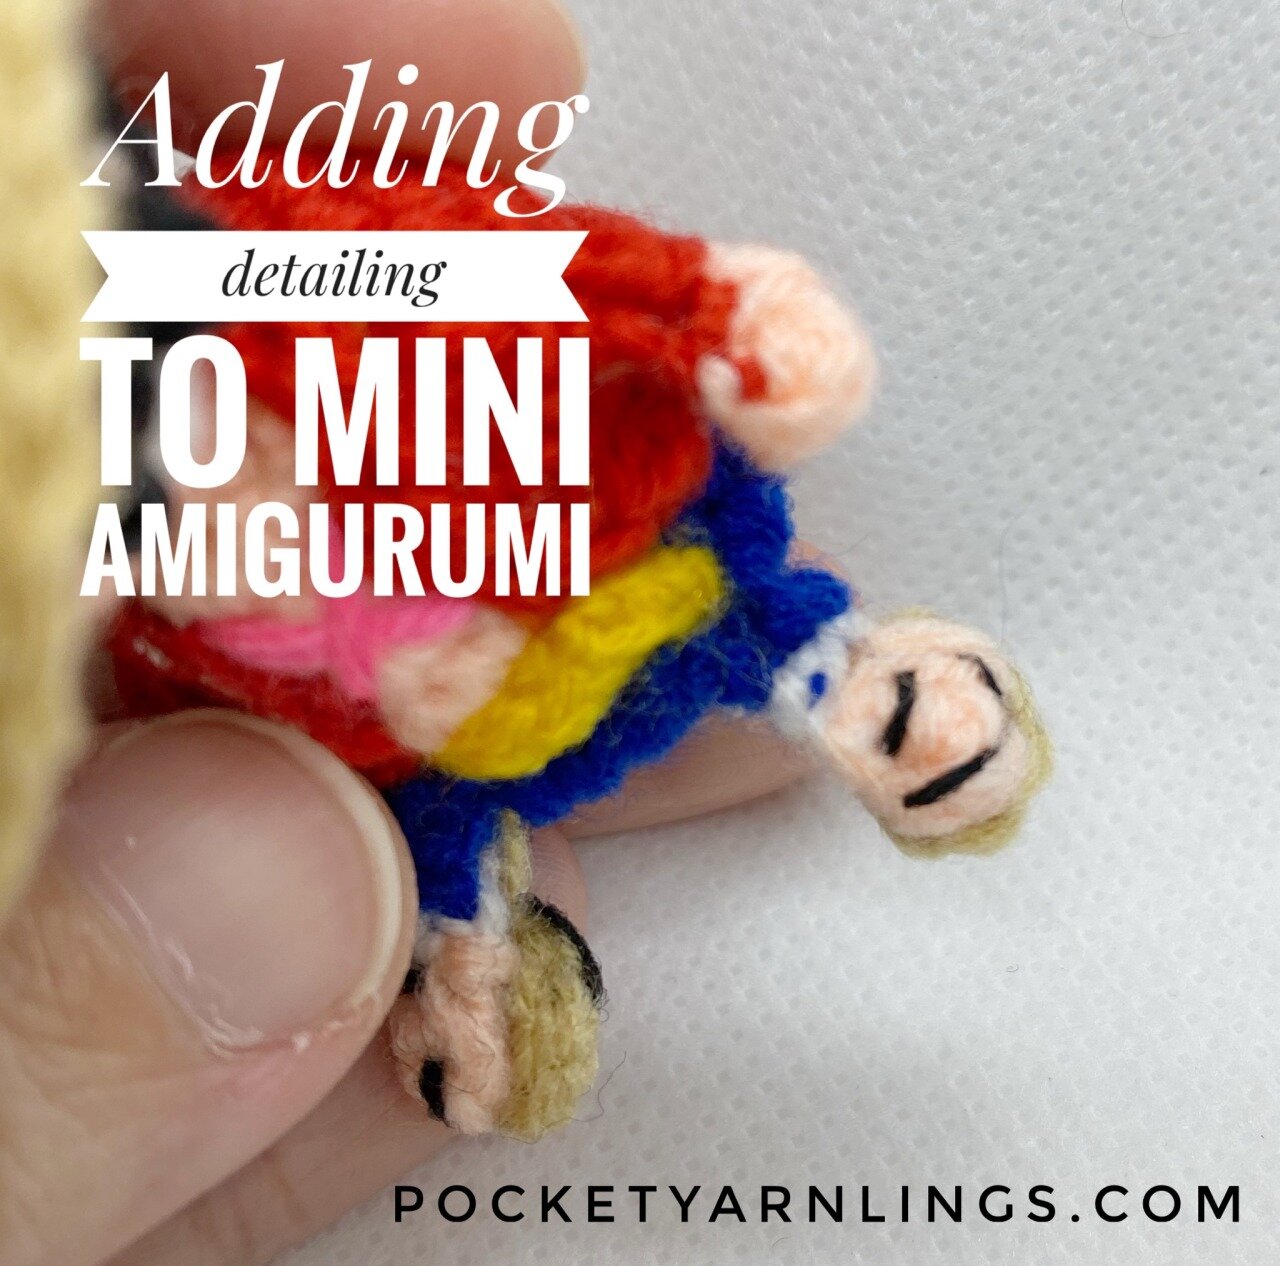
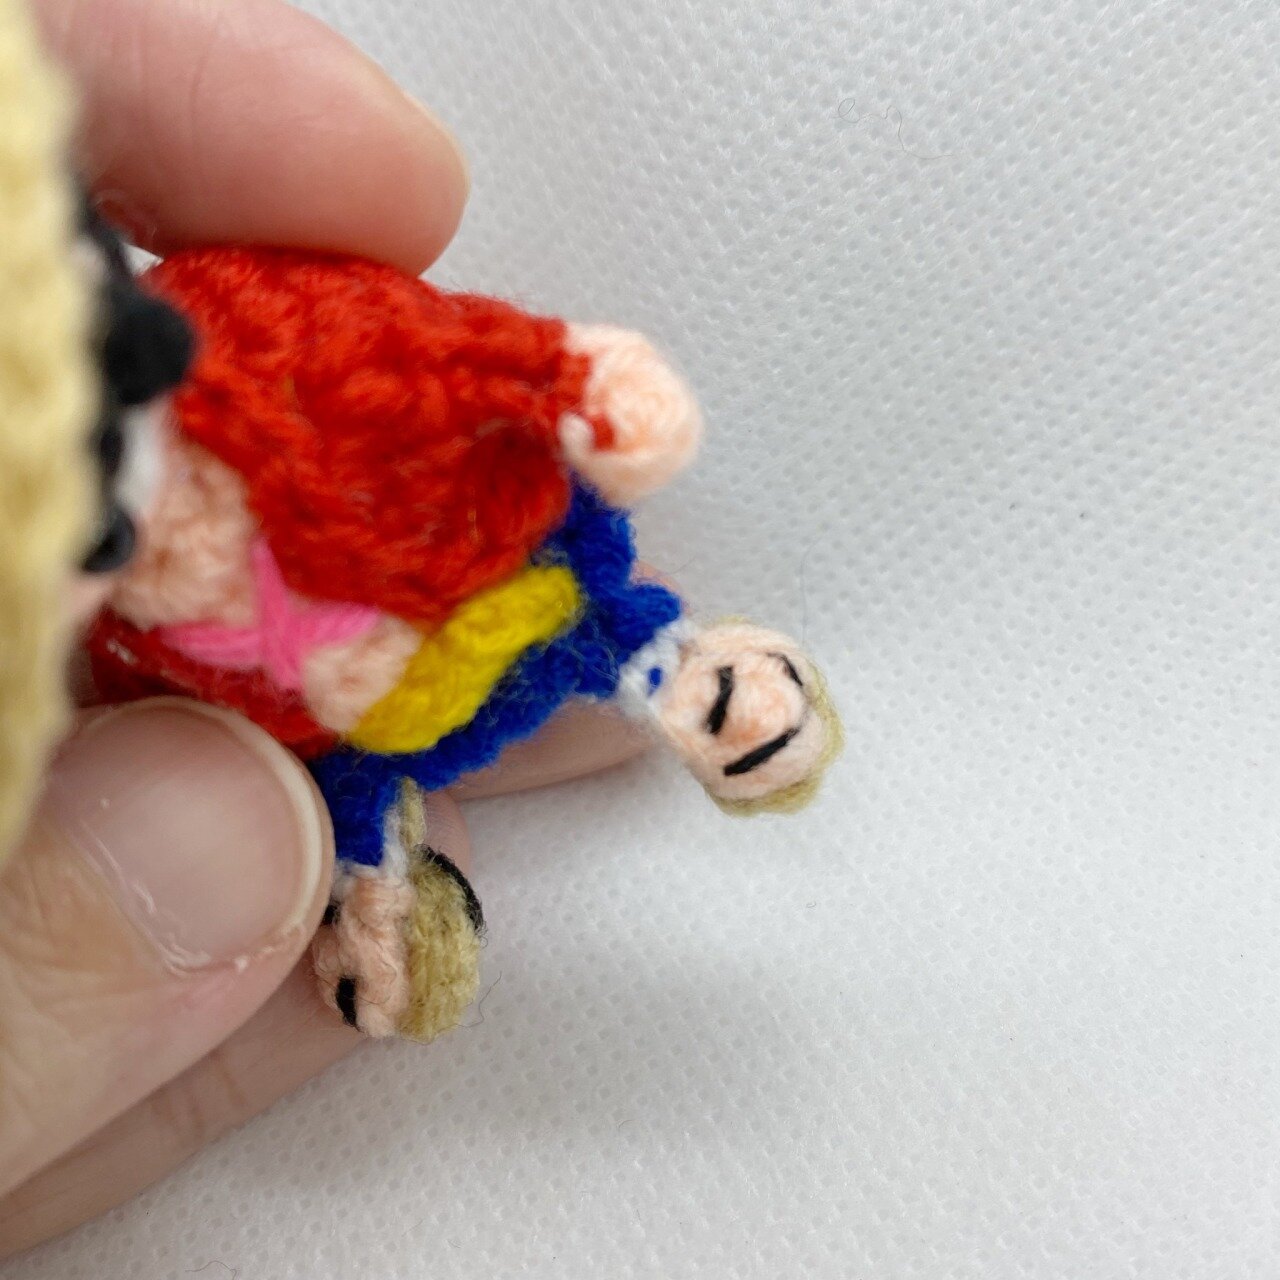
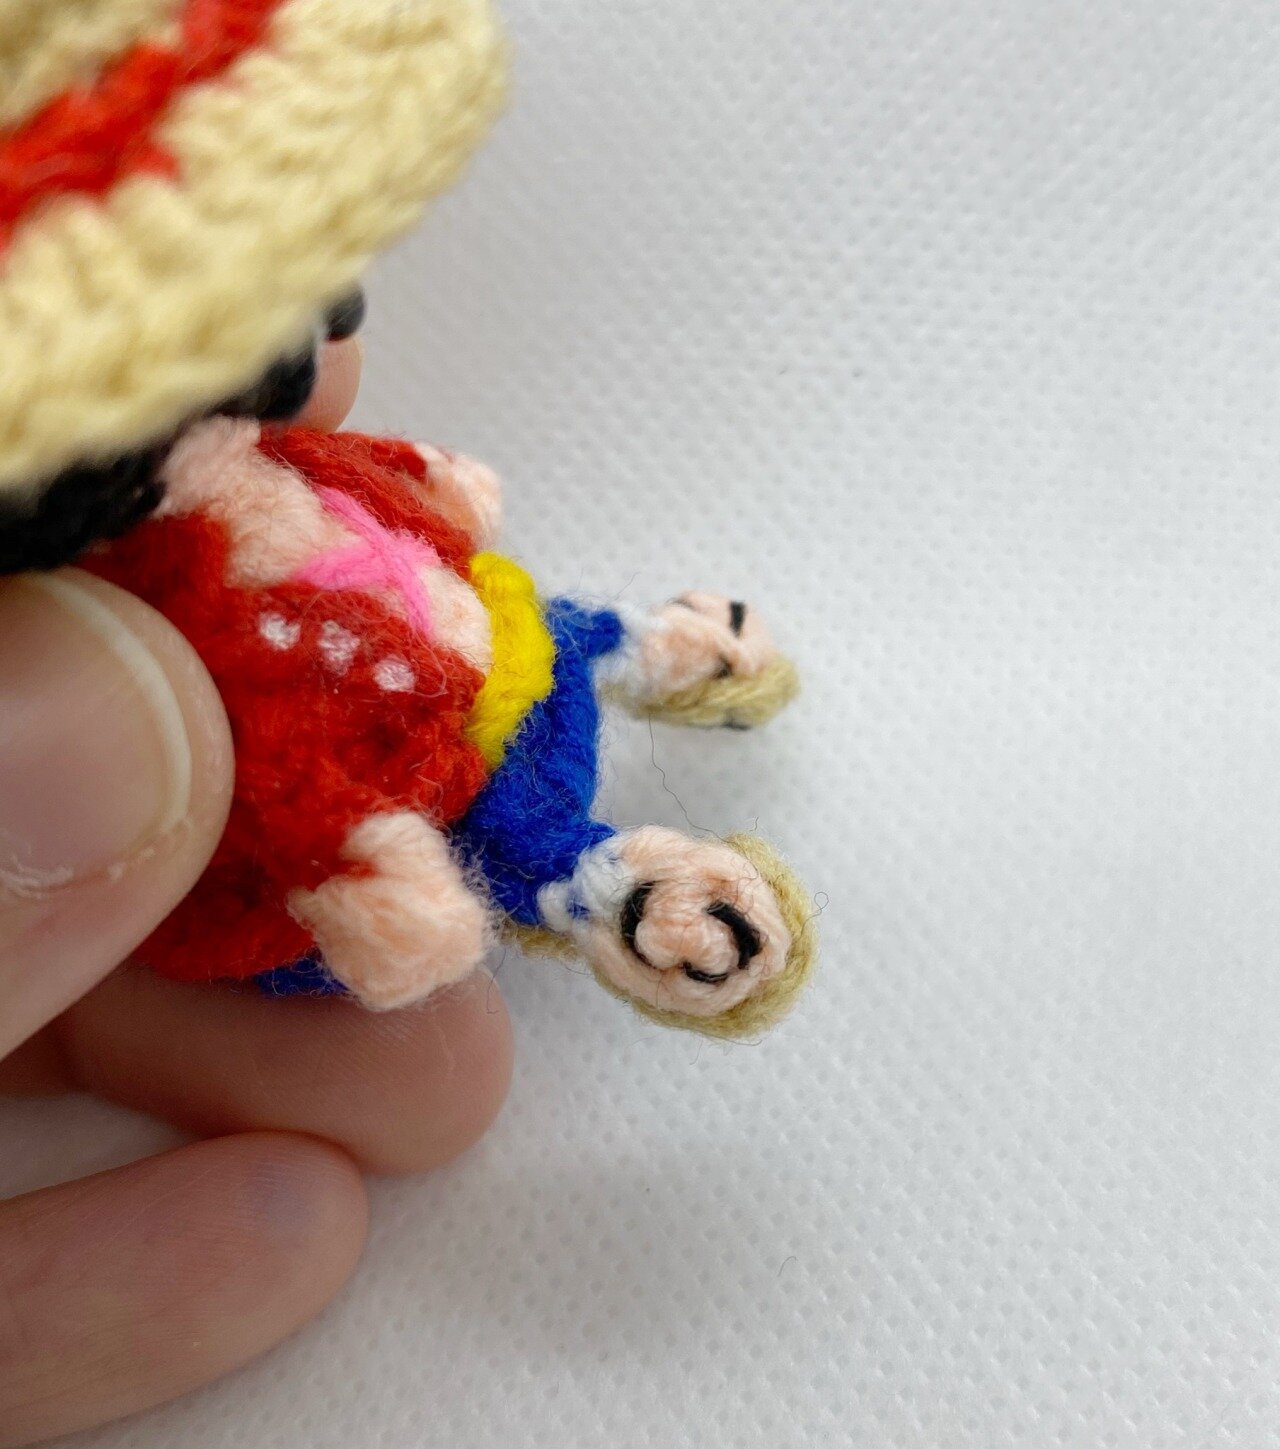
In this particular case, I wanted to add on Luffy’s little sandals! Who says detailing is lost once the Amigurumi becomes mini!

Making the base of slippers
To make the base of slippers, it was just a matter of using light brown yarn to make a magic circle of 6. Attach it down the the feet using seamless stitch (with beige yarn so you can’t see the attachment over the feet).
Making the slipper straps
Add on black strings in a ‘V’ shape over the legs to form a slipper appearance and one horizontal line above it. I like to split my black 4-ply yarn into 2-ply to make the strings thinner or you could simply use black sewing thread.

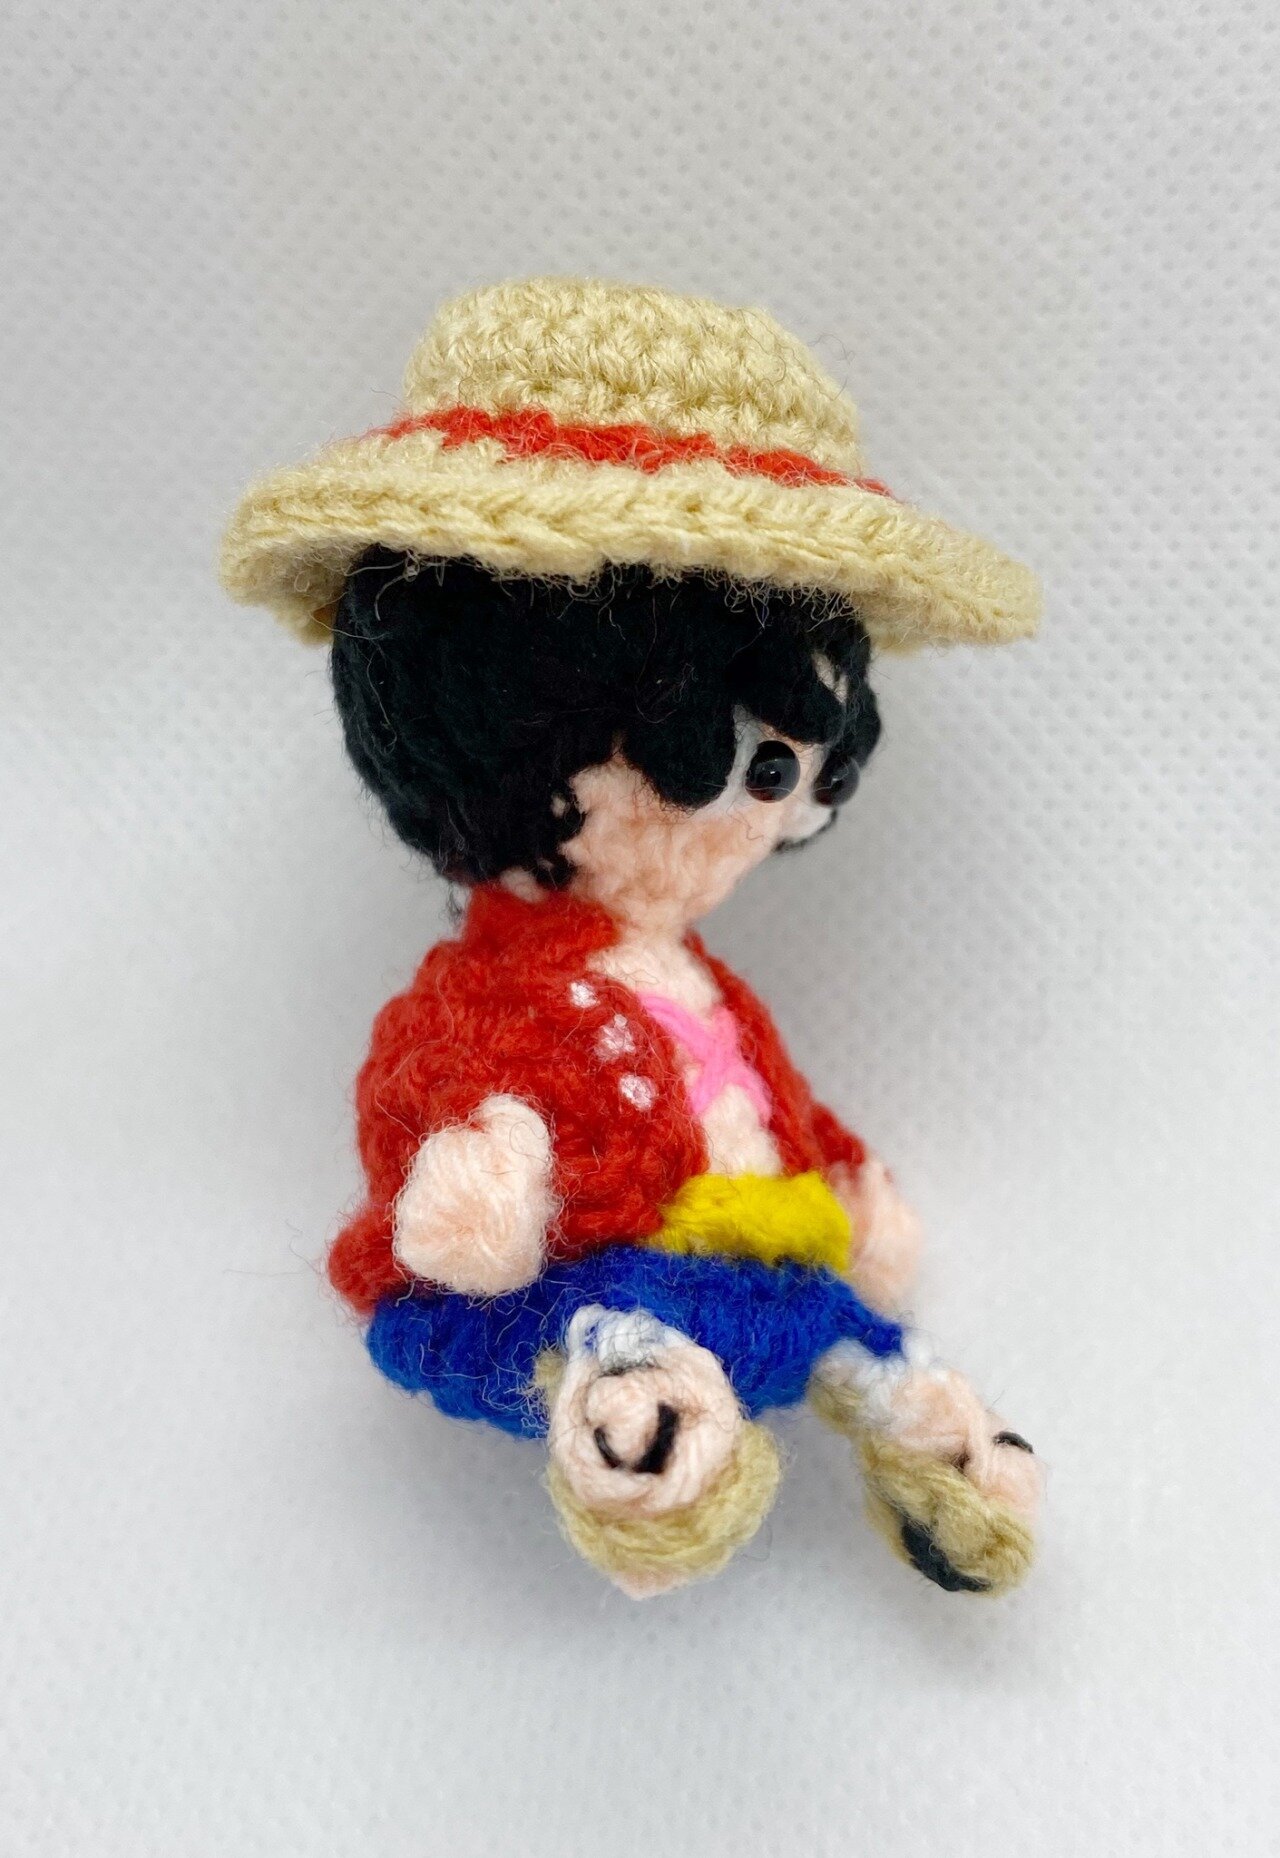
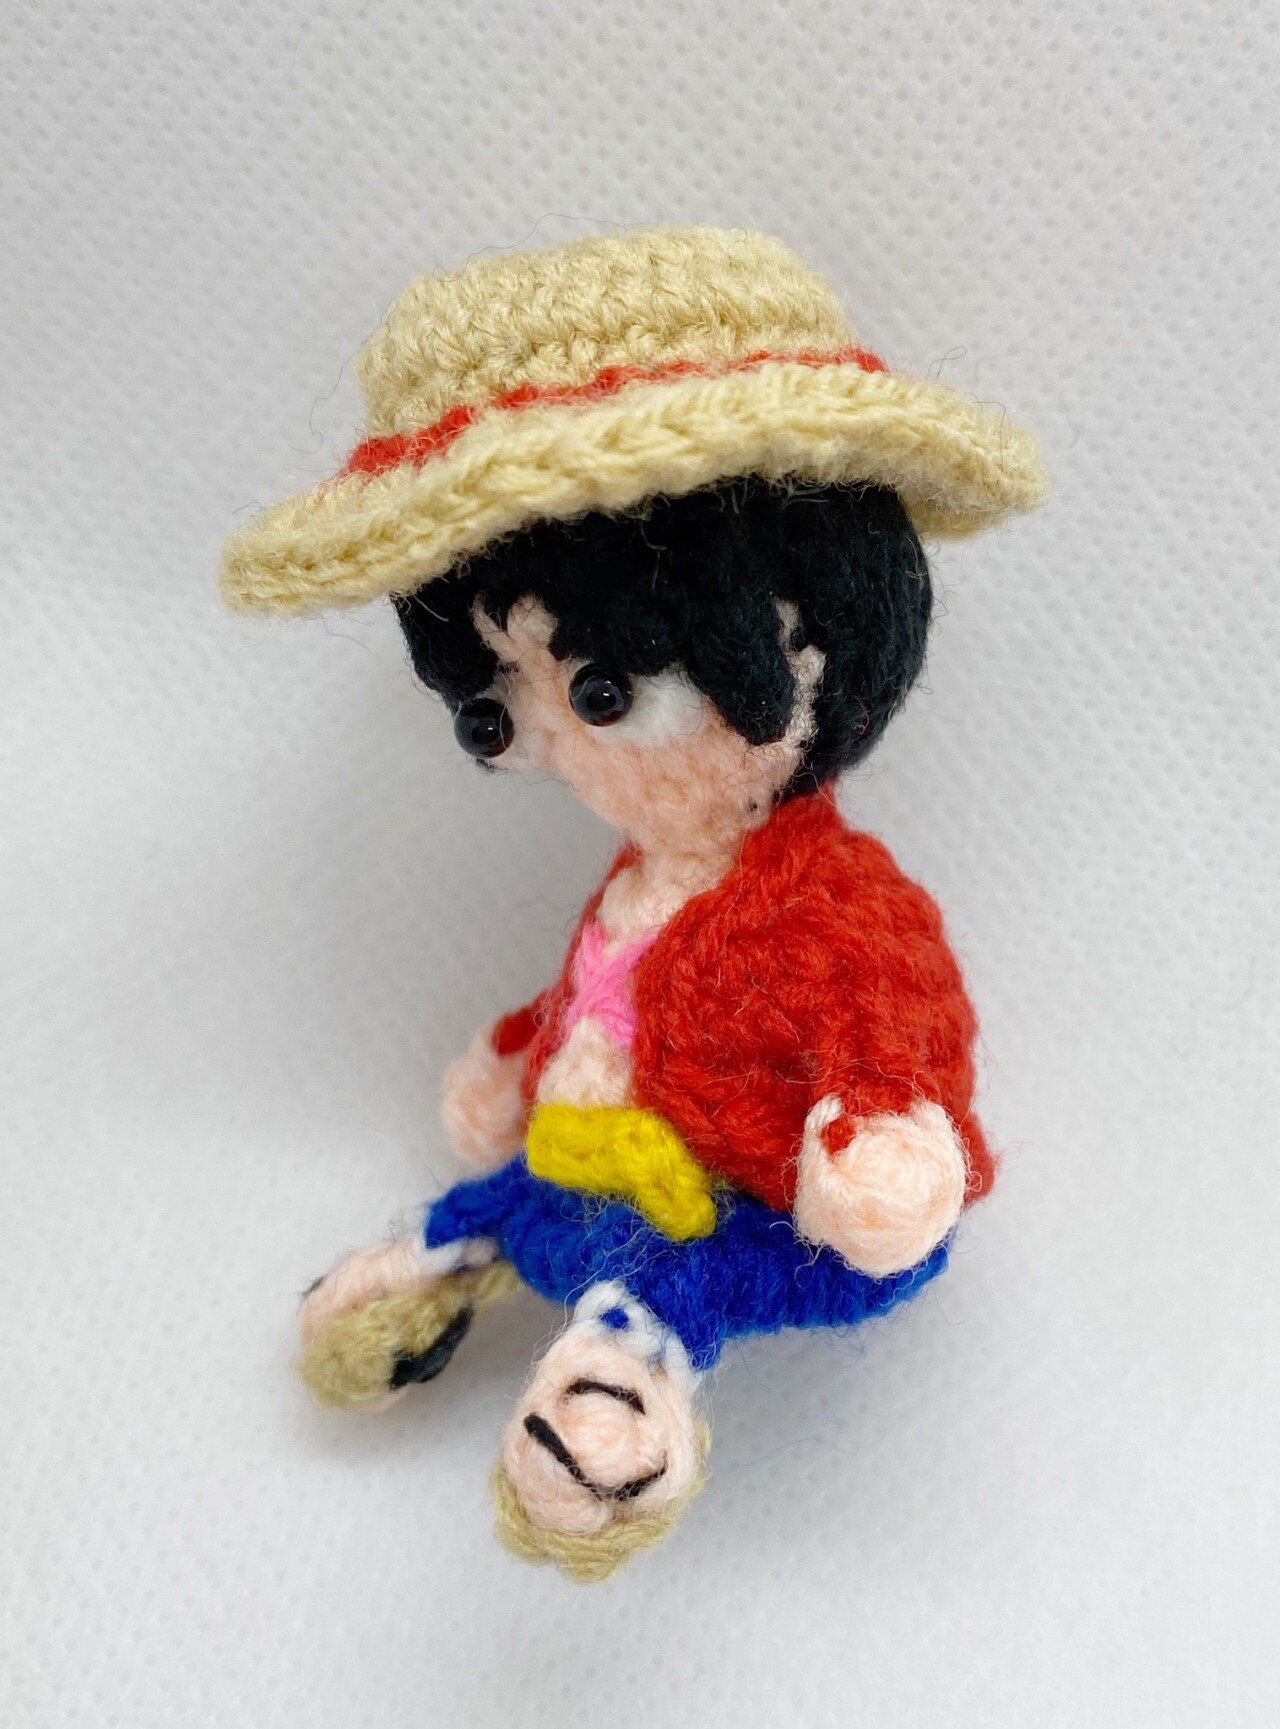
This is how the final Luffy looks like! I made the newer version with long sleeves, complete with his hat and scar and…
His tiny little sandals!

If you would like to try this Luffy pattern.. check it out here! Also, if you are really into One Piece, and would like me to do a version of Chopper or the rest of the day, comment below and let me know!