

3 Crochet Techniques and 9 methods for Attaching Limbs To Body!

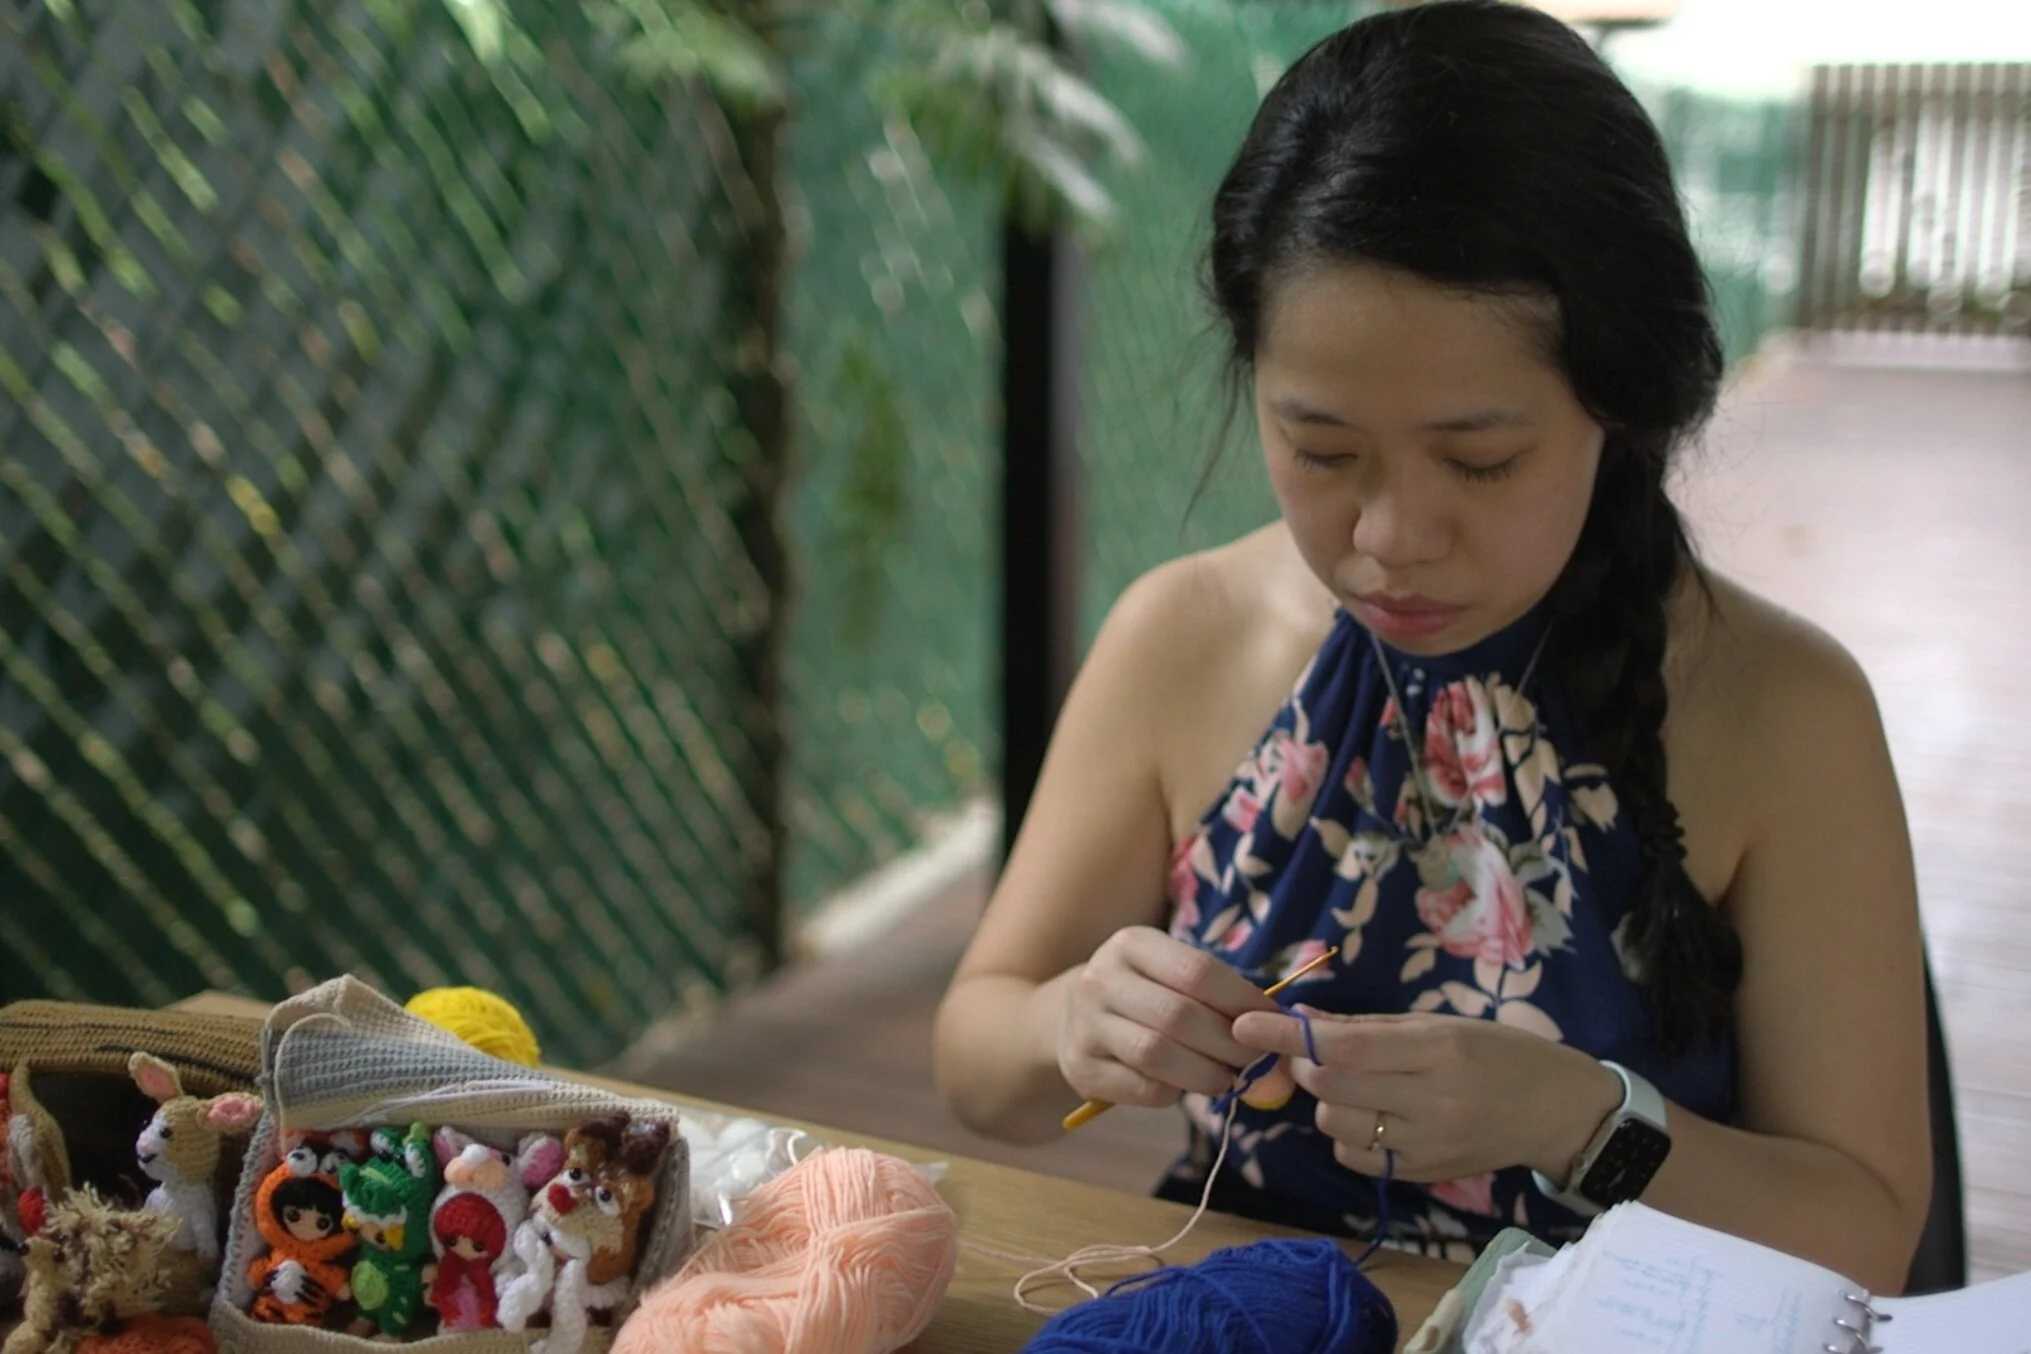
If you find attaching limbs to an amigurumi body a pain, you are not alone. In this post, apart from using a darning needle to sew on limbs onto the body, I utilized 2 additional methods to put these pieces together.
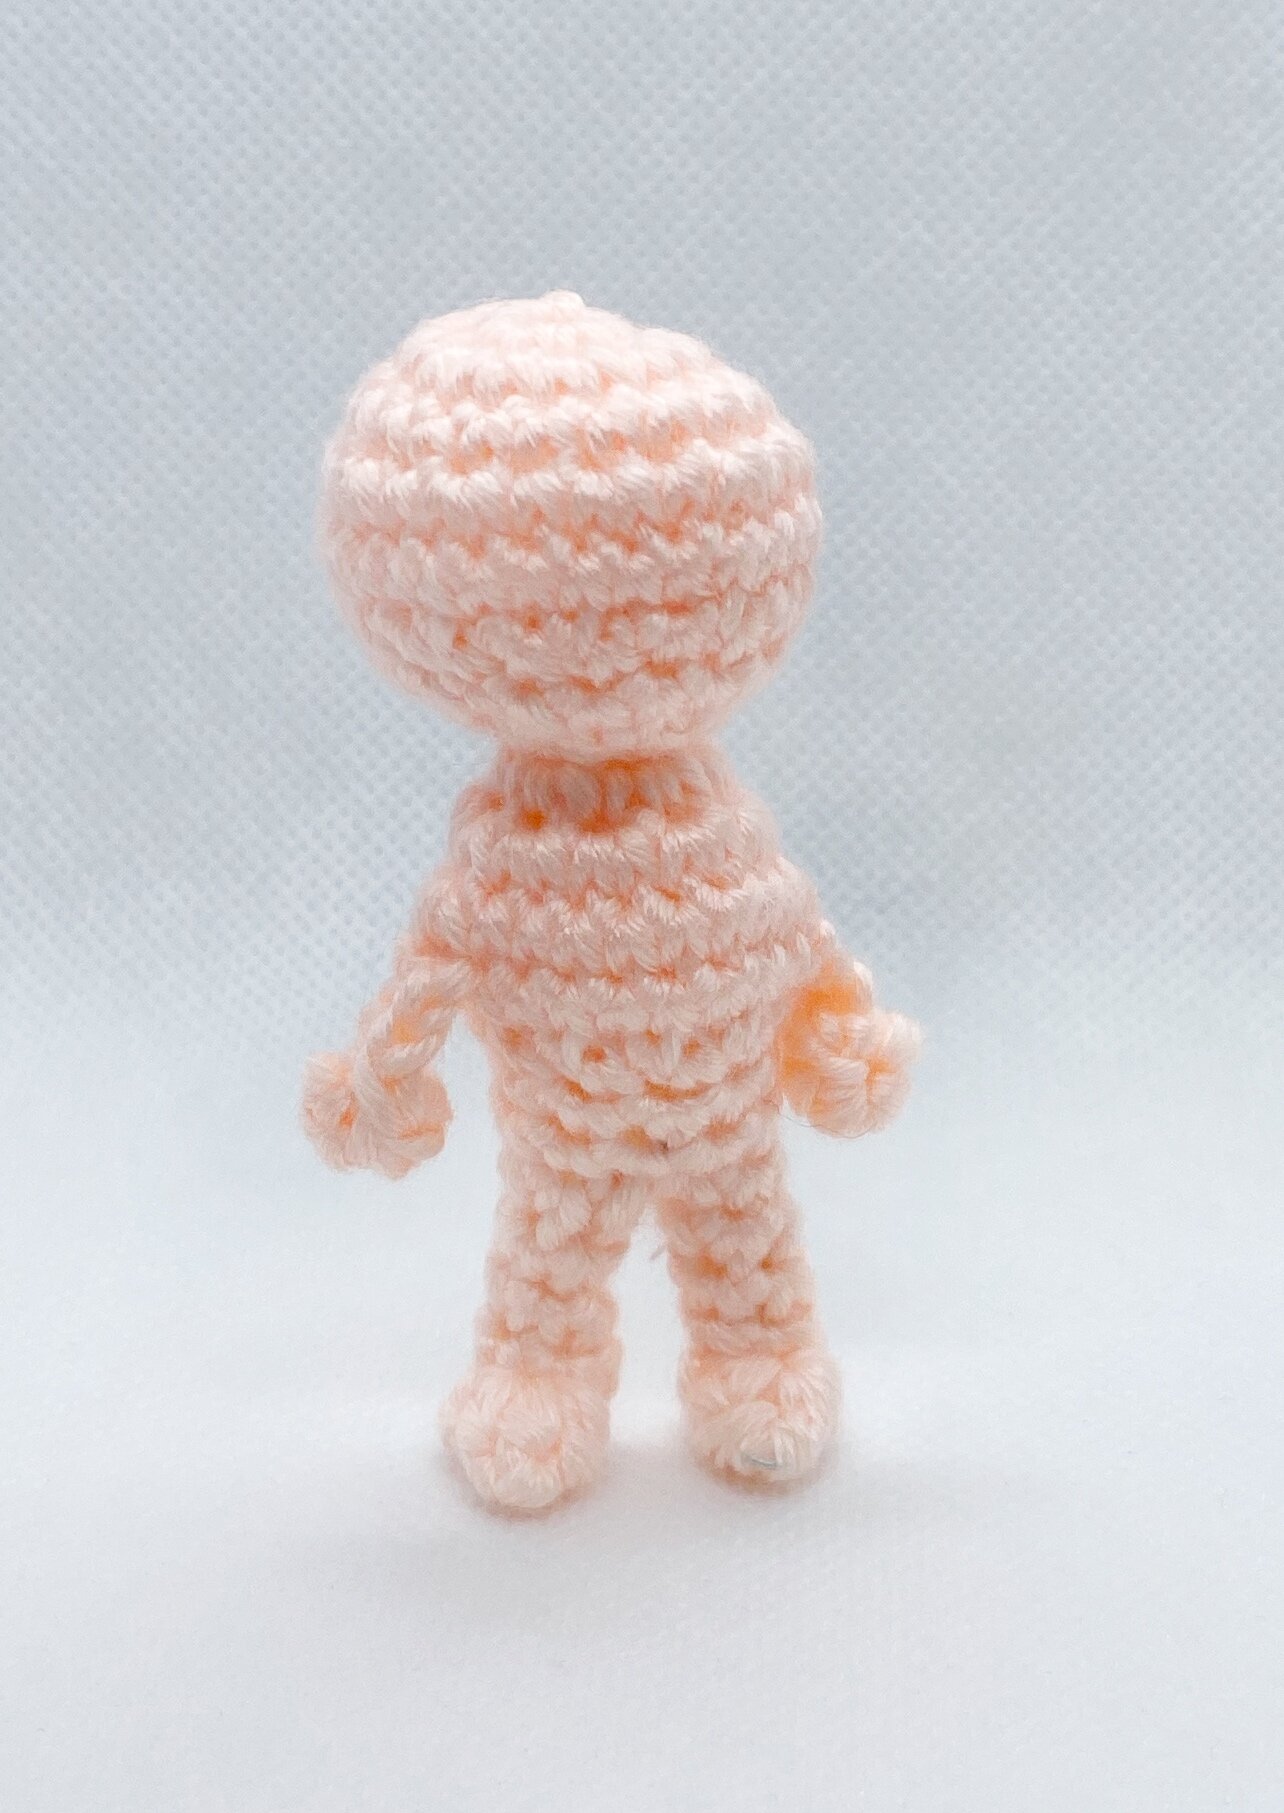
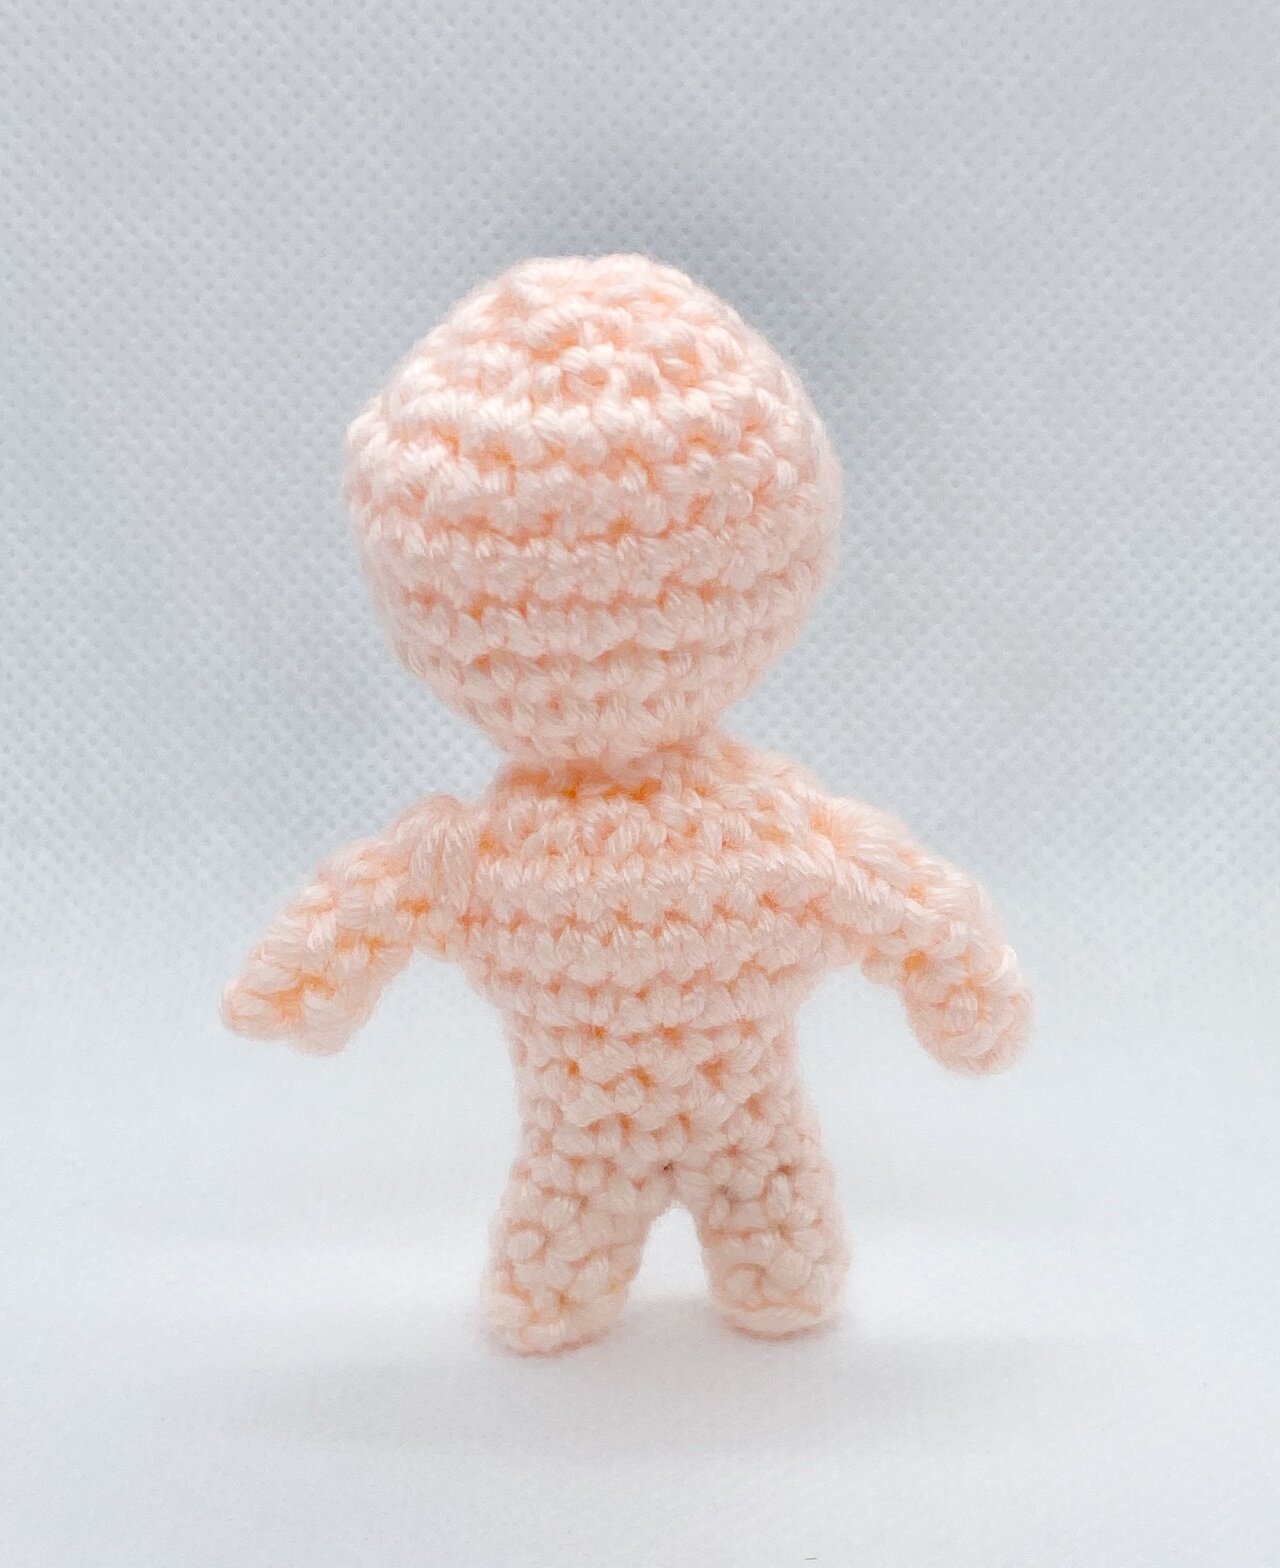
There are 3 broad techniques which include - seamless technique, surface crochet technique and sew-on technique. All in all, from here, I came up with 9 different ways to make amigurumi bodies!
Table of Contents Show
Seamless techniques

Using a seamless technique basically means that creating the arms and legs are part of the continuous crochet in the round. There is no attachment involved, just the use of some special crochet stitches.
The 3 versions I use are the following:
1) Bobble stitch
2) Extended half double crochet
3) Extended bobble stitch
Pardon the names, they were made up by me, but essentially the extended out limbs are done on an extended chain.
To try out the 1st technique using the bobble stitch, go right to the bottom of this post and check out the free Crochet Doll Starter Guide!
As for the 2nd technique, the extended half double crochet, look out for a blog article coming up next on how I do it, step by step.
Surface crochet techniques

Surface crocheting is an easy and common technique used widely, sometimes for embellishments on garments as well. You can surface single crochet or surface slip stitch or go even higher at dc and so on.
The 4 versions I use are the following:
4) Chain and surface crochet
5) Skip stitch and surface crochet
6) Standing popcorn stitch
7) Crochet bottom up
To specifically learn how to use the surface crochet technique, I will have a later post about this in greater detail. All the 4 types of bodies above (both sitting and standing positions) utilizes this technique to crochet the limbs onto the body.
Sew-On techniques
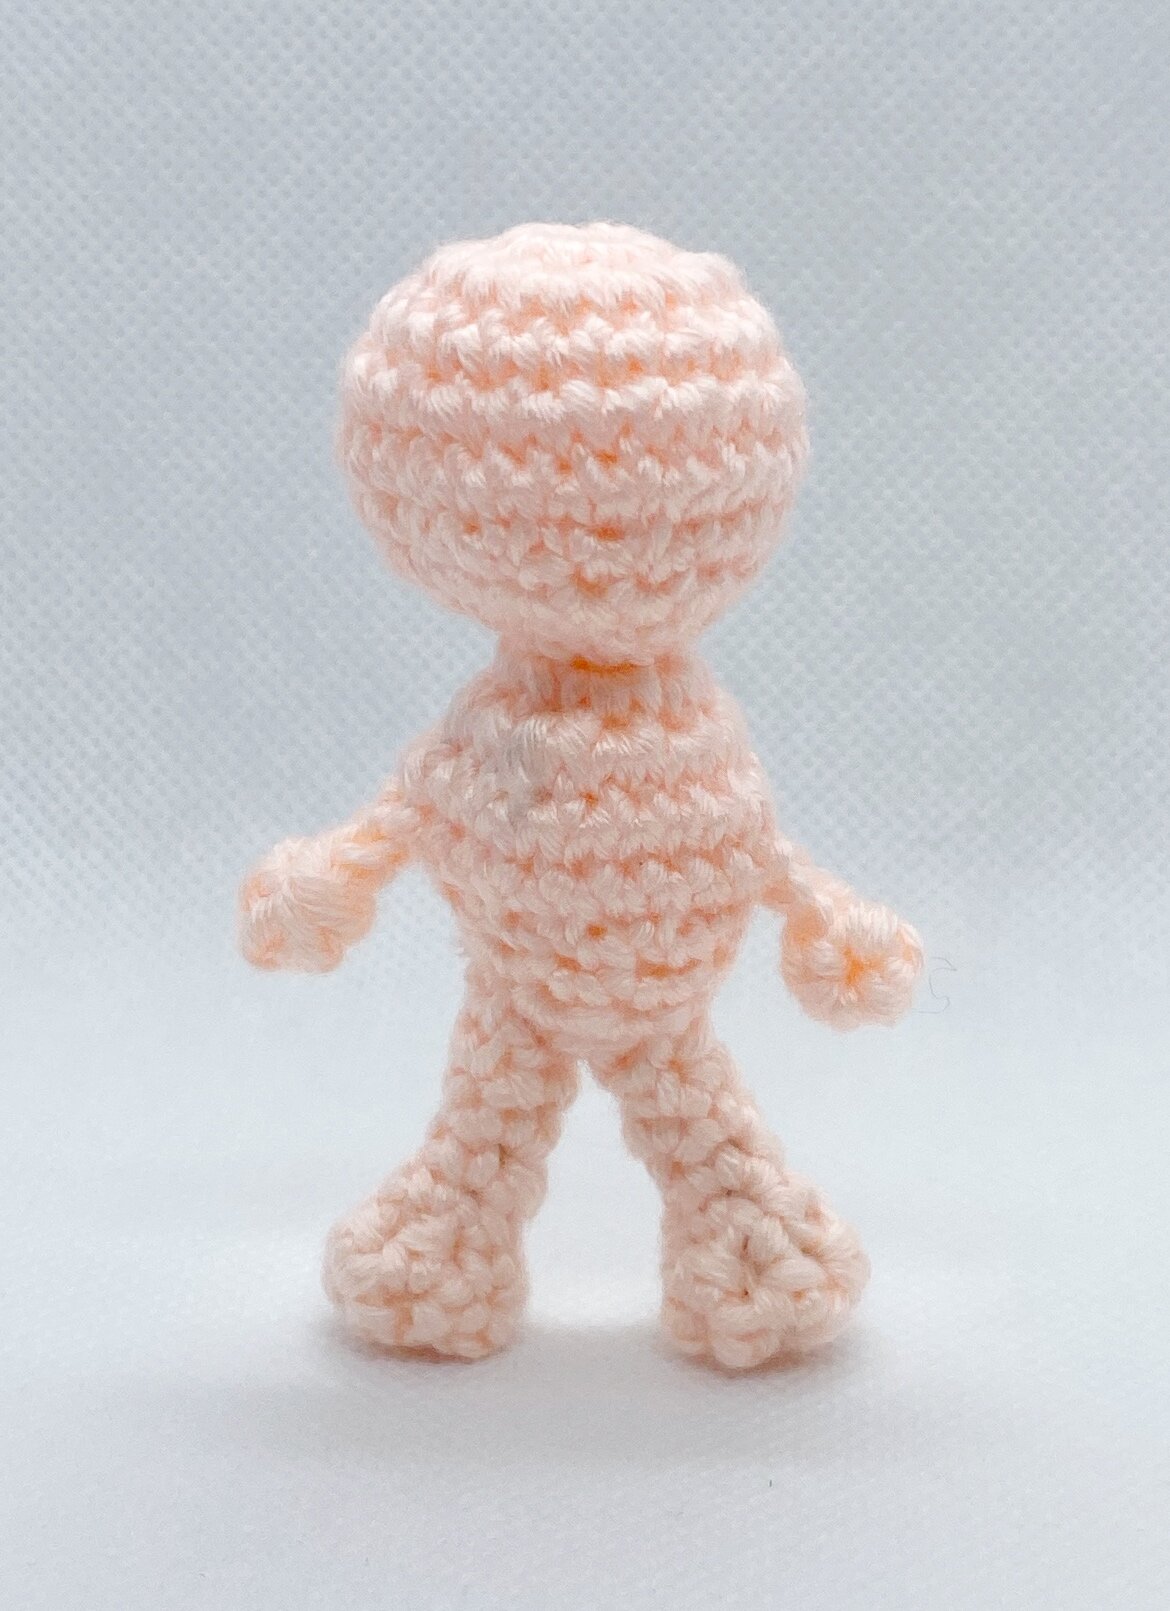
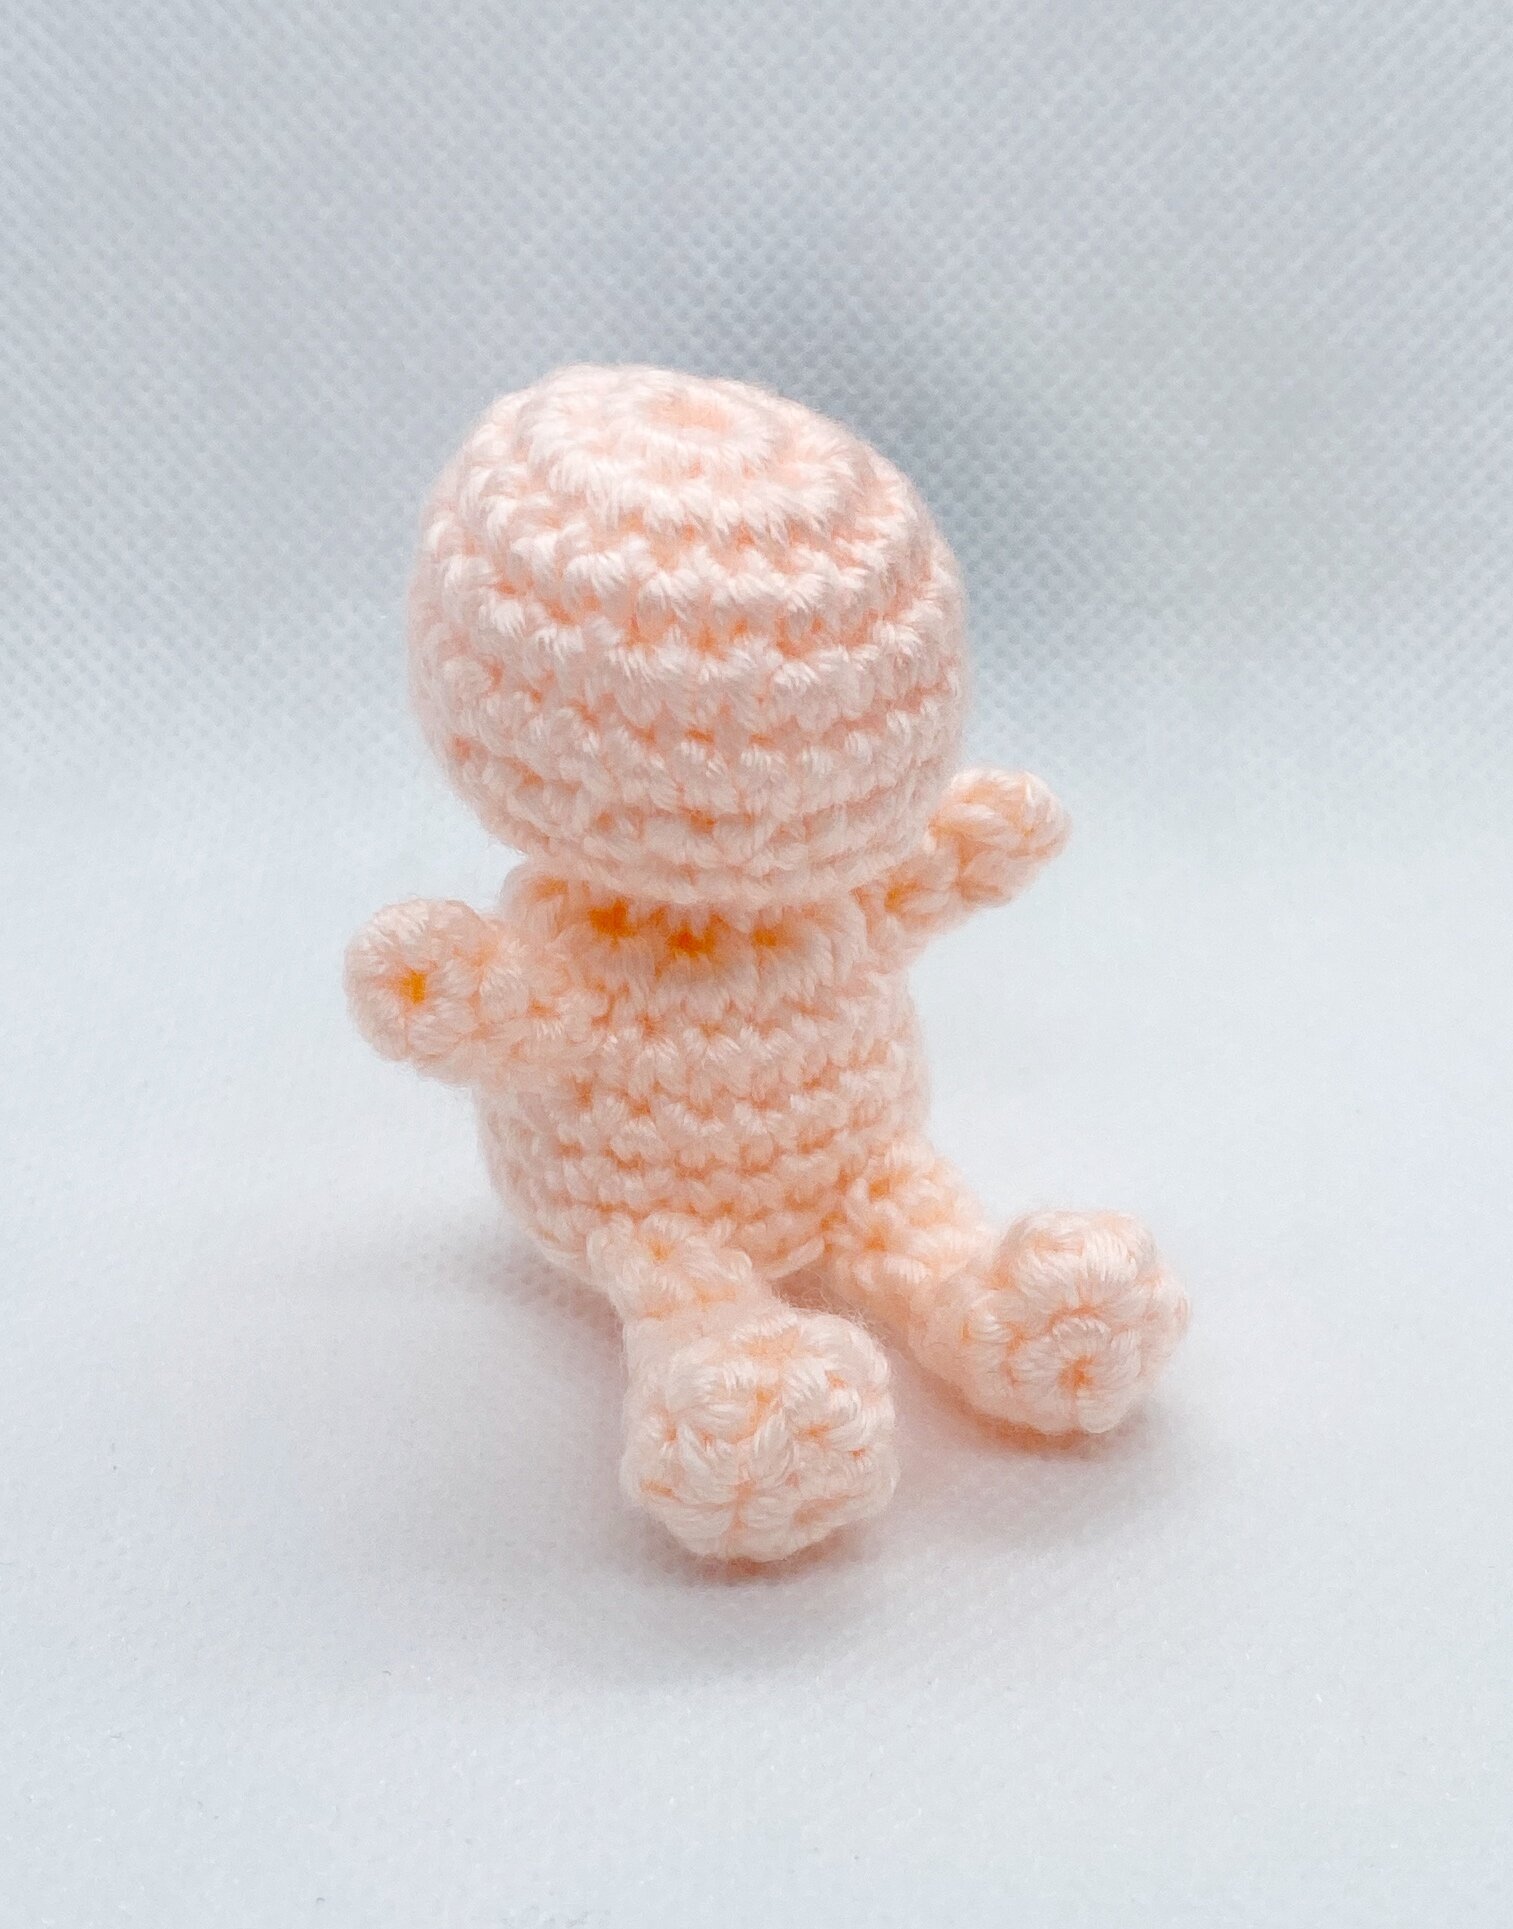
This is what is most commonly done for most crocheters. It can create a different effect but I personally don’t like attaching as well! For this, a darning needle and scissors are required.
The 2 versions I made include the following:
8) External sitting attachment
9) External standing attachment
Even for the attachment method, there are sewing techniques involved like mattress or whip stitch. Some crocheters also choose to use pins to landmark the location for attachment as the limbs can turn out looking asymmetrical after attachment.
For sitting and standing amigurumis, the limb attachment is also located slightly differently. Of course for standing amis, there are some additional tricks to stuff inside the leg to make them stand more steadily.
Create Dolls That Feel Truly Your Own
Ever wished you could tweak a doll pattern so it looks exactly the way you imagined? In this free training, you’ll learn how simple shaping techniques can help you start customizing your own amigurumi dolls with confidence.
What’s Next
🧵 How to Crochet Dolls: 7 Key Techniques for Body, Head, Hair & Clothes »
Your complete parent guide—learn all the core components of doll-making in one place.
🦴 3 Easy Techniques on How to Make a Crochet Doll Body (no sew included!) »
Discover easy, beginner-friendly ways to create a smooth doll body and attach limbs without any sewing.
🔗 Surface Crochet for Limb Attachment to Amigurumi »
Try this next-step no-sew method for adding limbs with perfect symmetry.